Did you know that you can navigate the posts by swiping left and right?
How To Fail Your First Diorama
20 Aug 2019
. category:
art
.
#mediocre
#diorama
#macross
#fail
#first_time
#allwhite
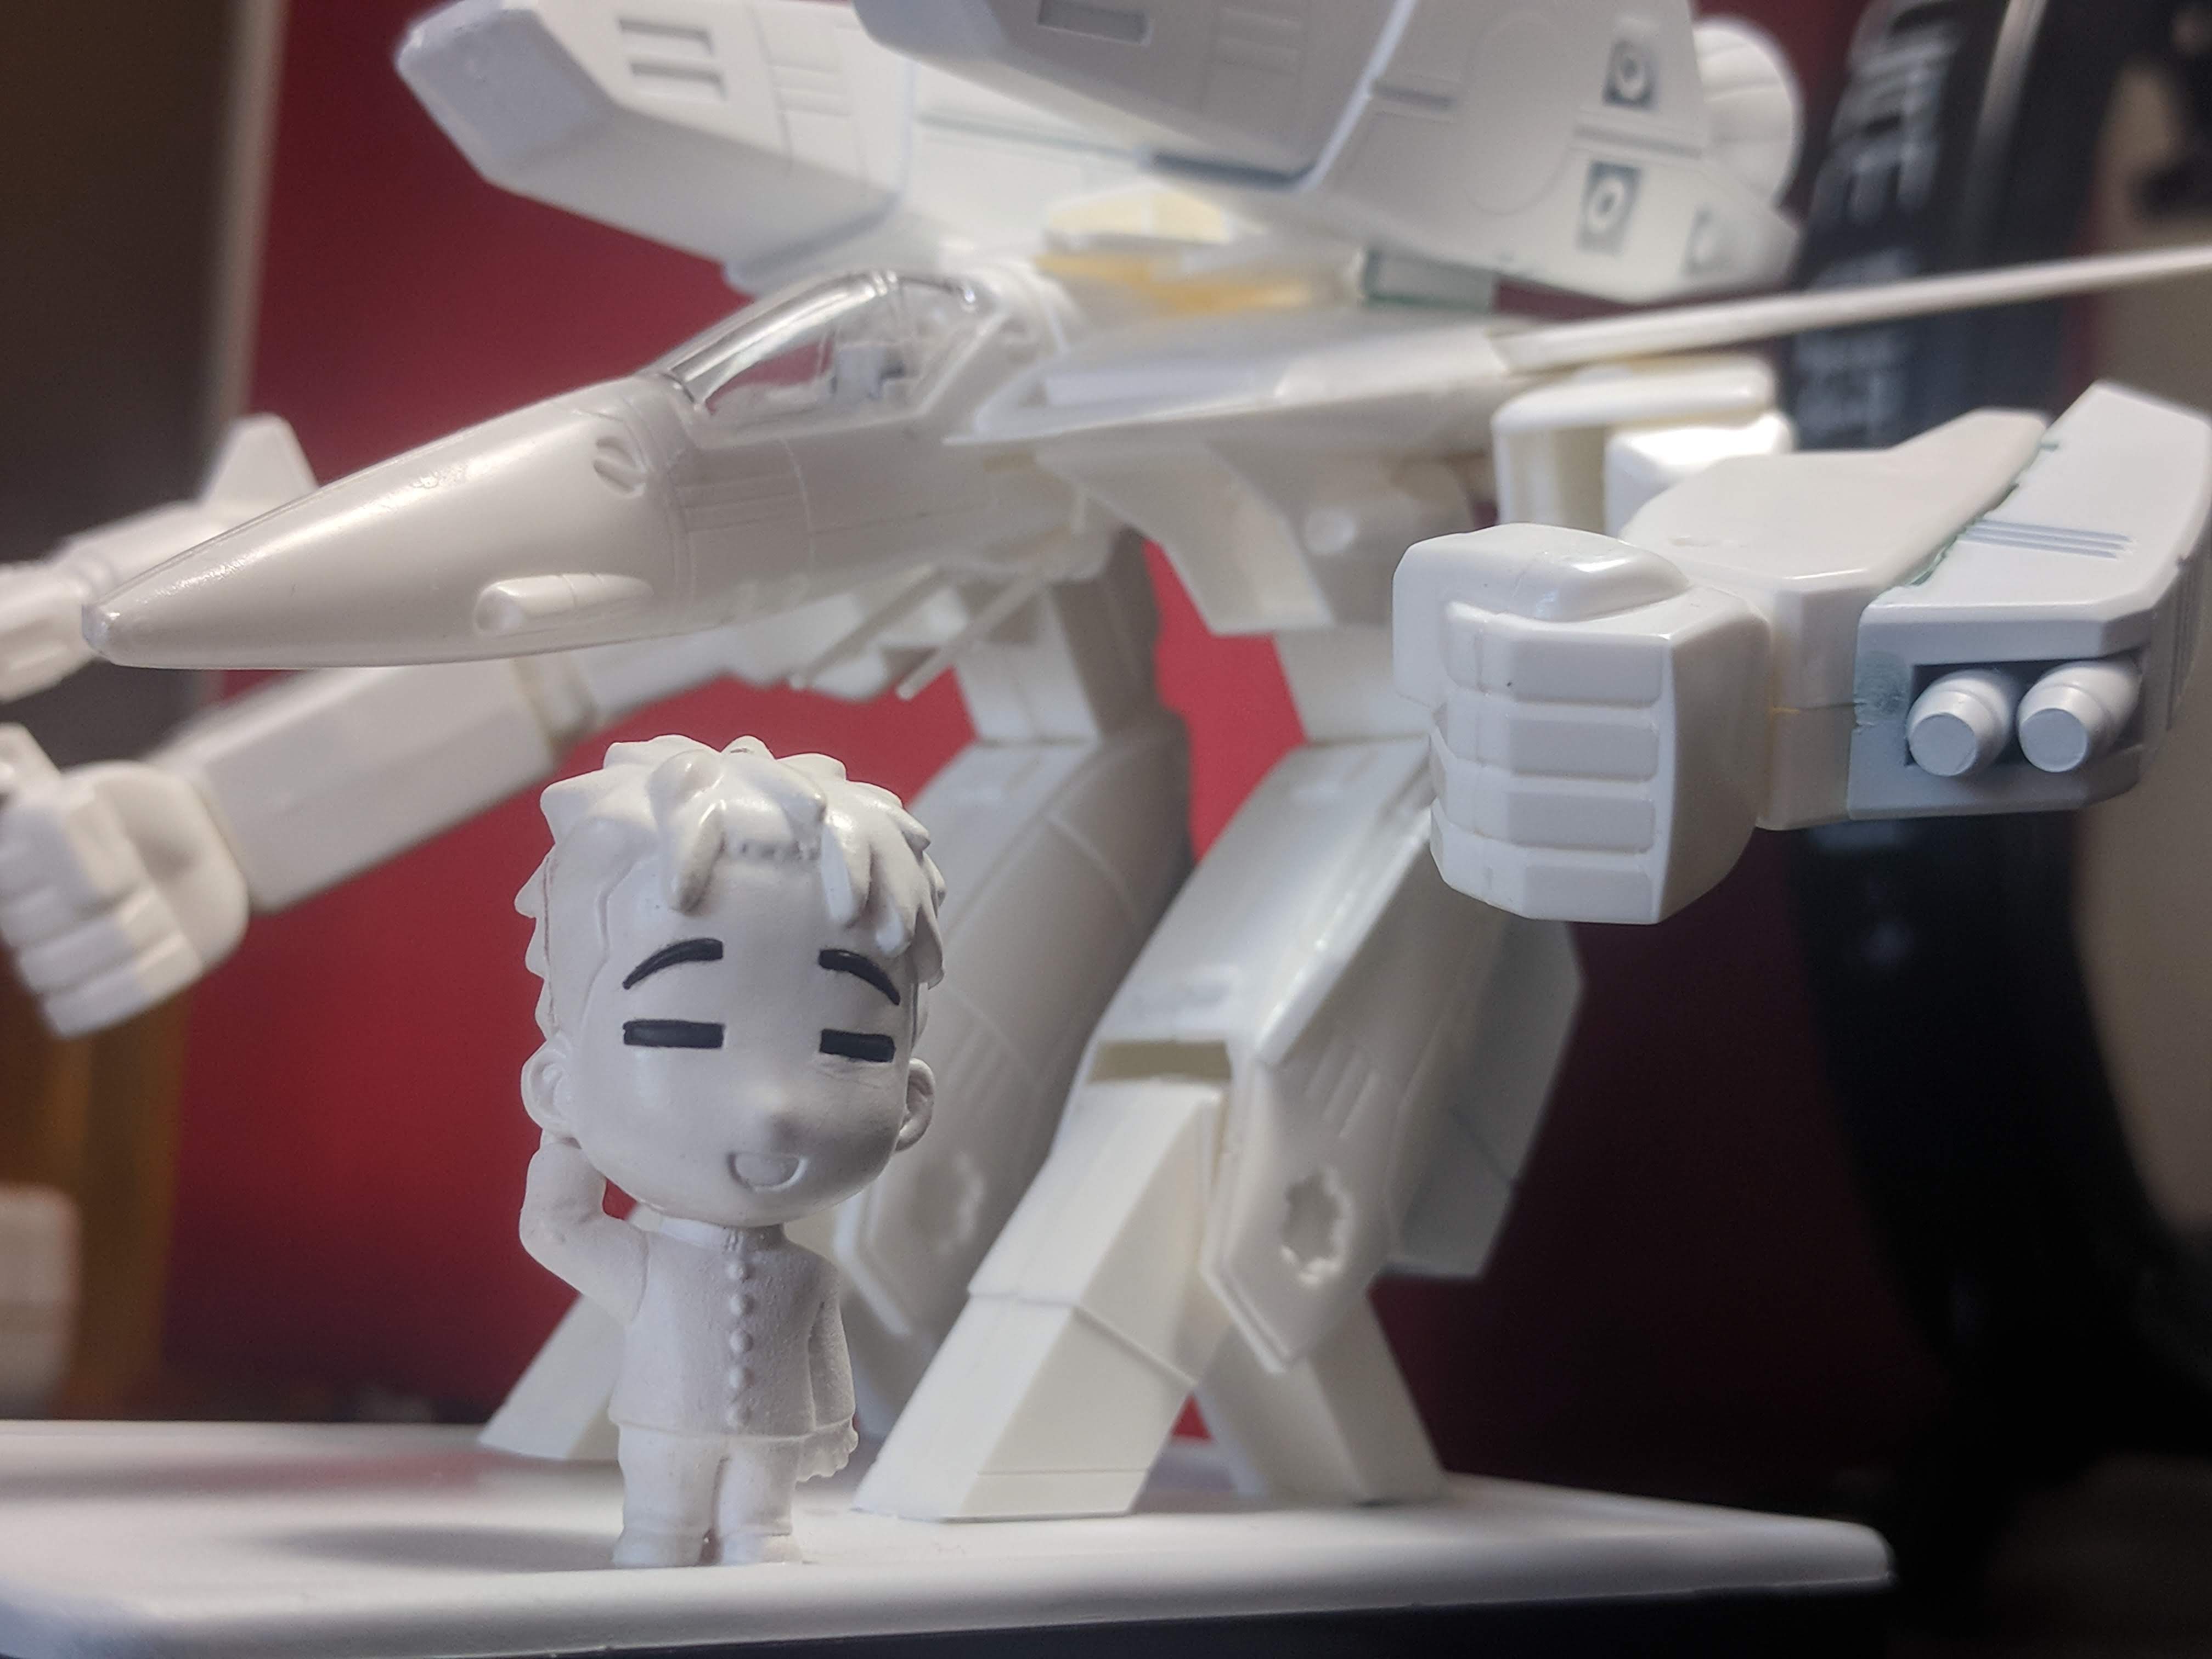
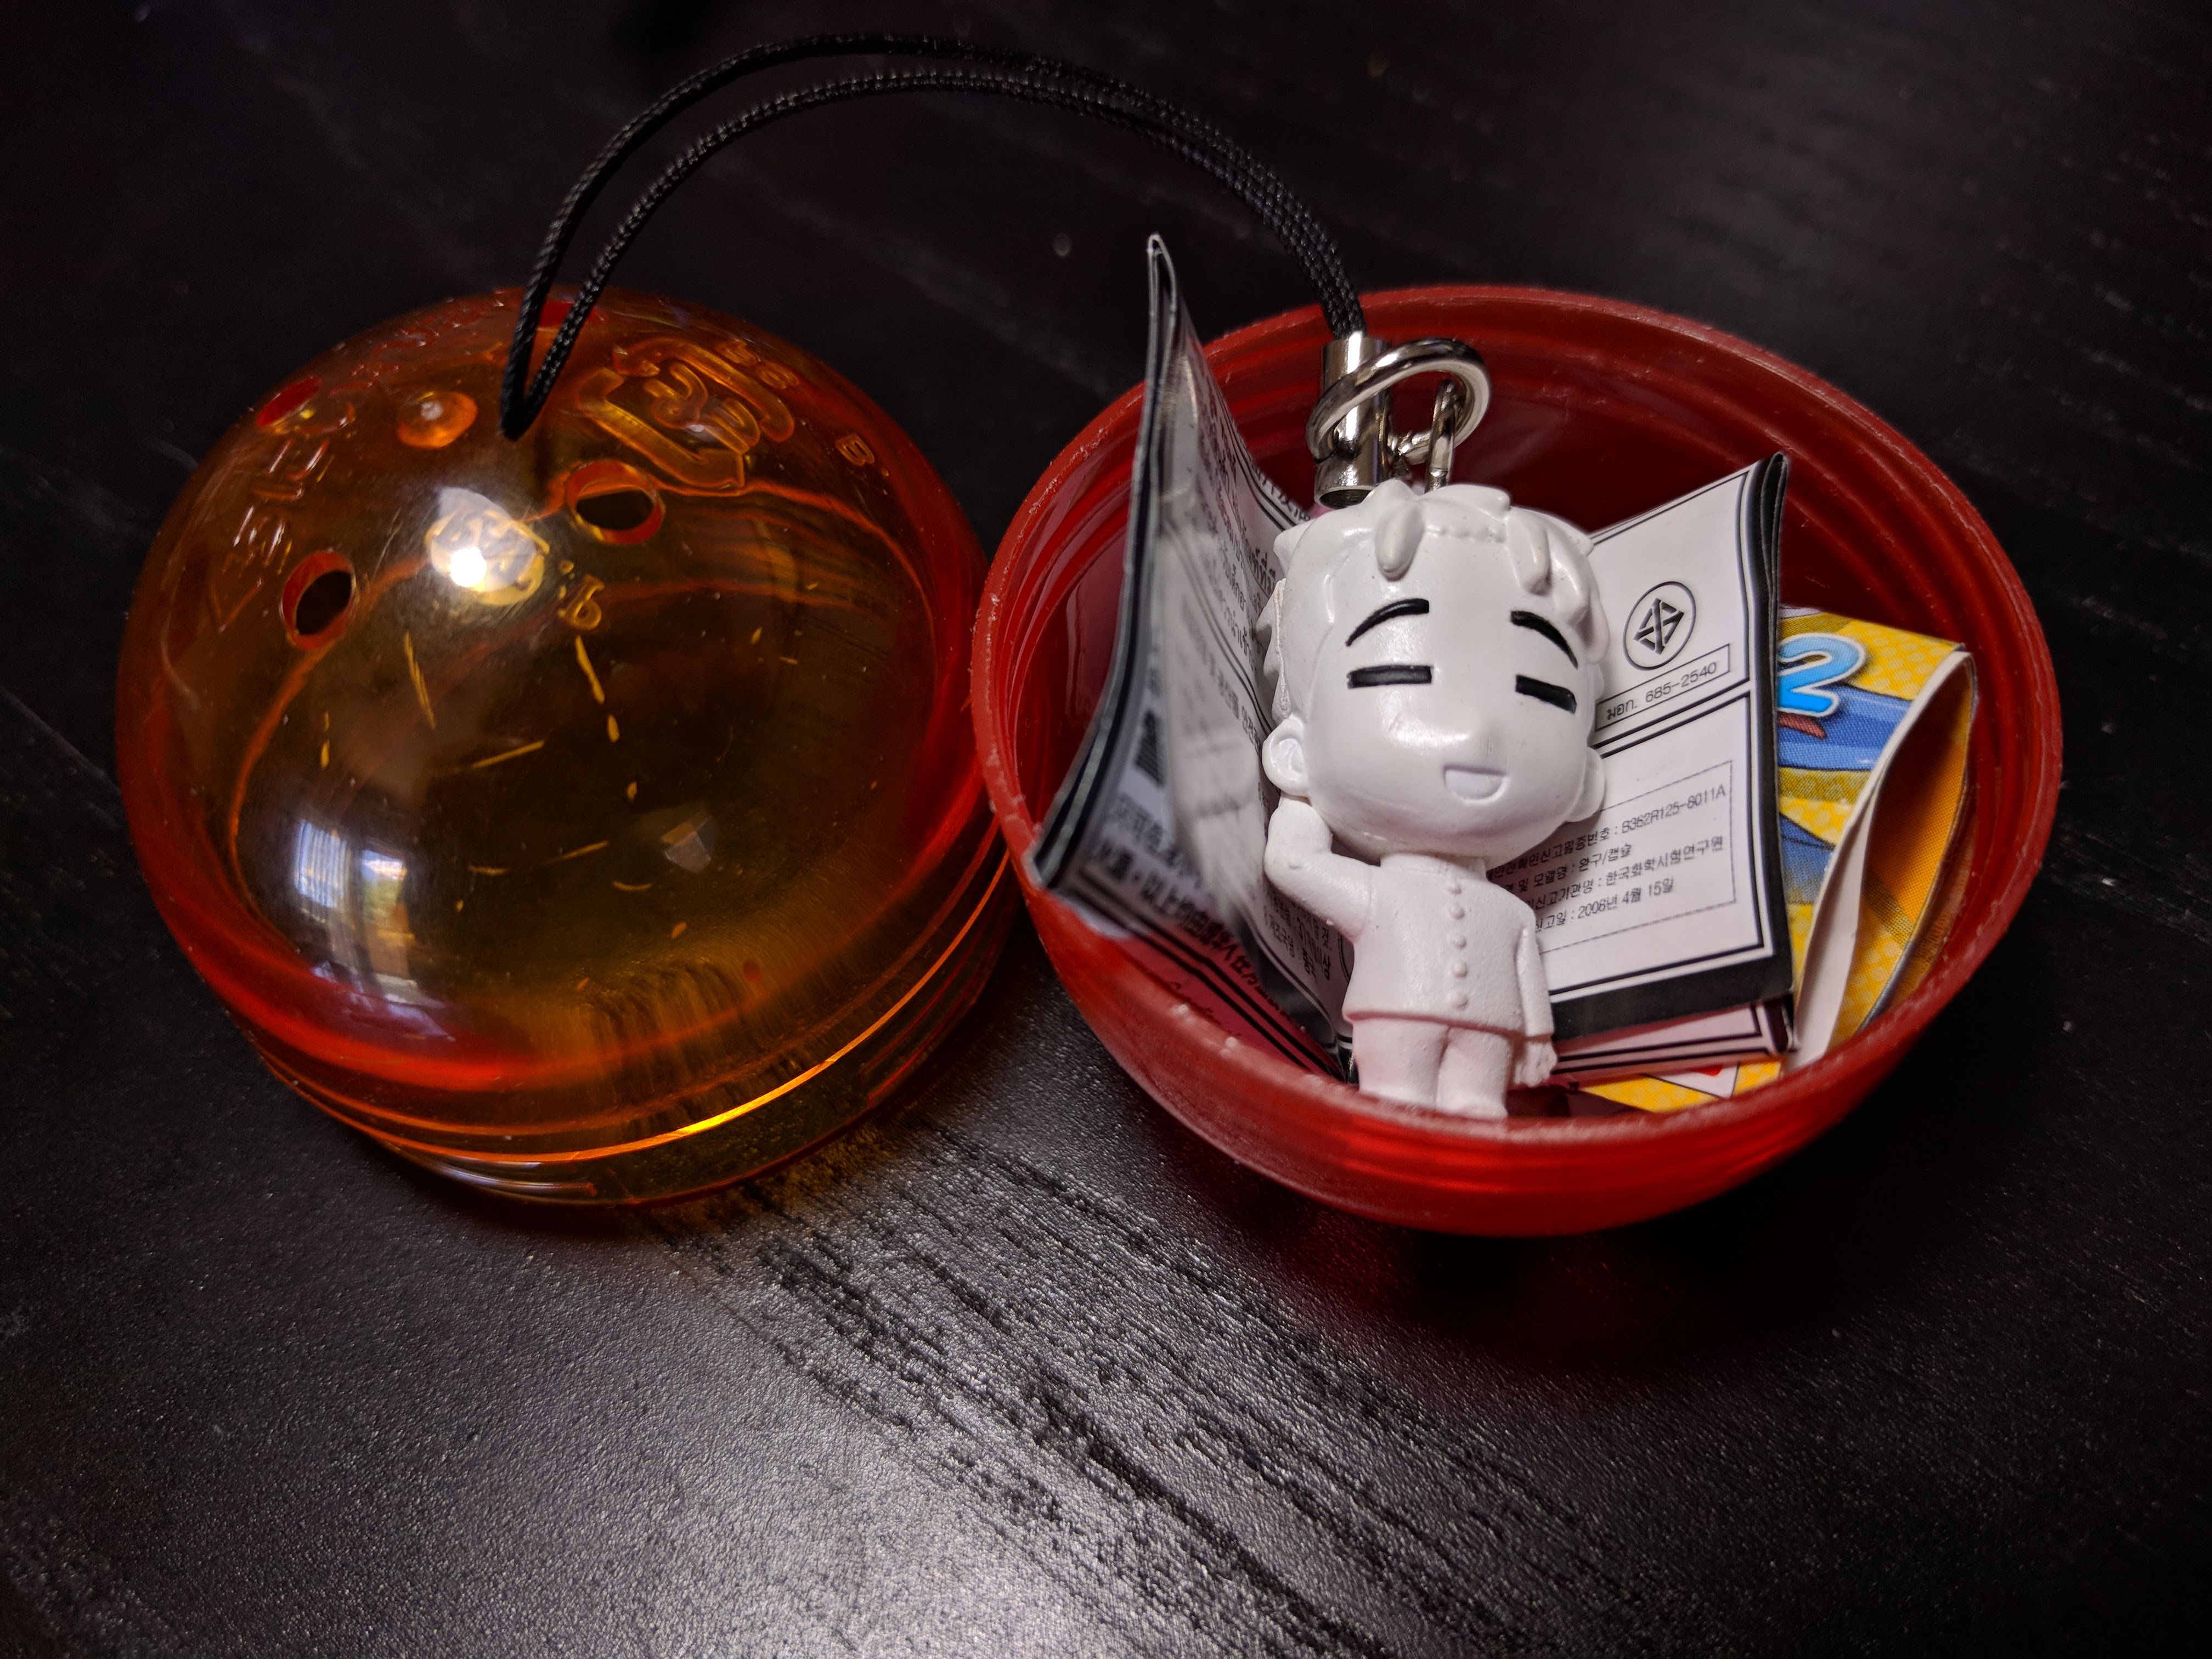
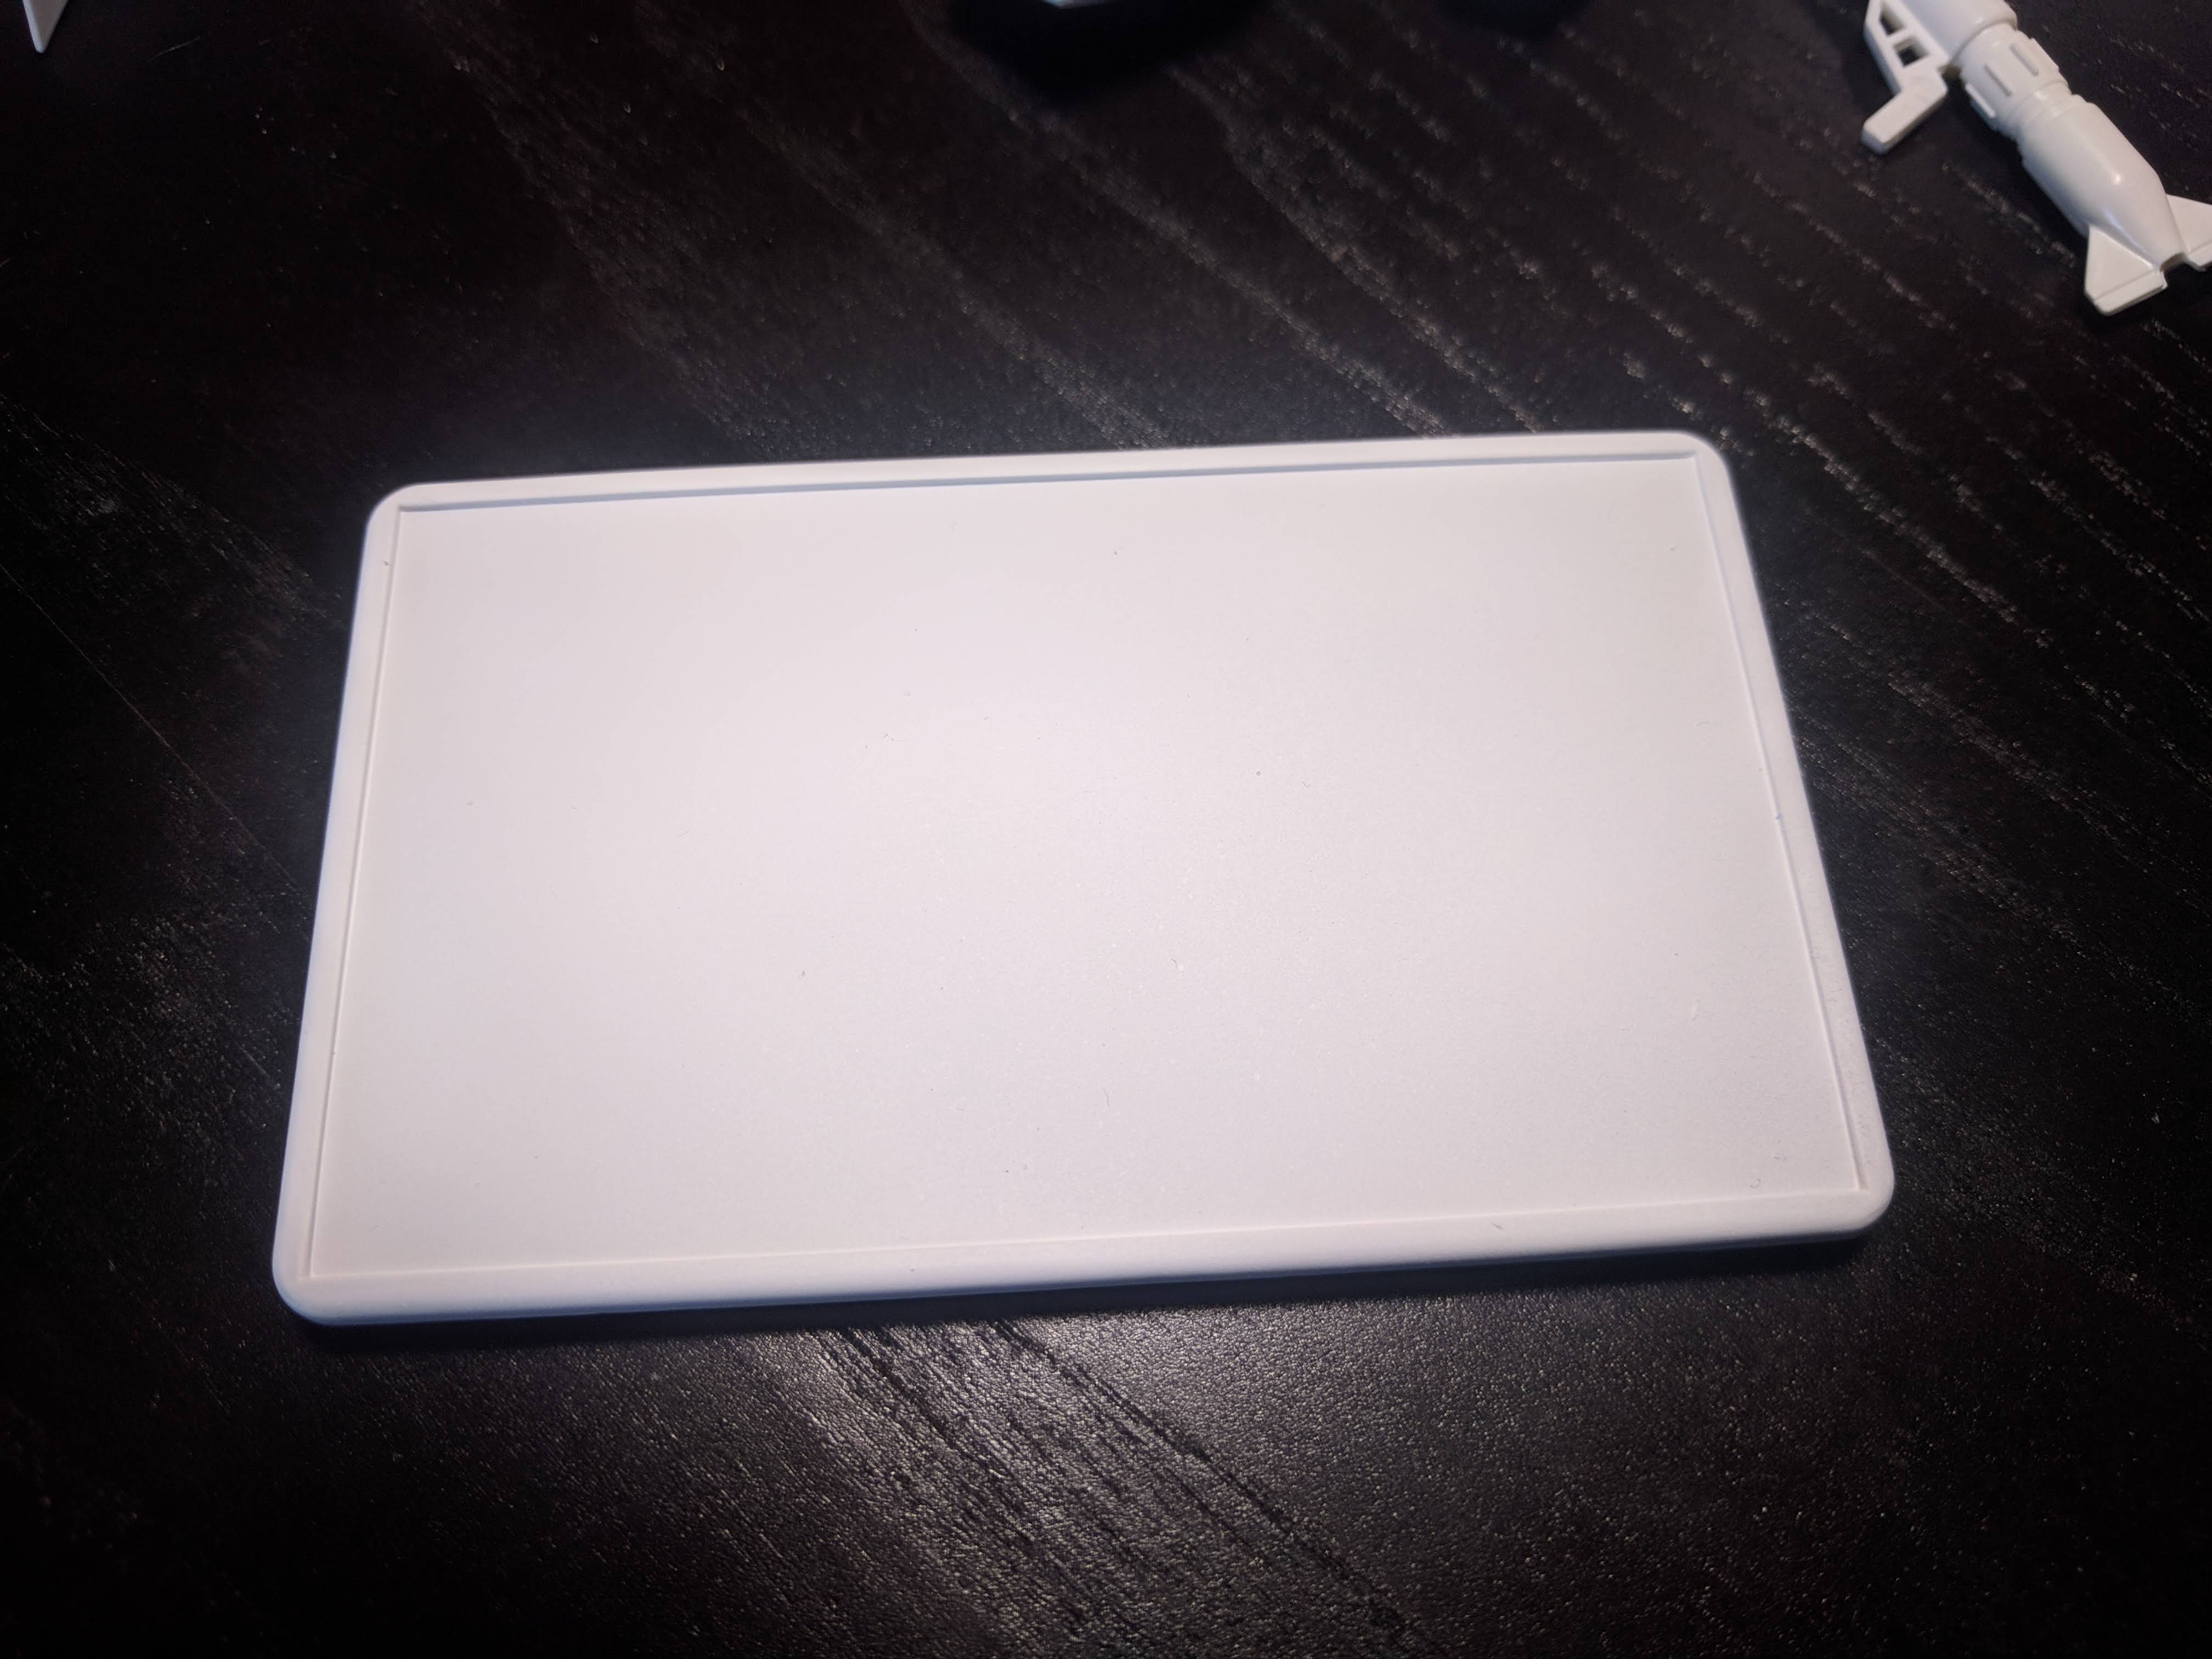
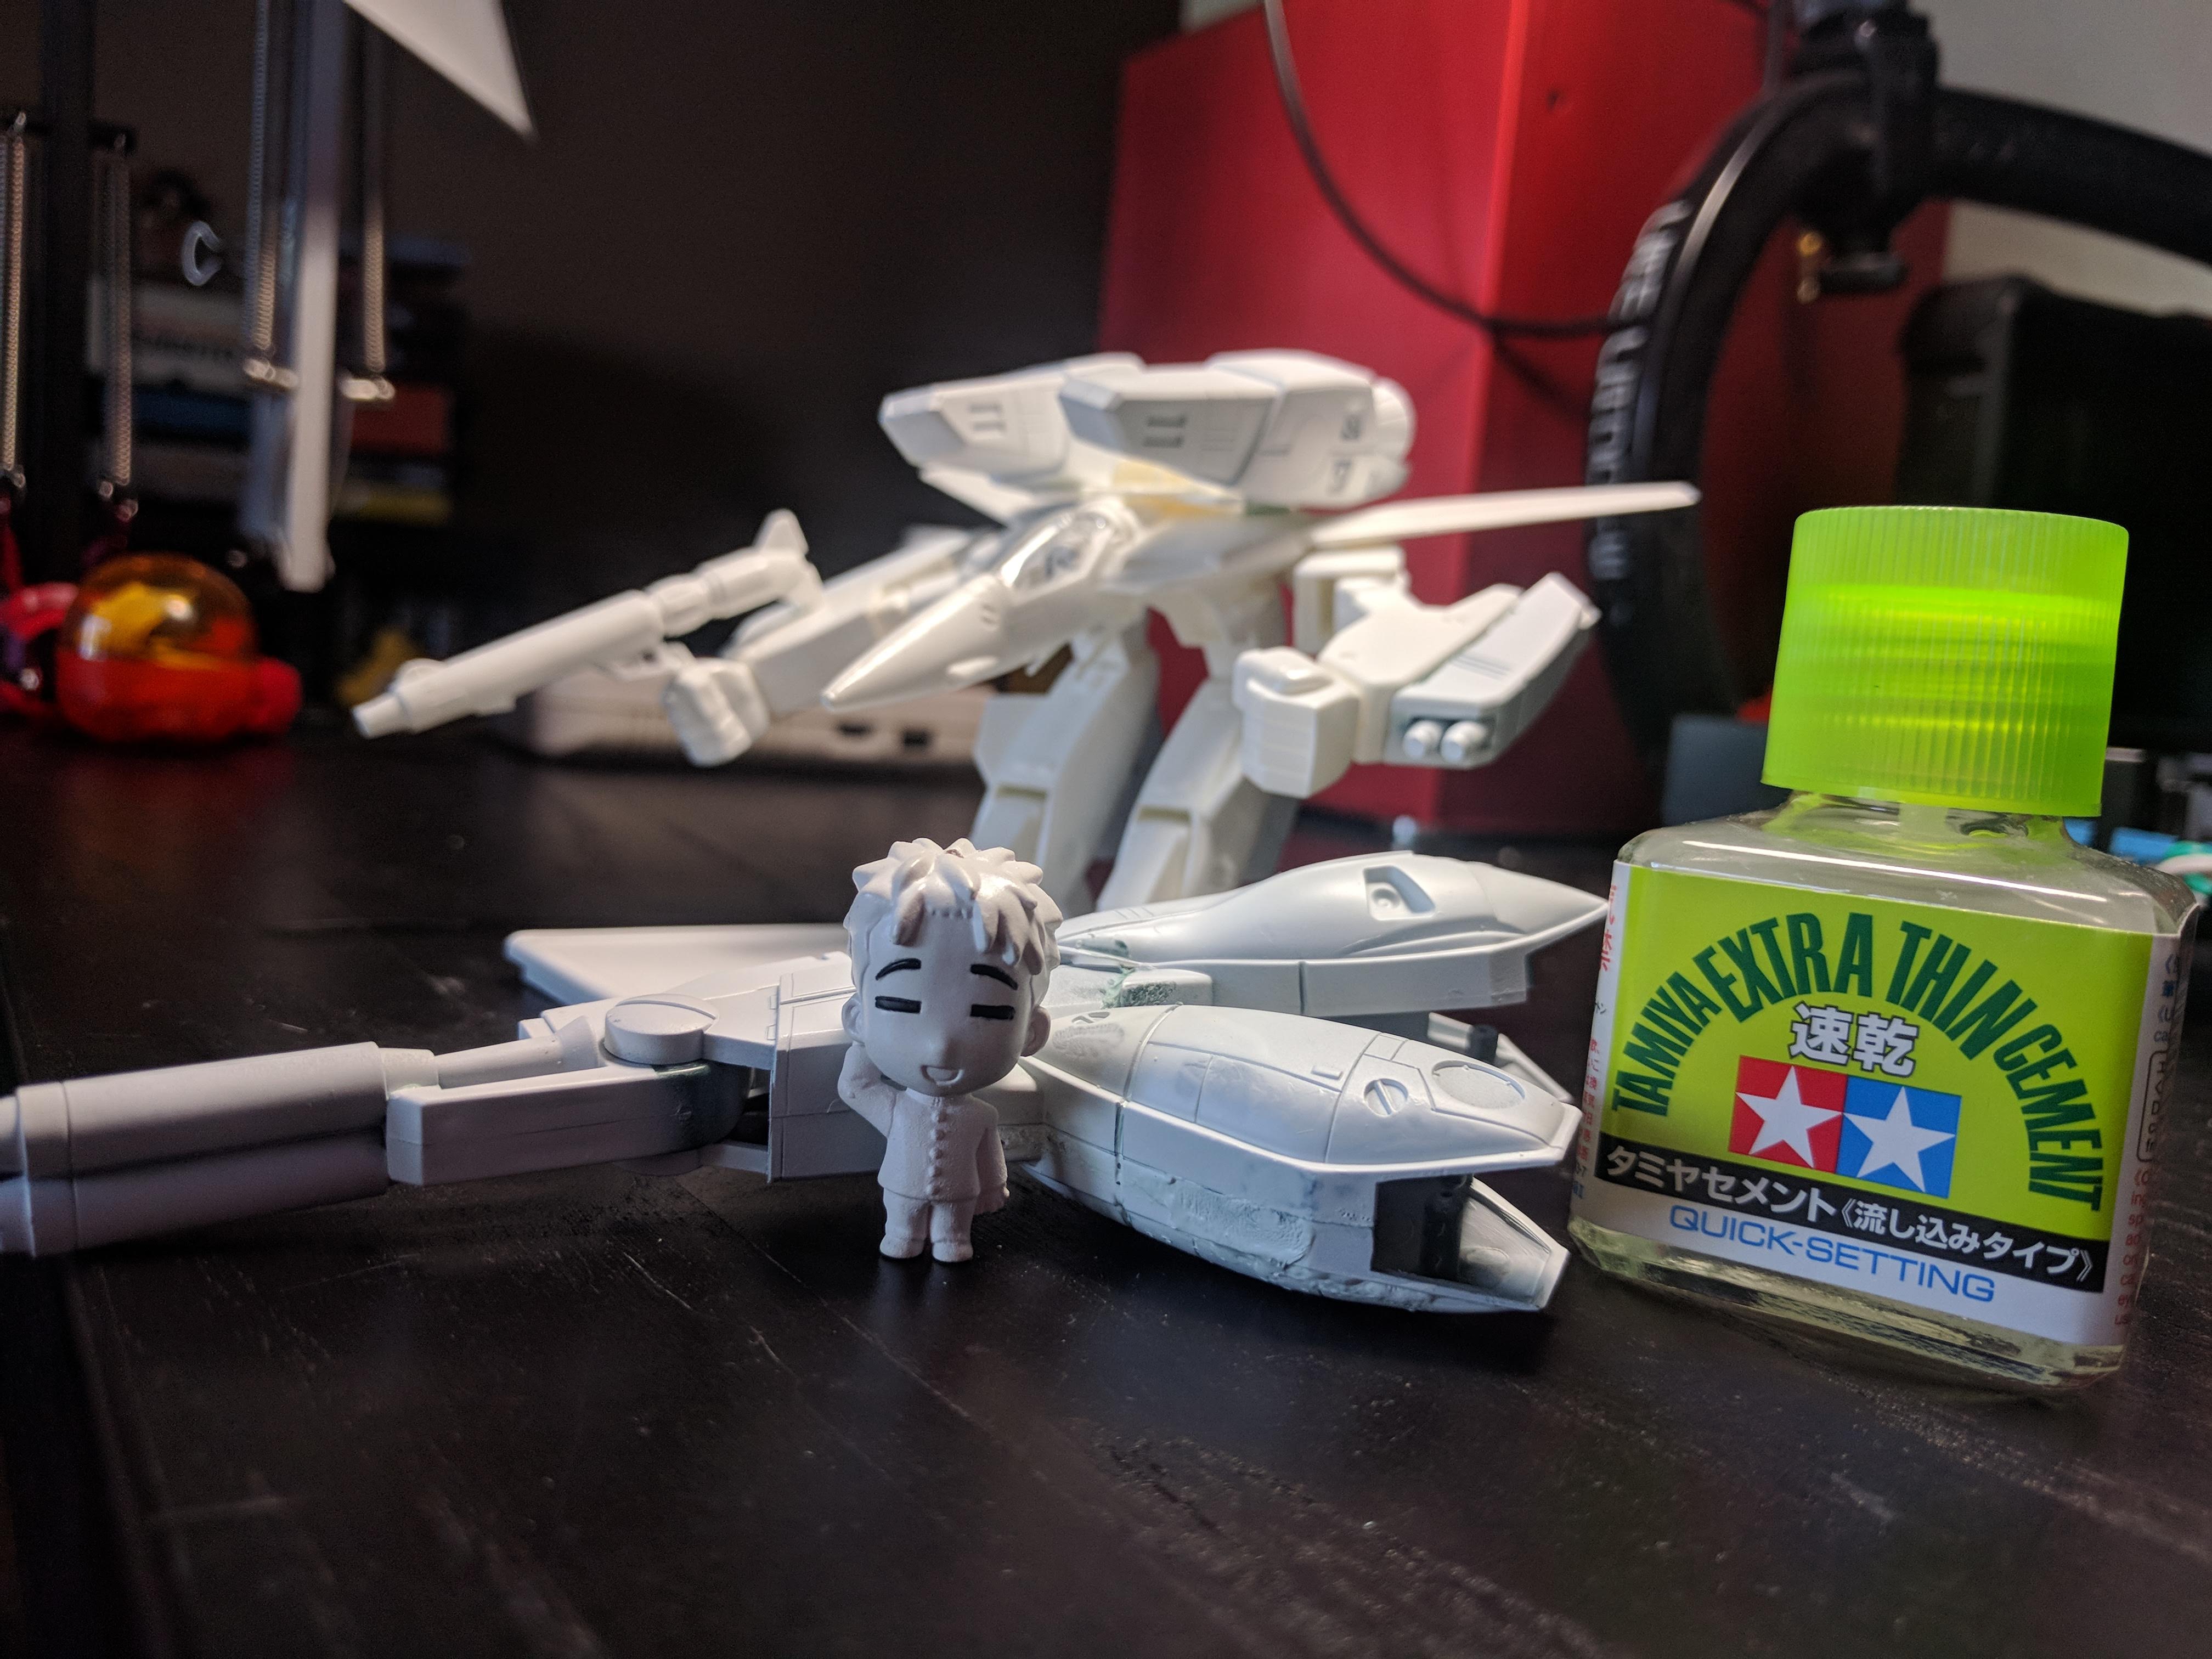
Rummaging through my junk pile, I found an old model kit I bought from an online auction @CheapAssGamer way back when. I got it for cheap, but I discovered why when I opened the kit for the first time. Looking through the instructions, almost all the parts needed to be glued together unlike most gunpla model kits. So I ended stashing it away because (1) I didn’t have any model glue and (2) I was too lazy to build it. But now that I have time and have the urge to clean up my junk, I wanted to cobble the kit together with a Minoru gashapon and make my first diorama. It didn’t turn out great. So here’s my guide to make sure your first diorama also sucks.
STEP 1: Choose an off-brand model kit
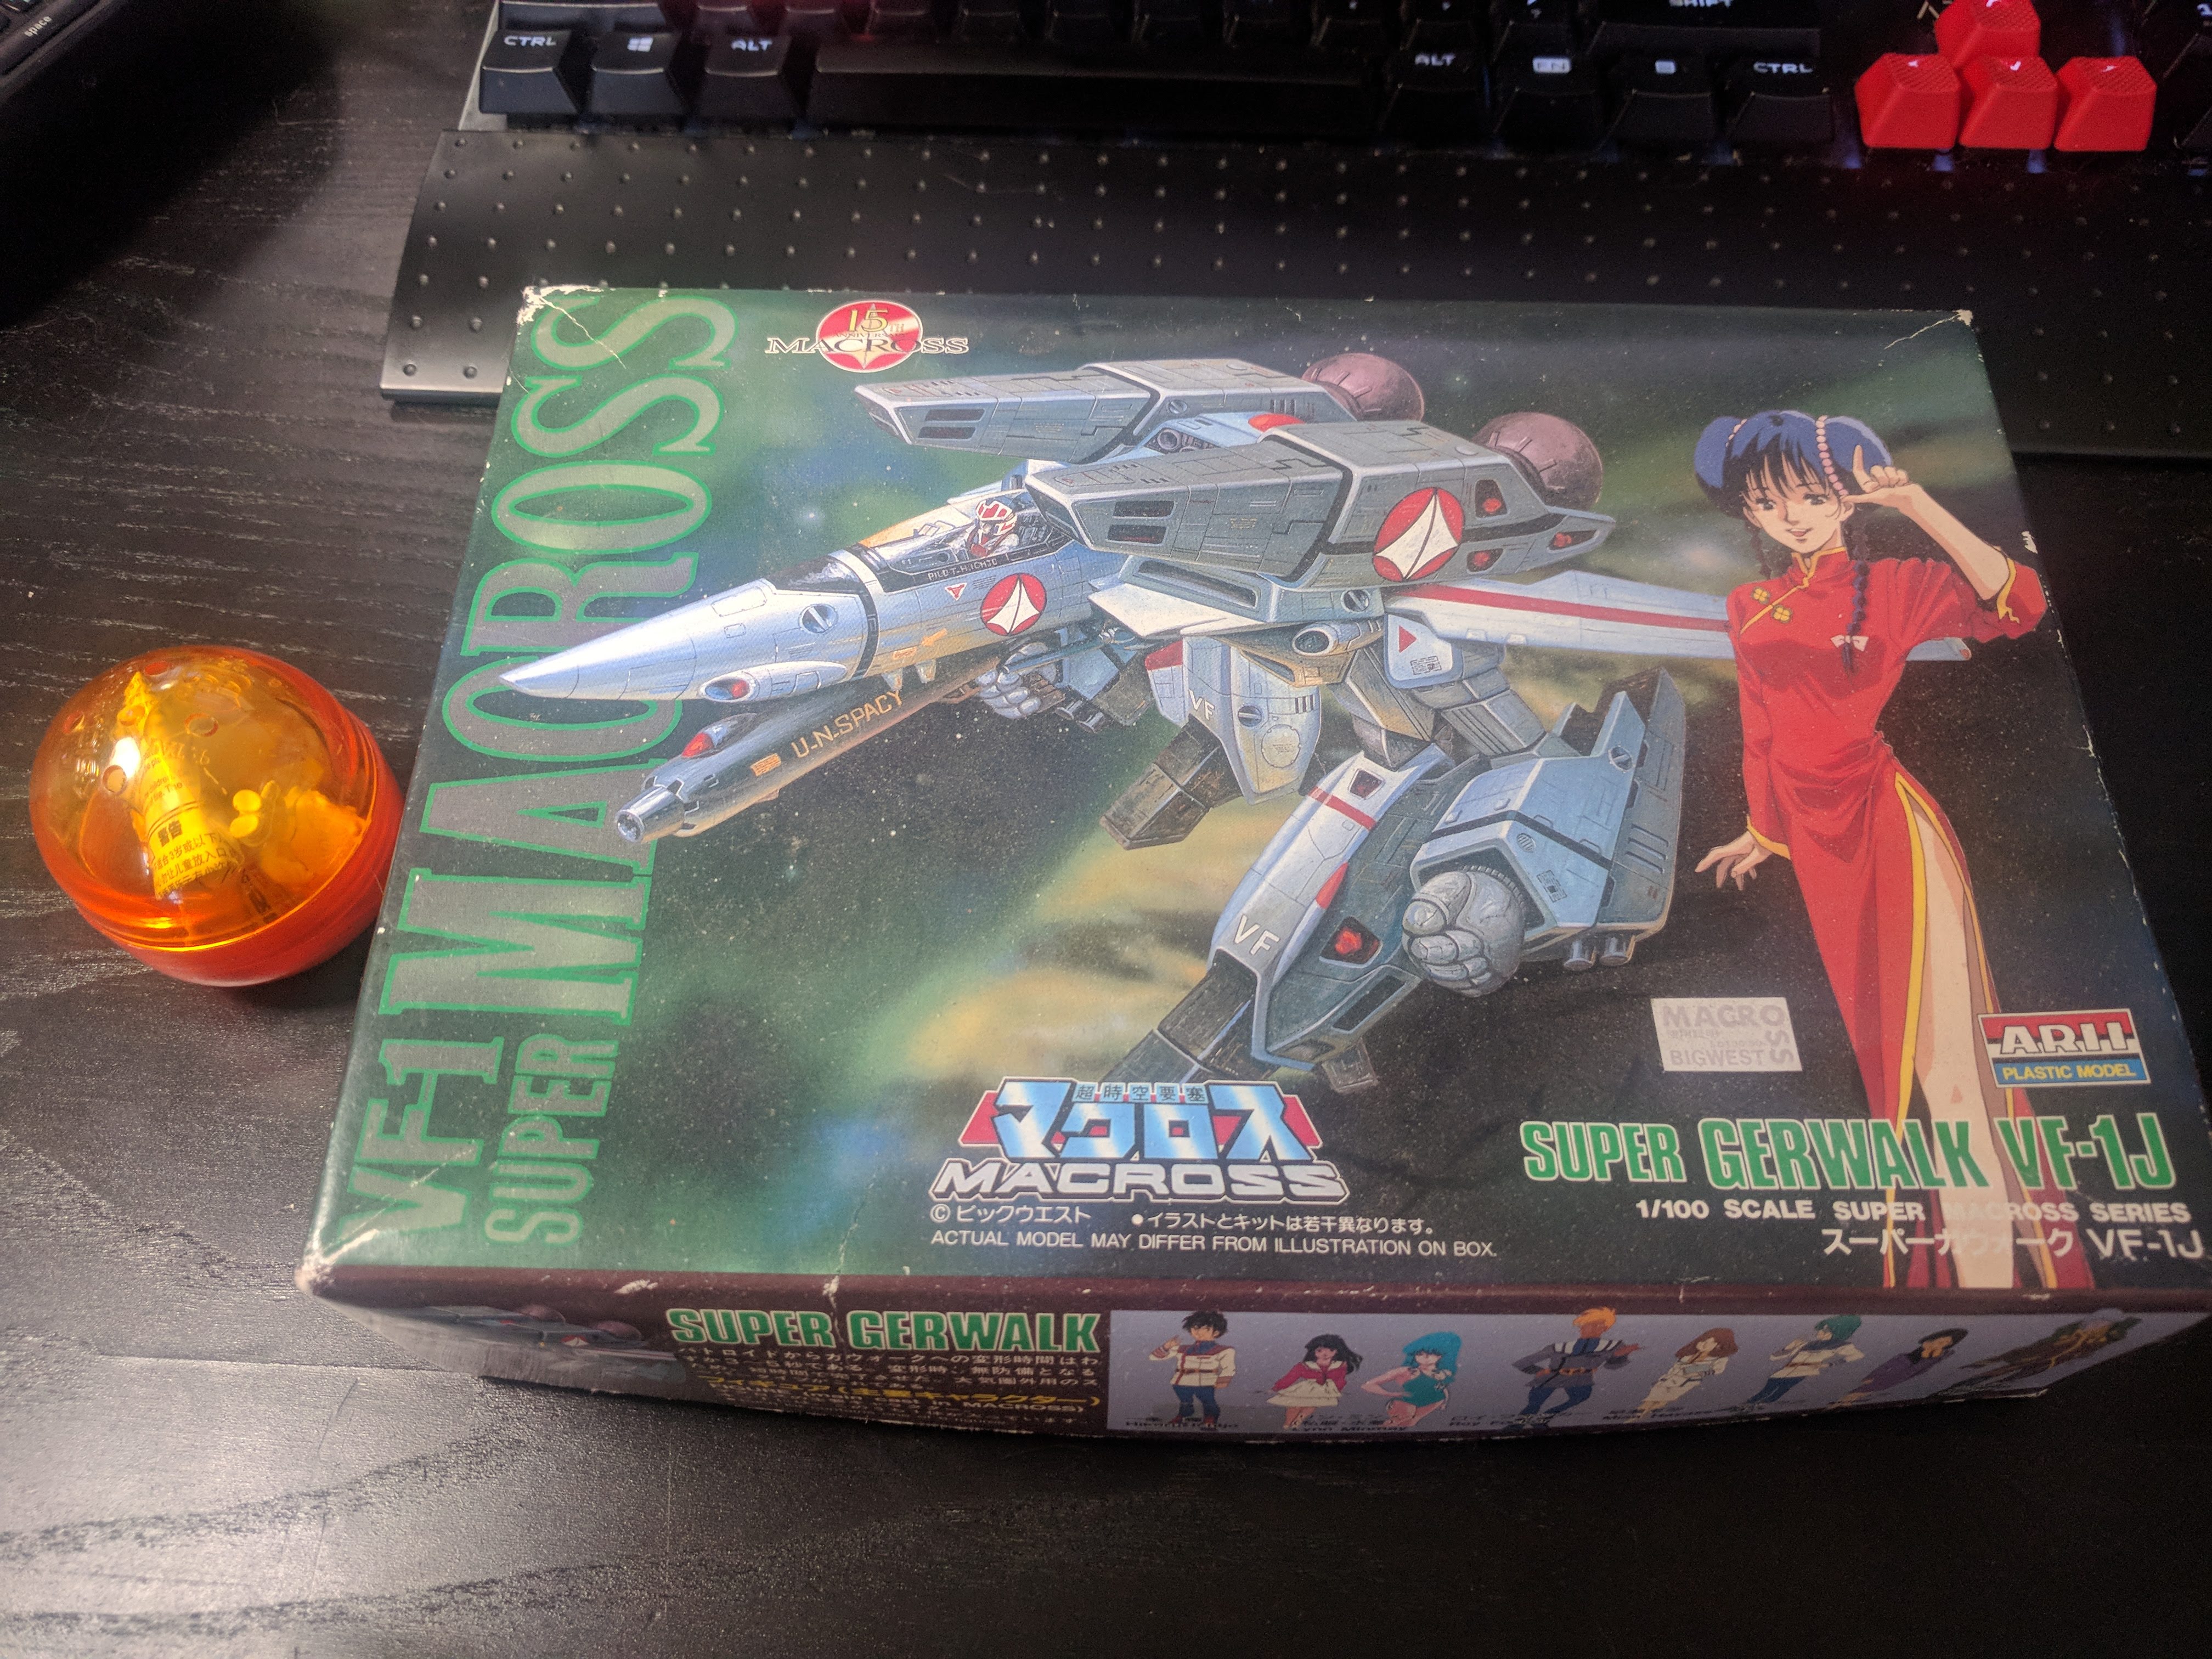
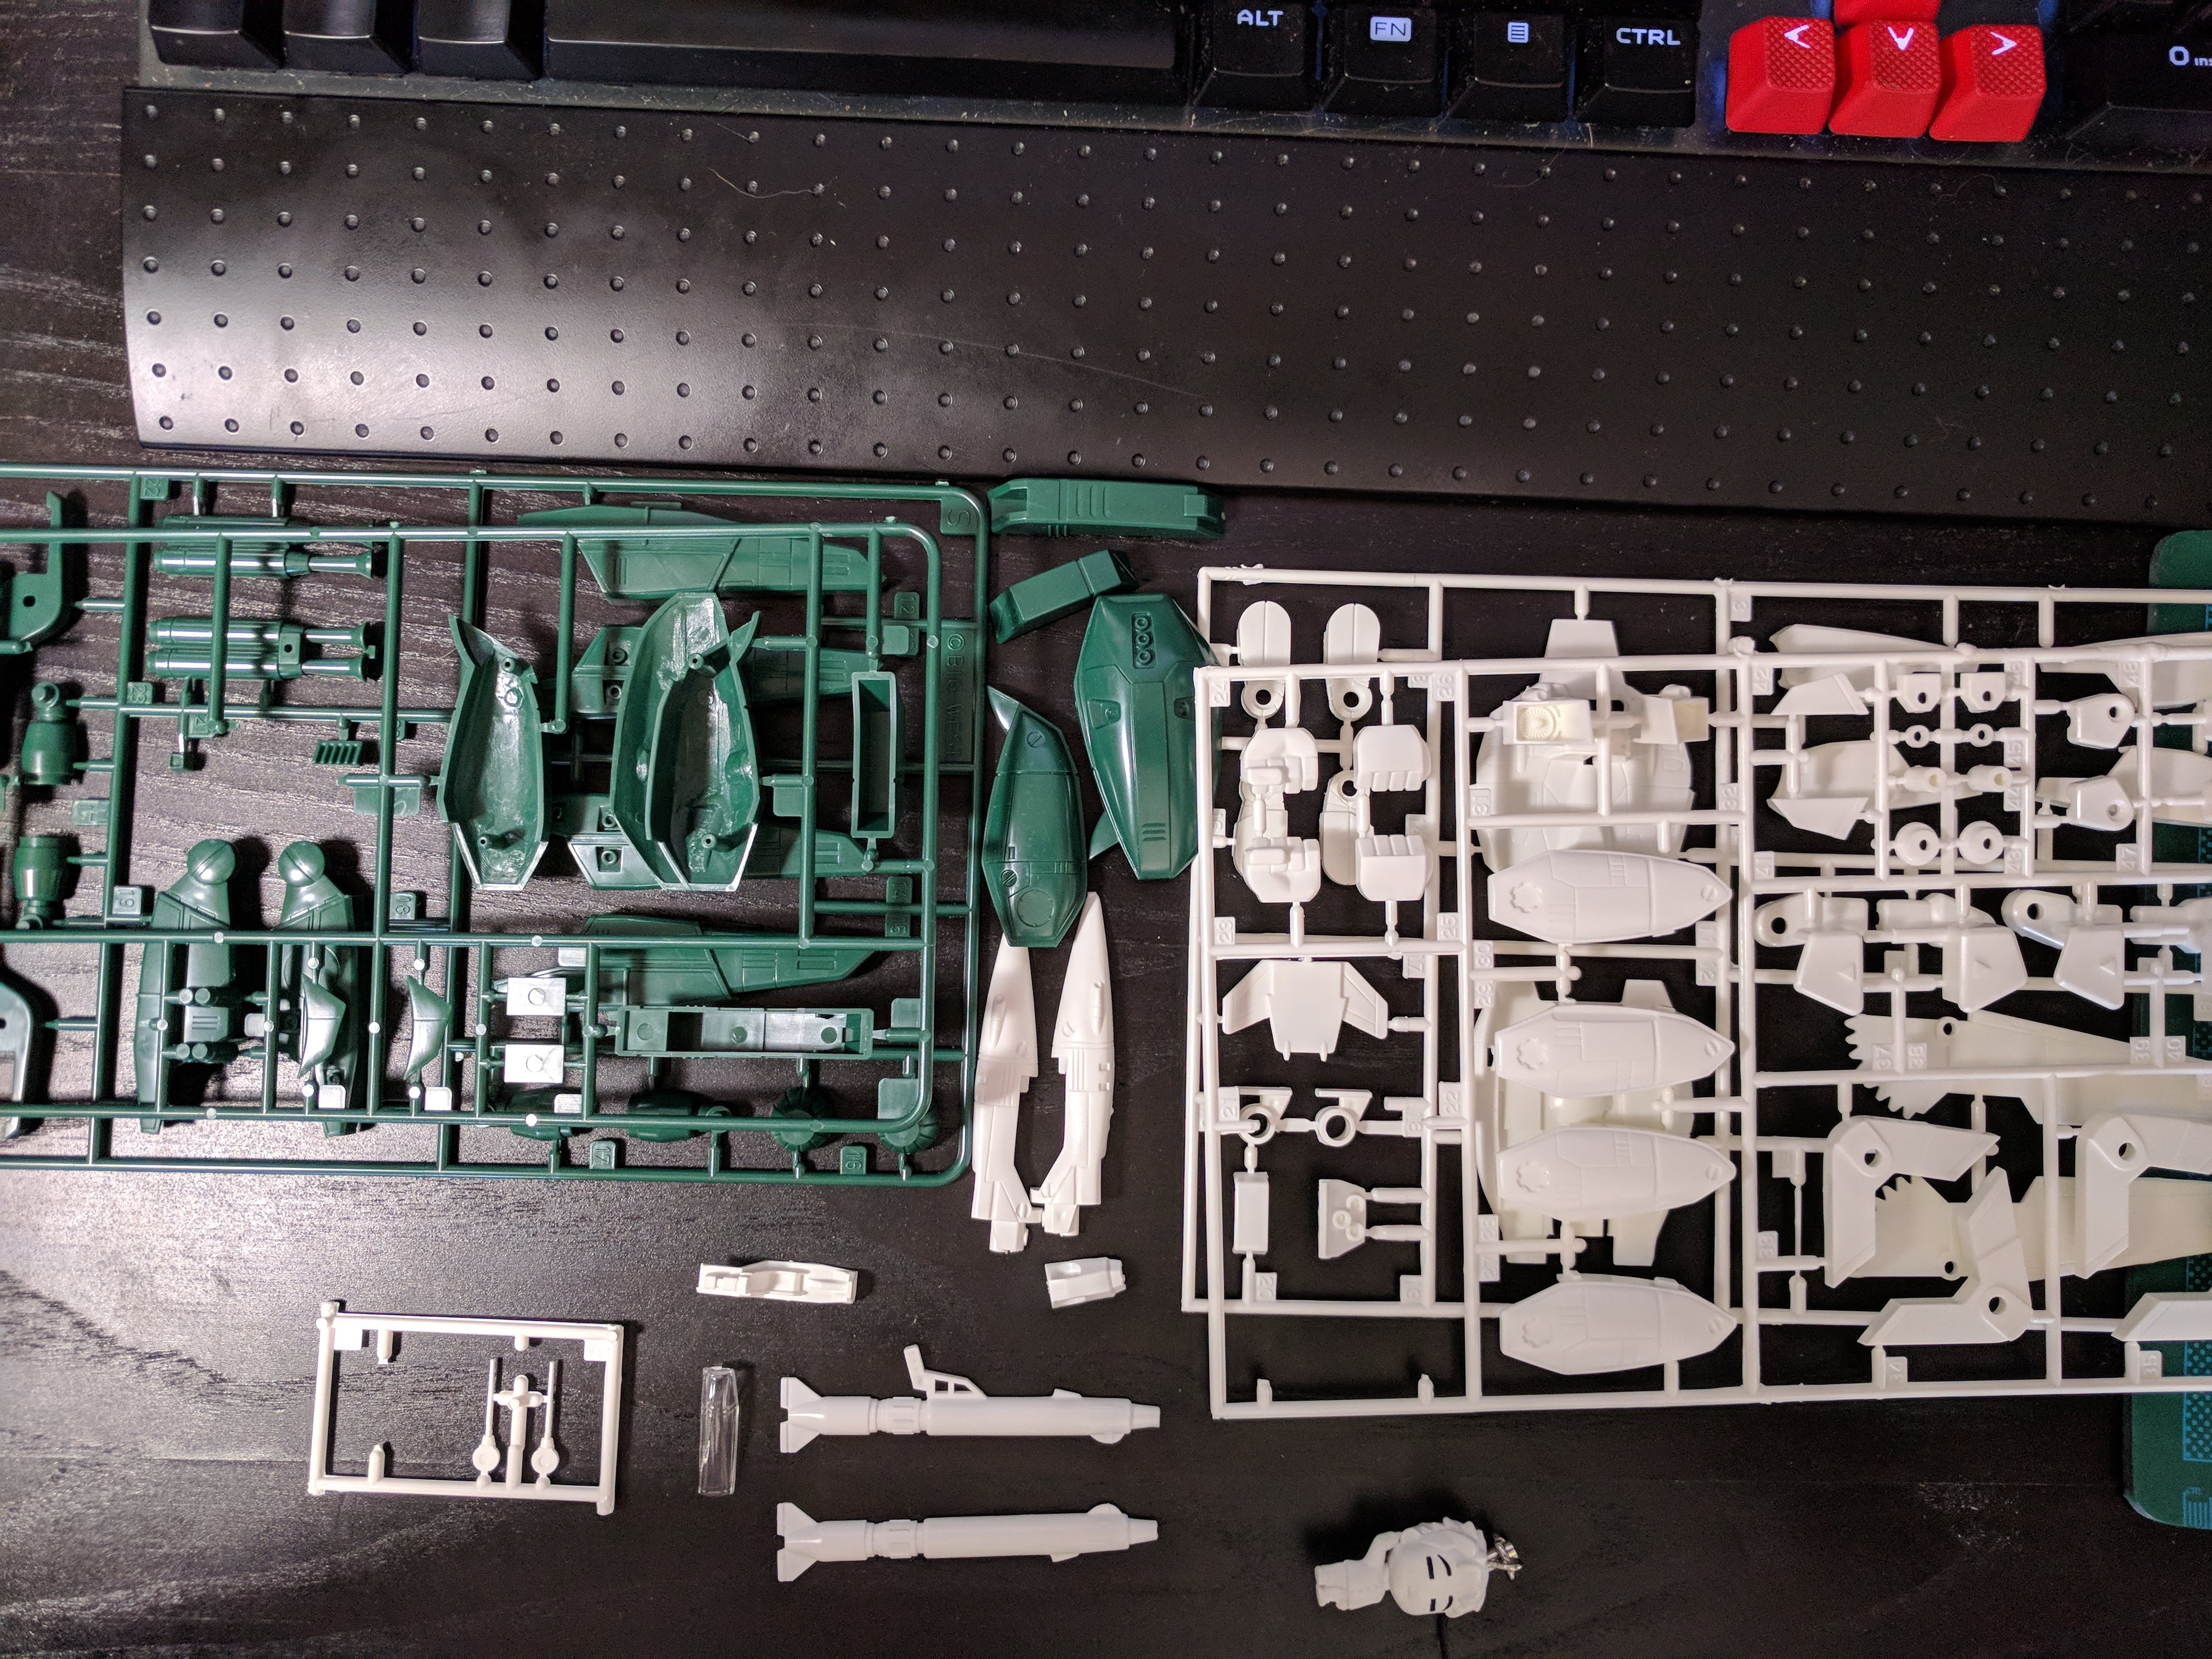
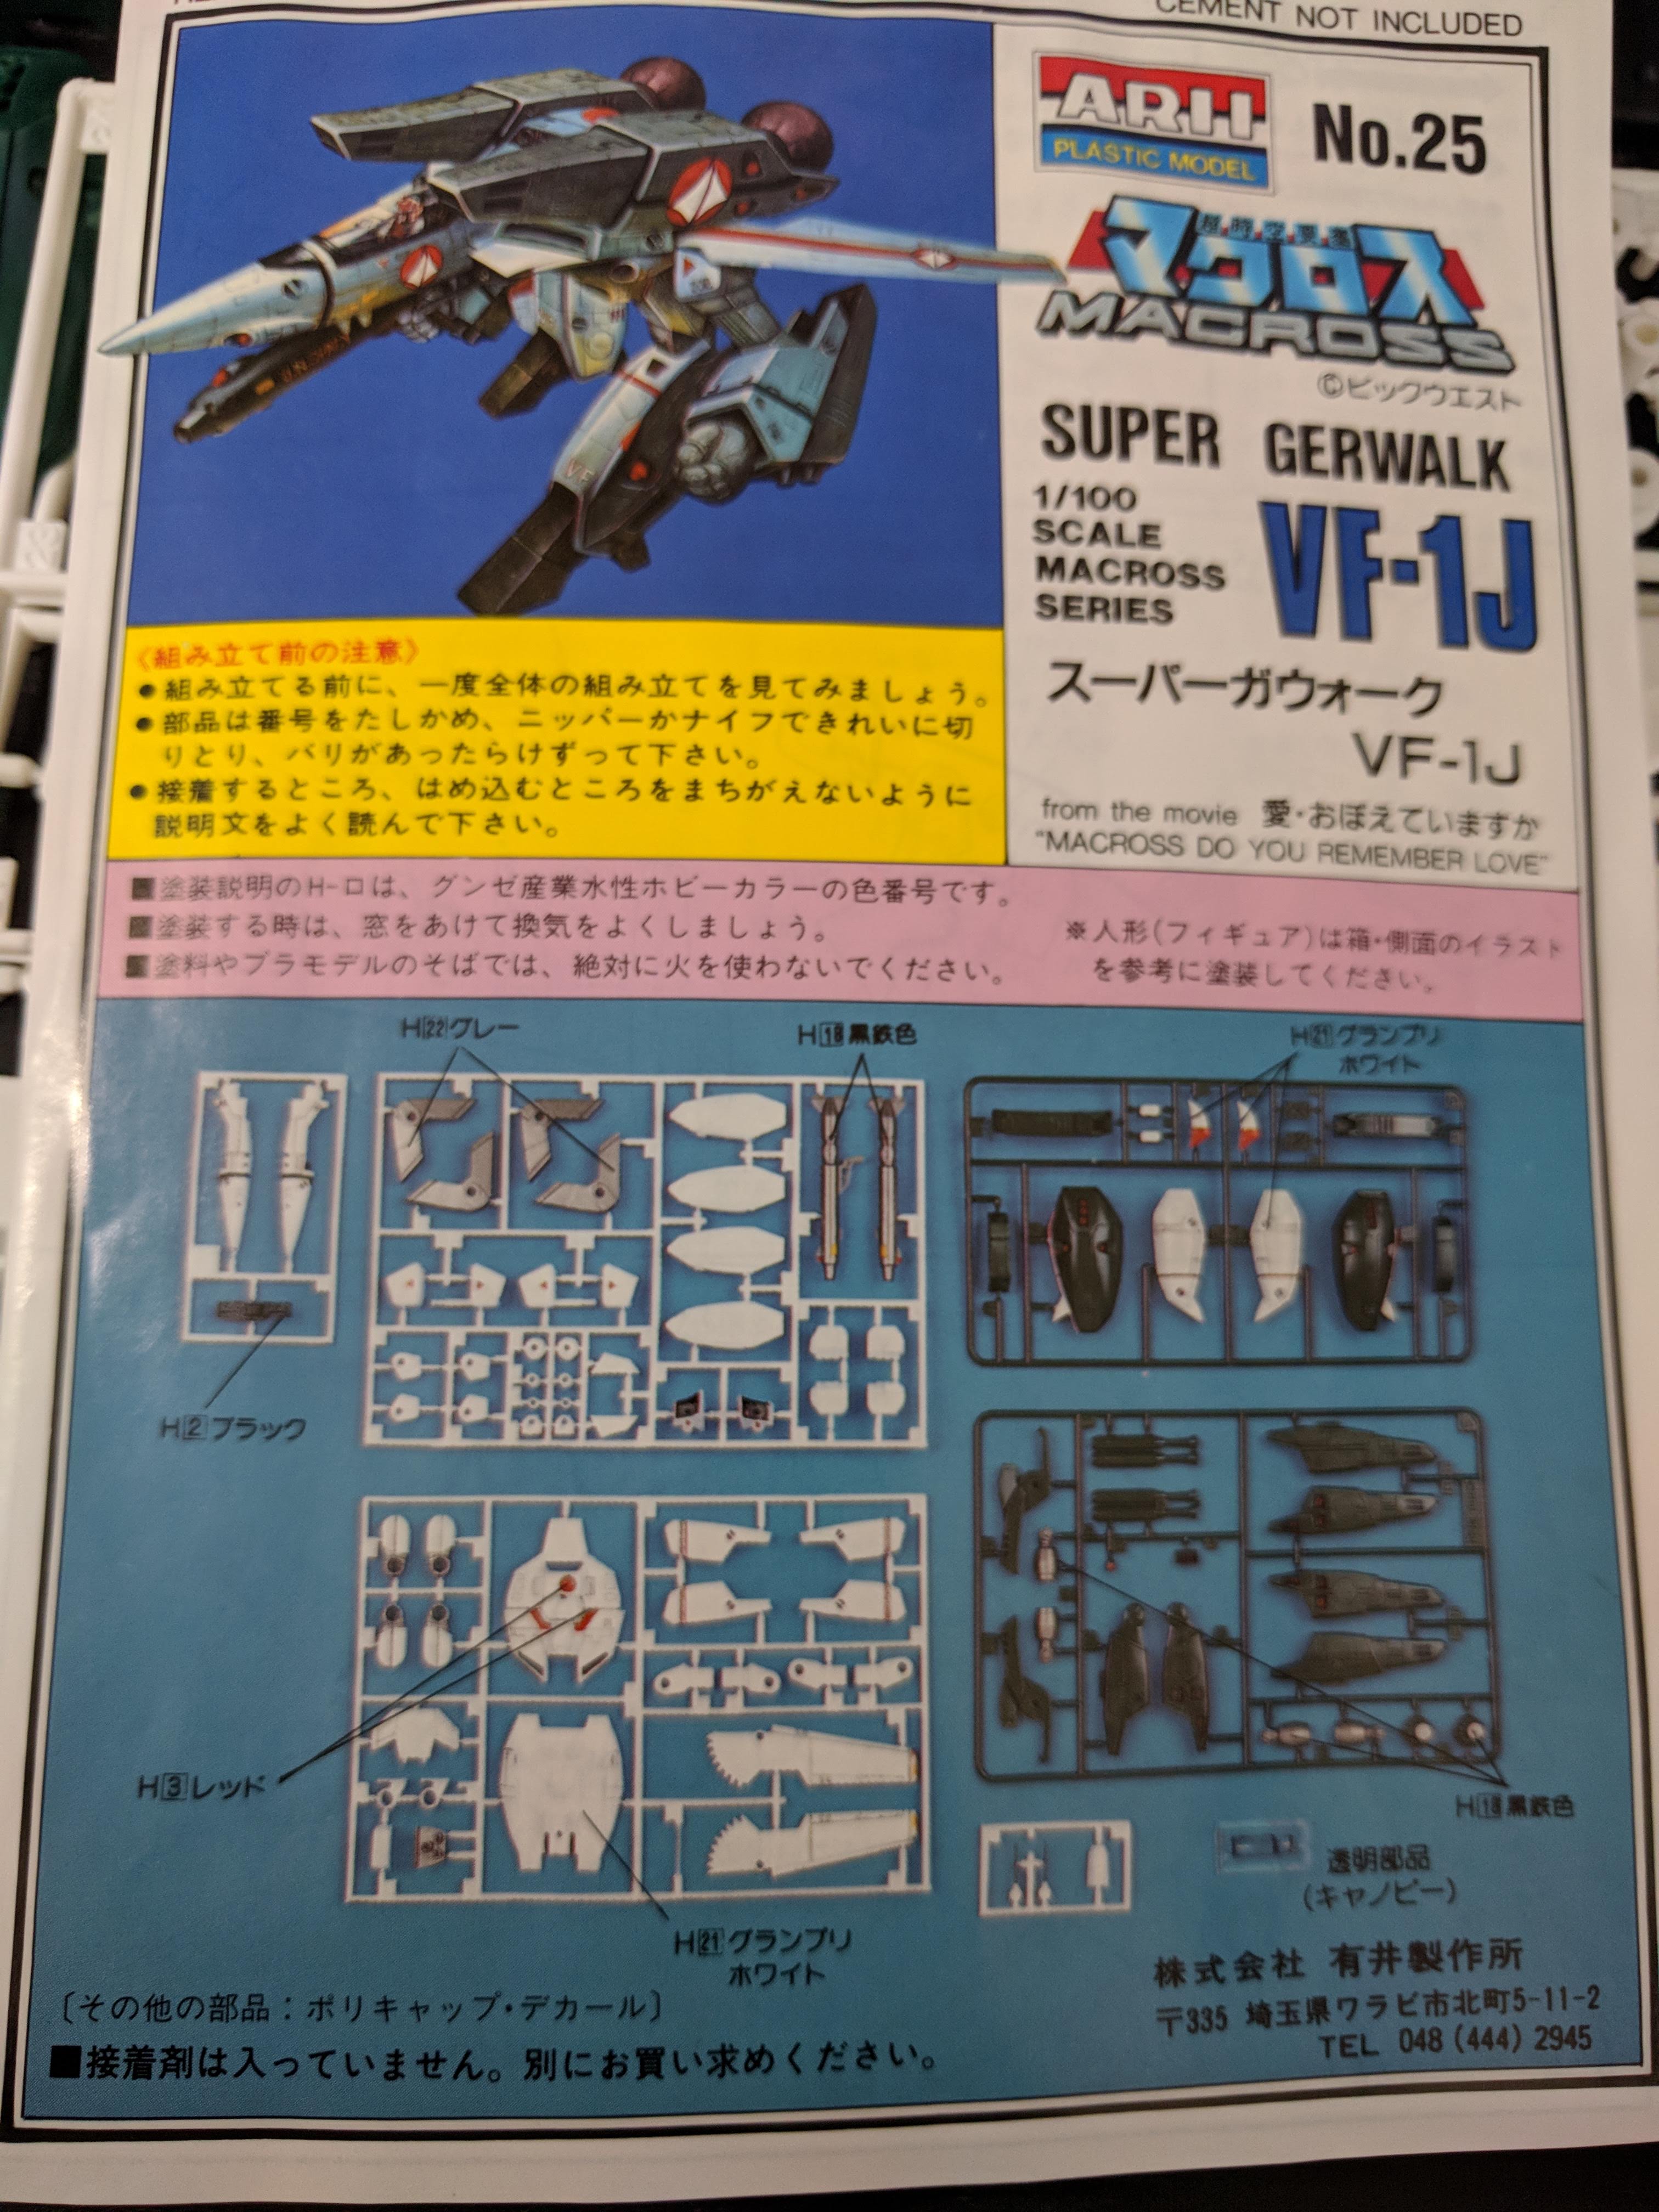
To make sure your first diorama journey is doomed before it even begins, make sure you choose an off-brand model kit. Most gunpla kits snap together effortlessly and do not require any glue. We don’t want that. The model kit must fit weirdly together and be held mostly by glue. This assures that you spend more money on model kit glue, in my case contact cement, and time waiting for it to dry.
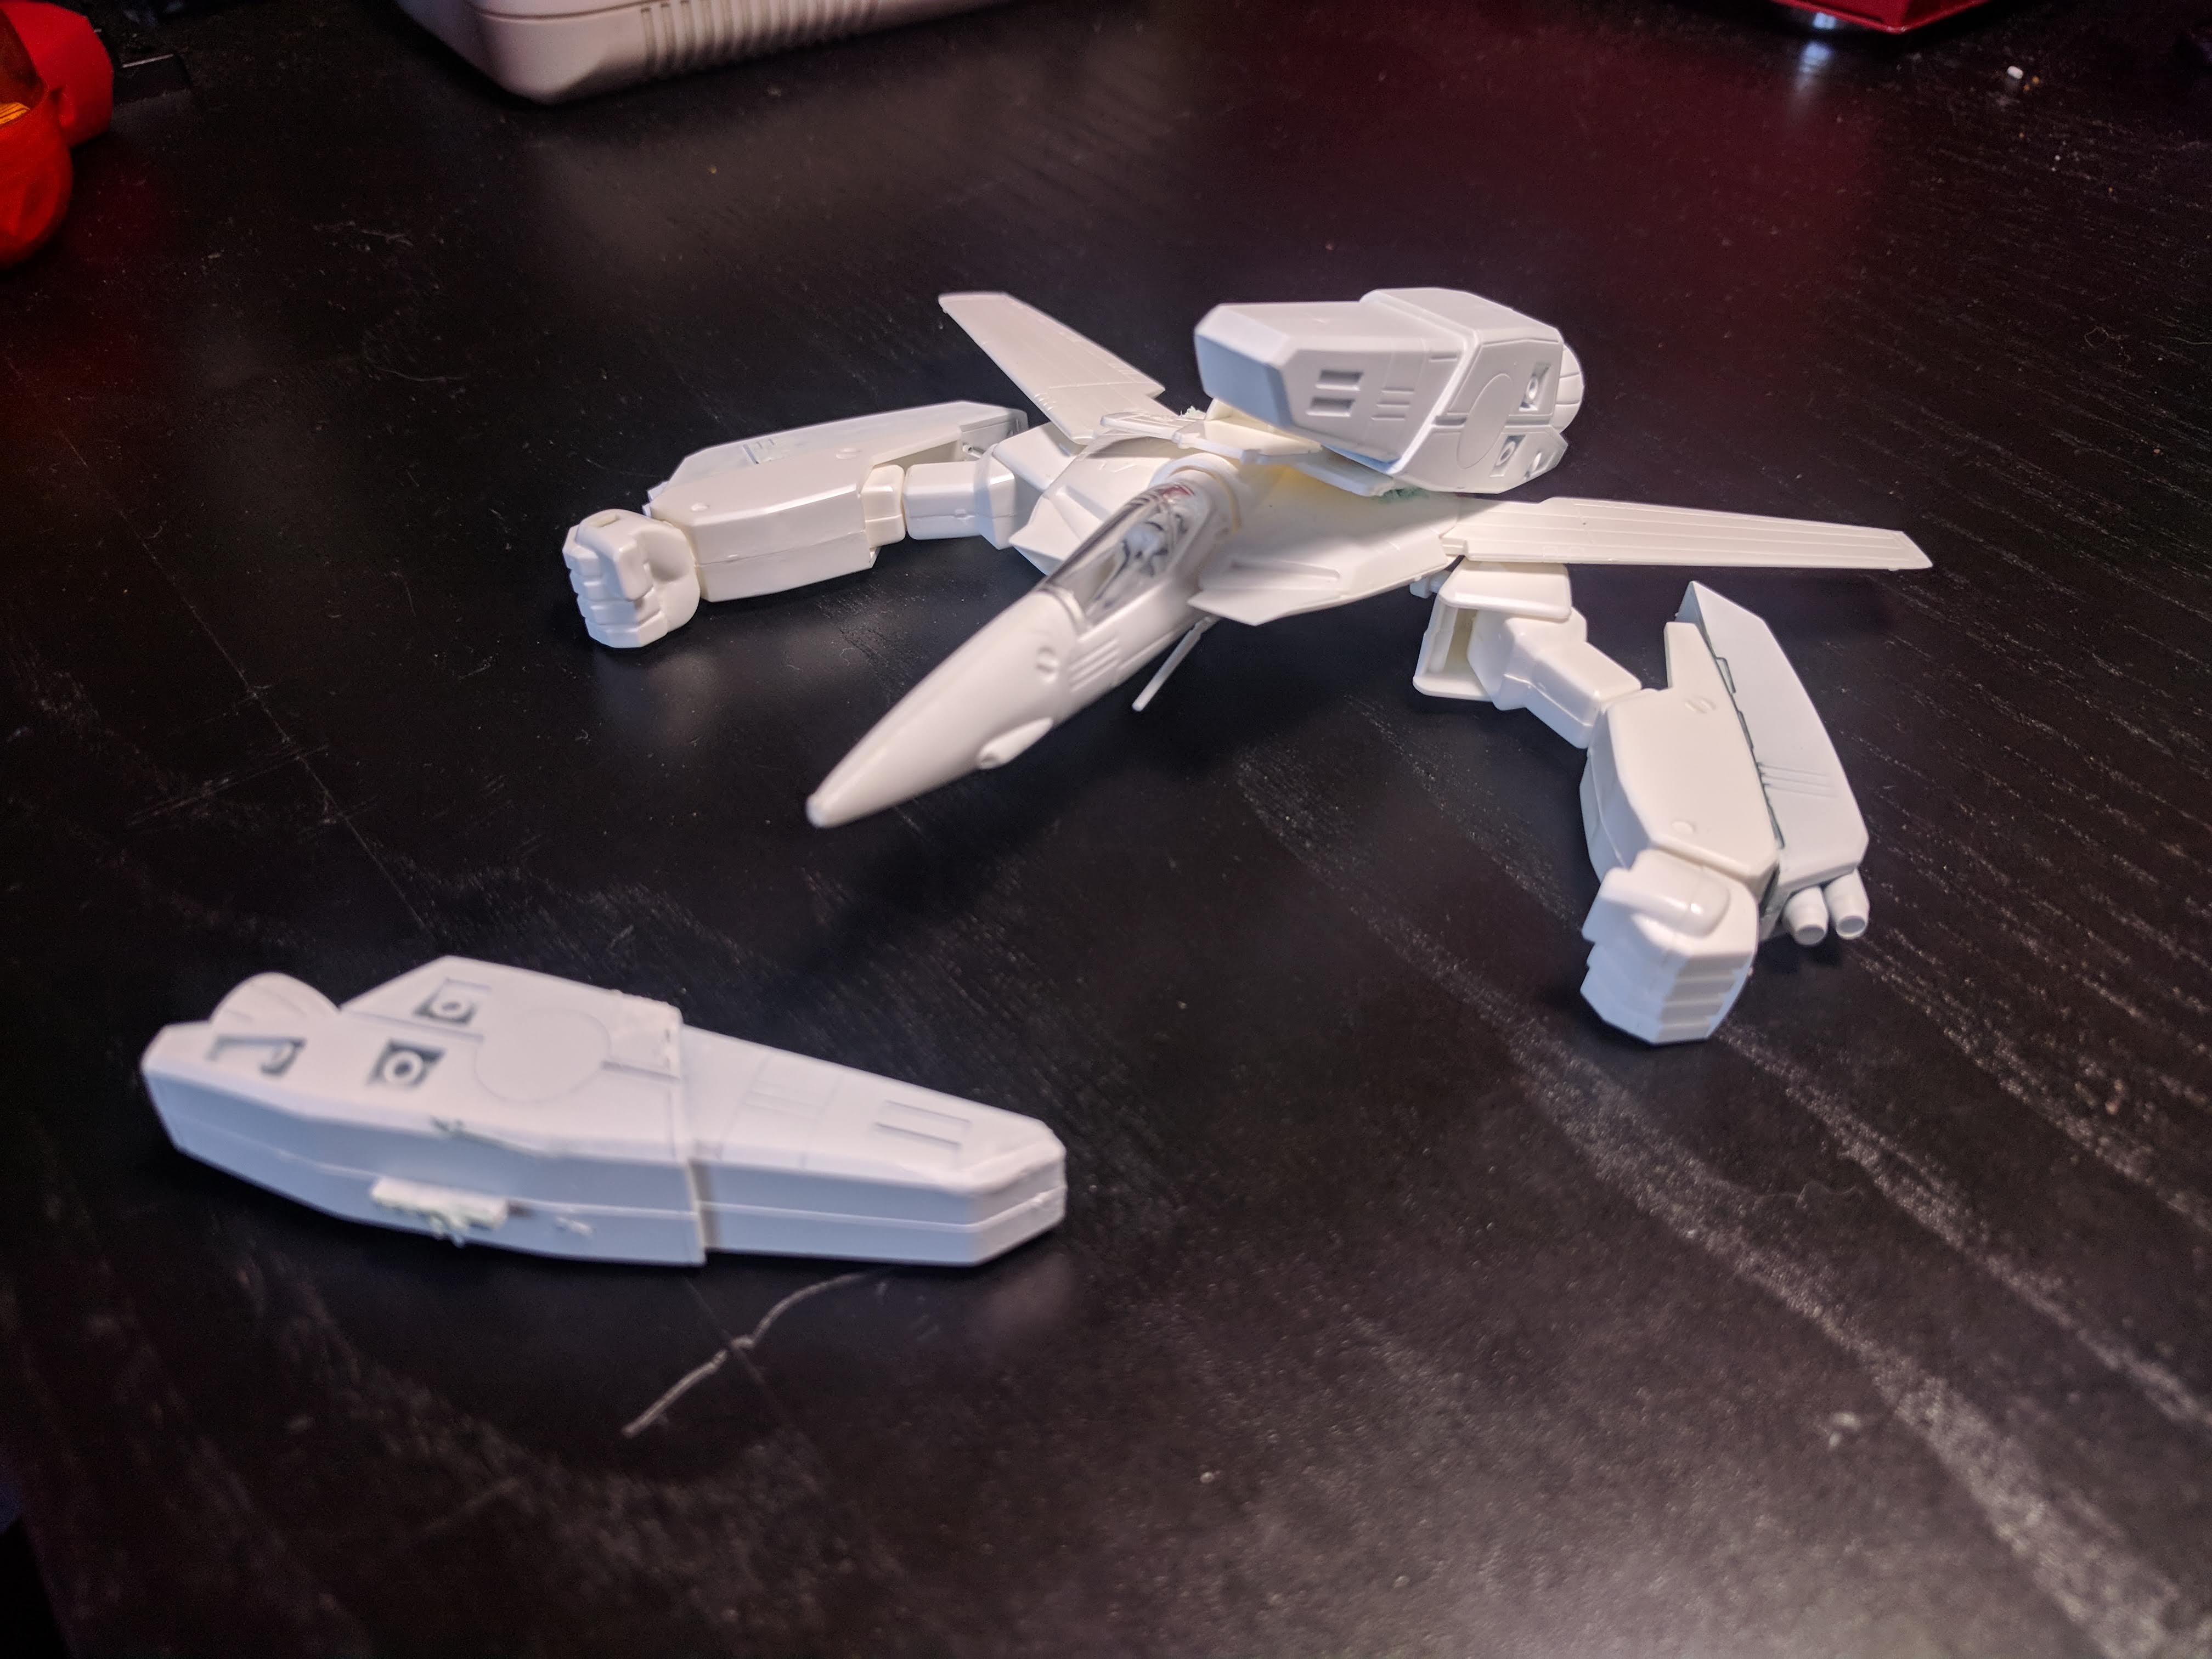
STEP 2: Do not sand the seams
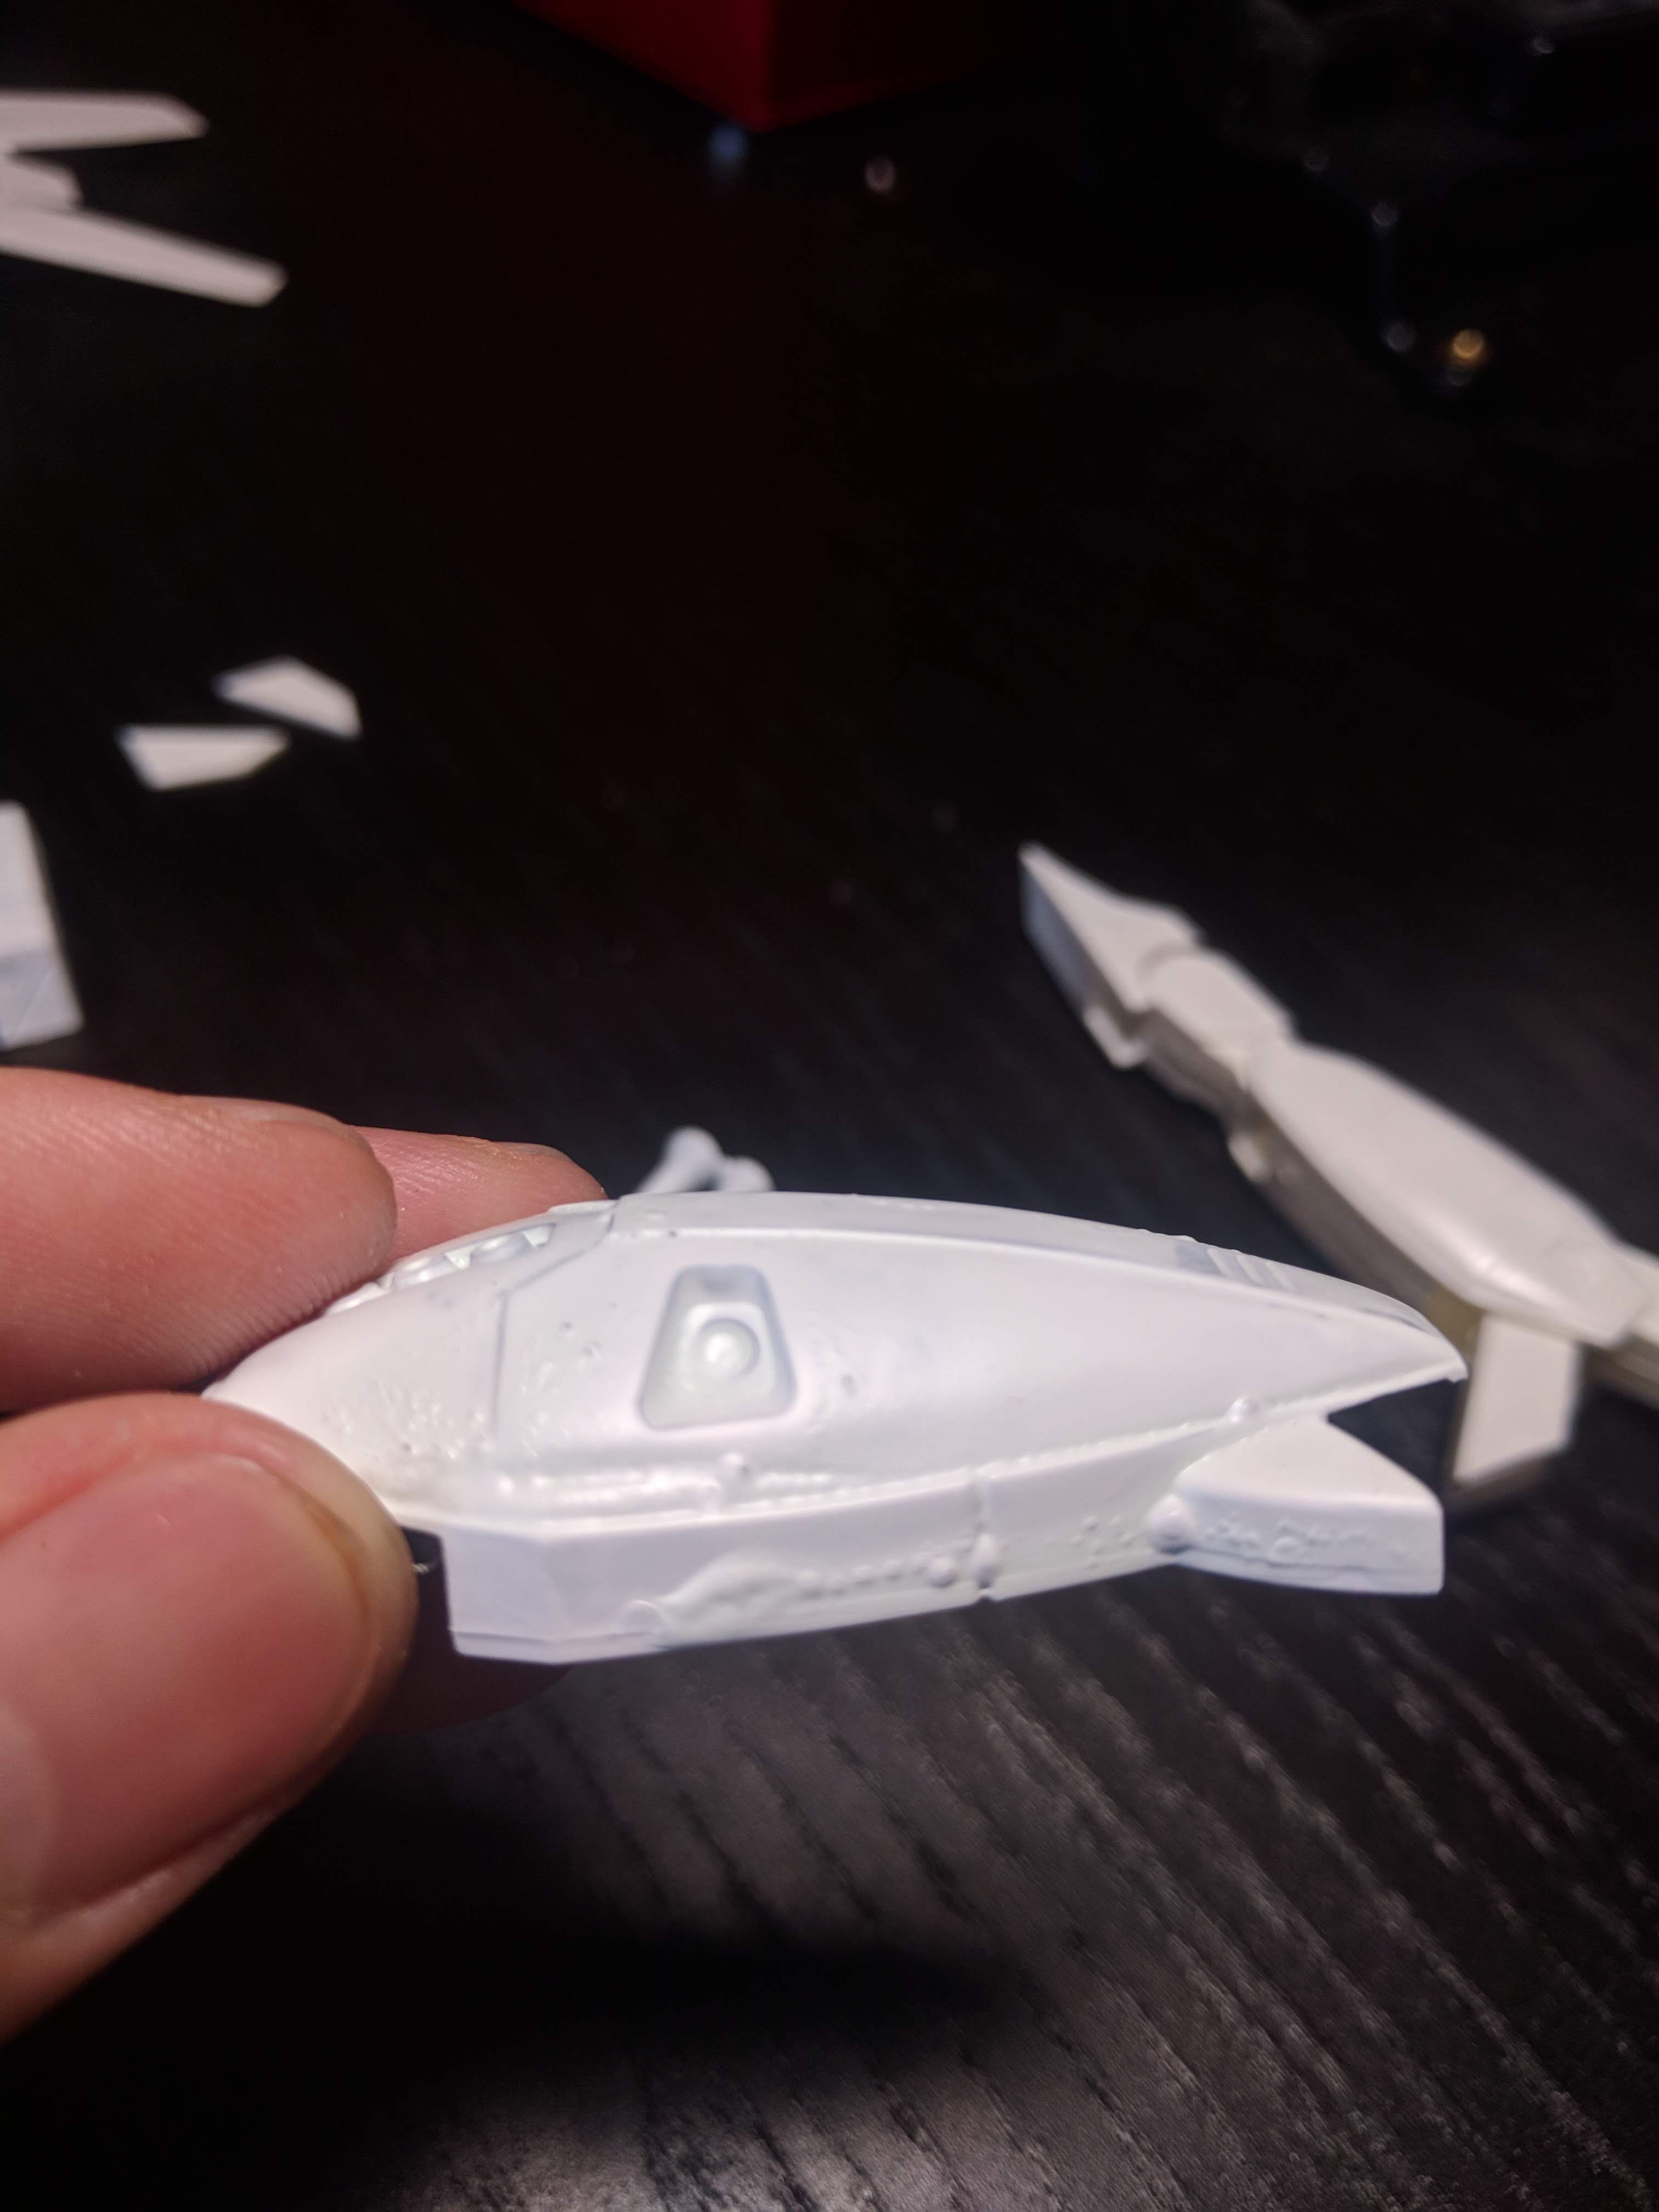
This step ensures that the final product looks amateurish due to the seam lines being visible. Most builders sand their models after joining the pieces together to prep it for paint and give the illusion of being a single piece. Again, we don’t want that. So just keep the ugly looking sprues and seams totally visible.
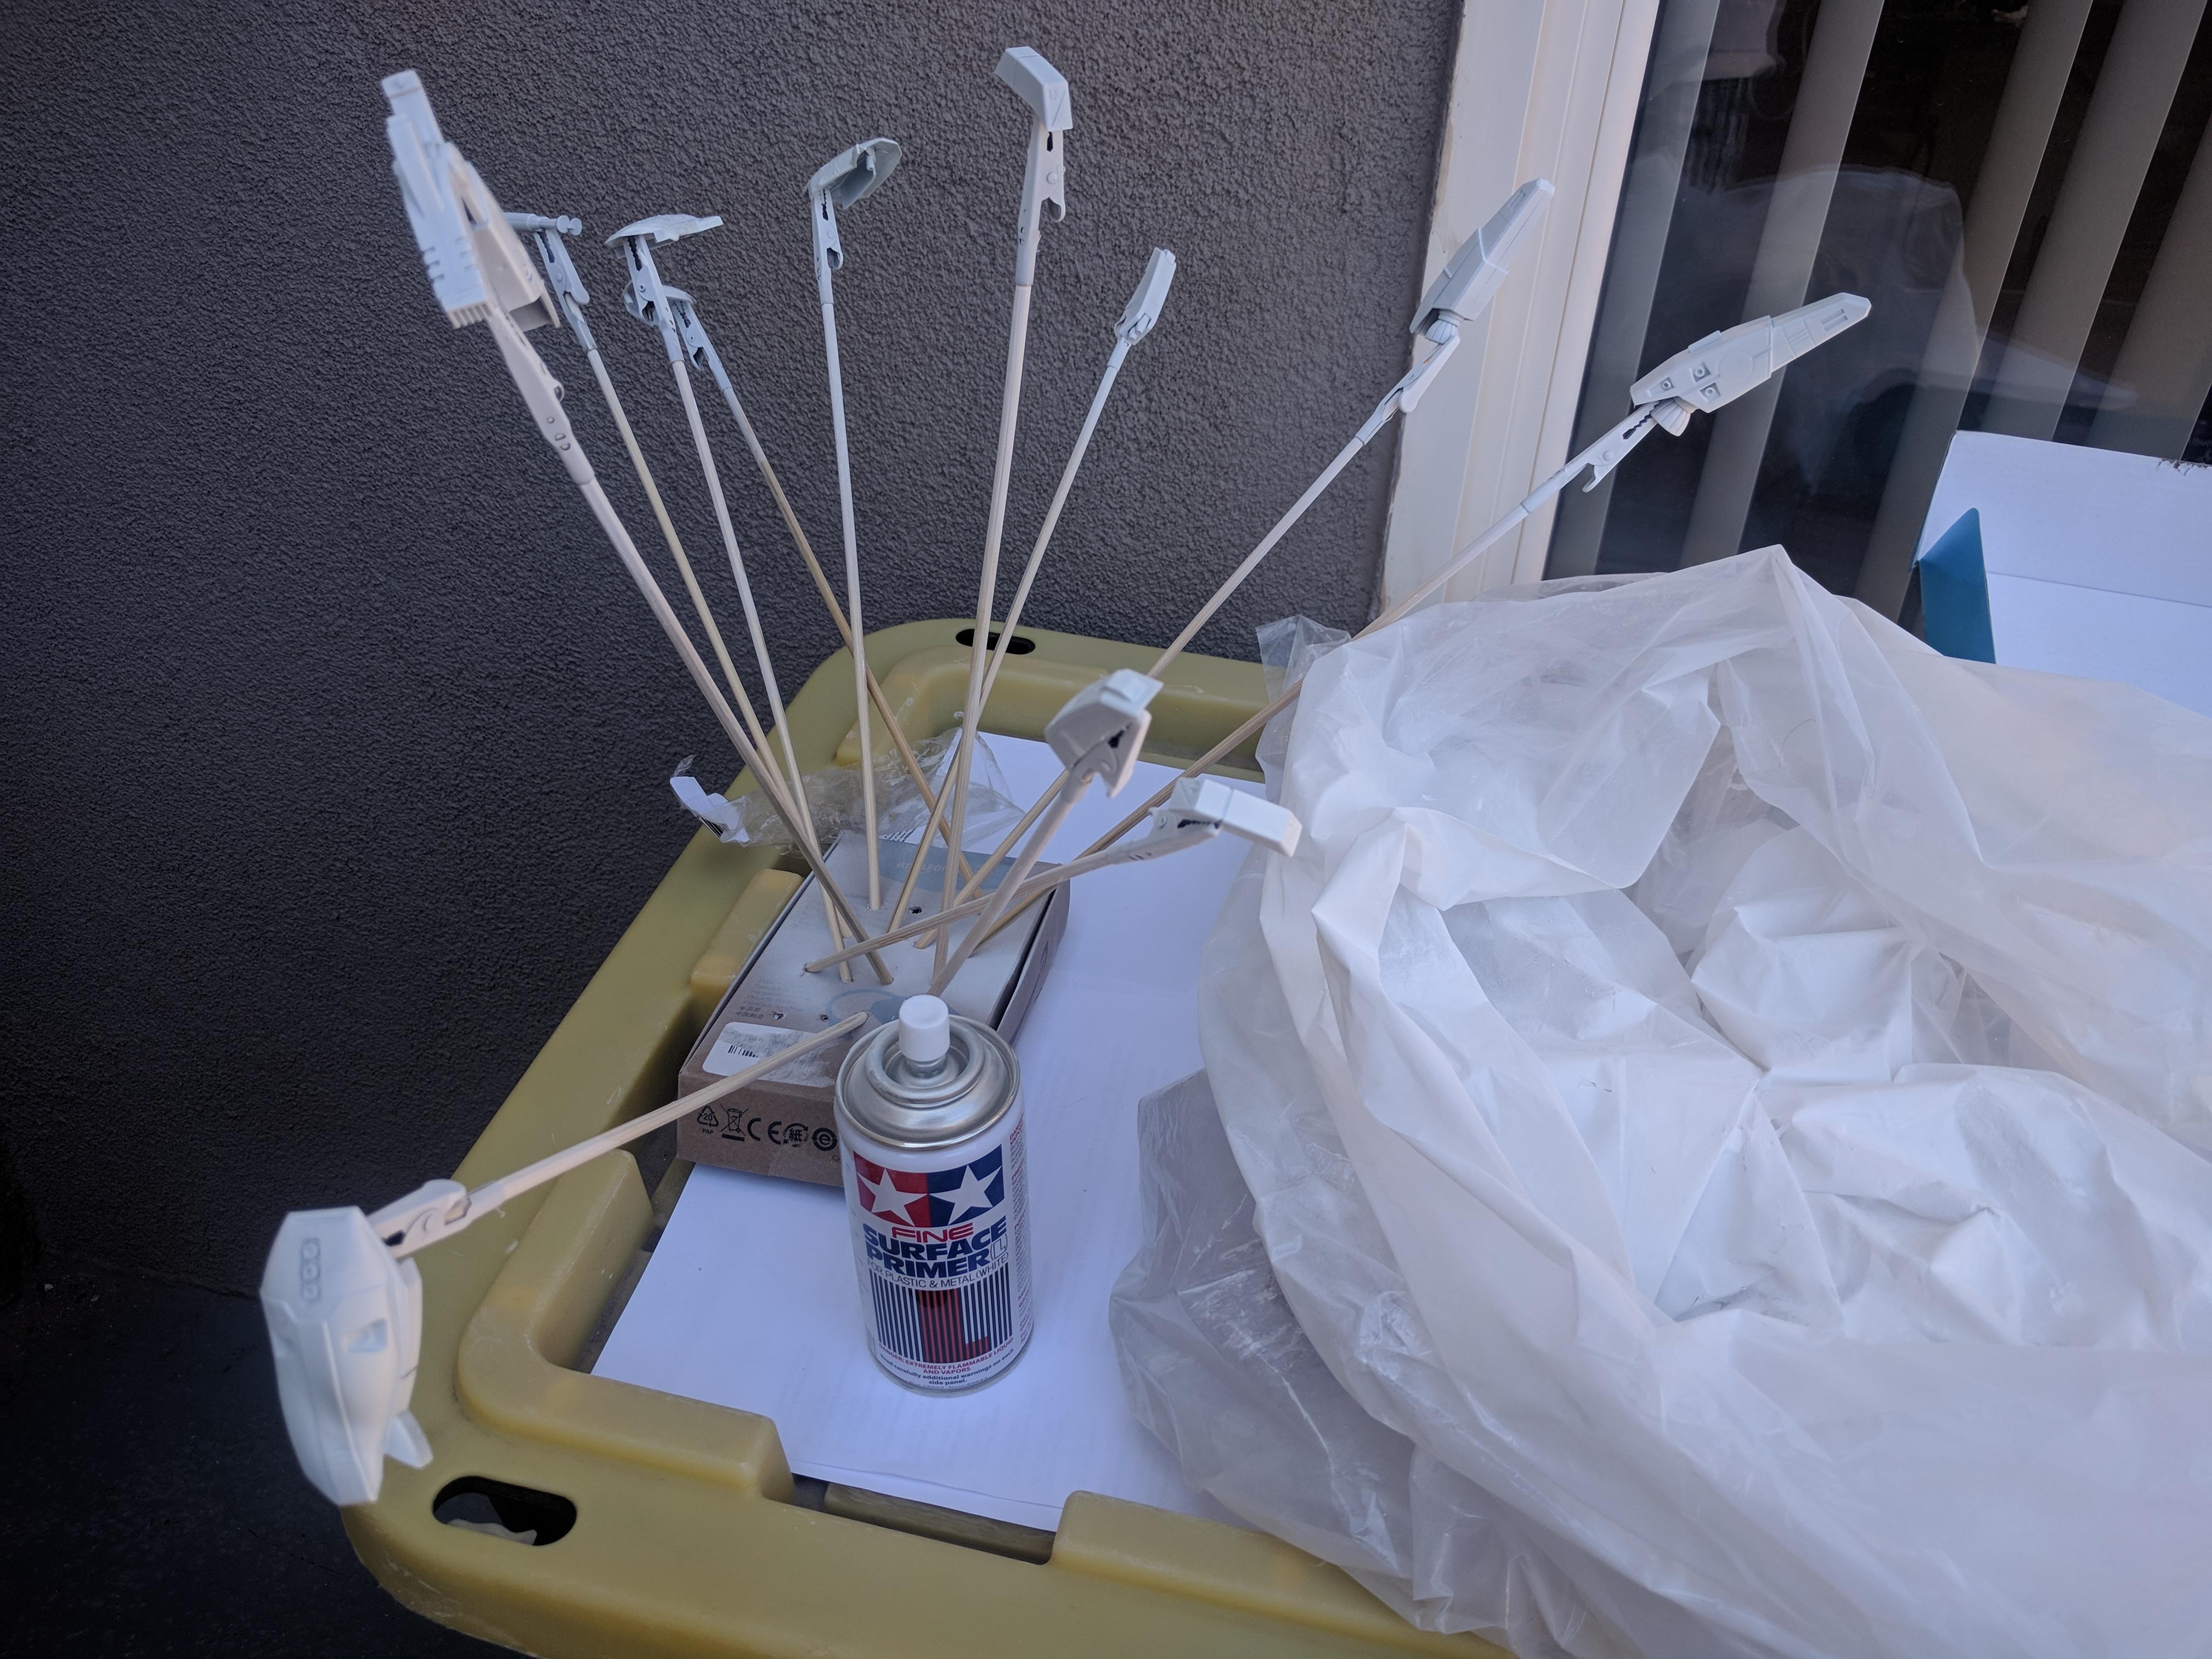
STEP 3: Prepare your DIY painting materials
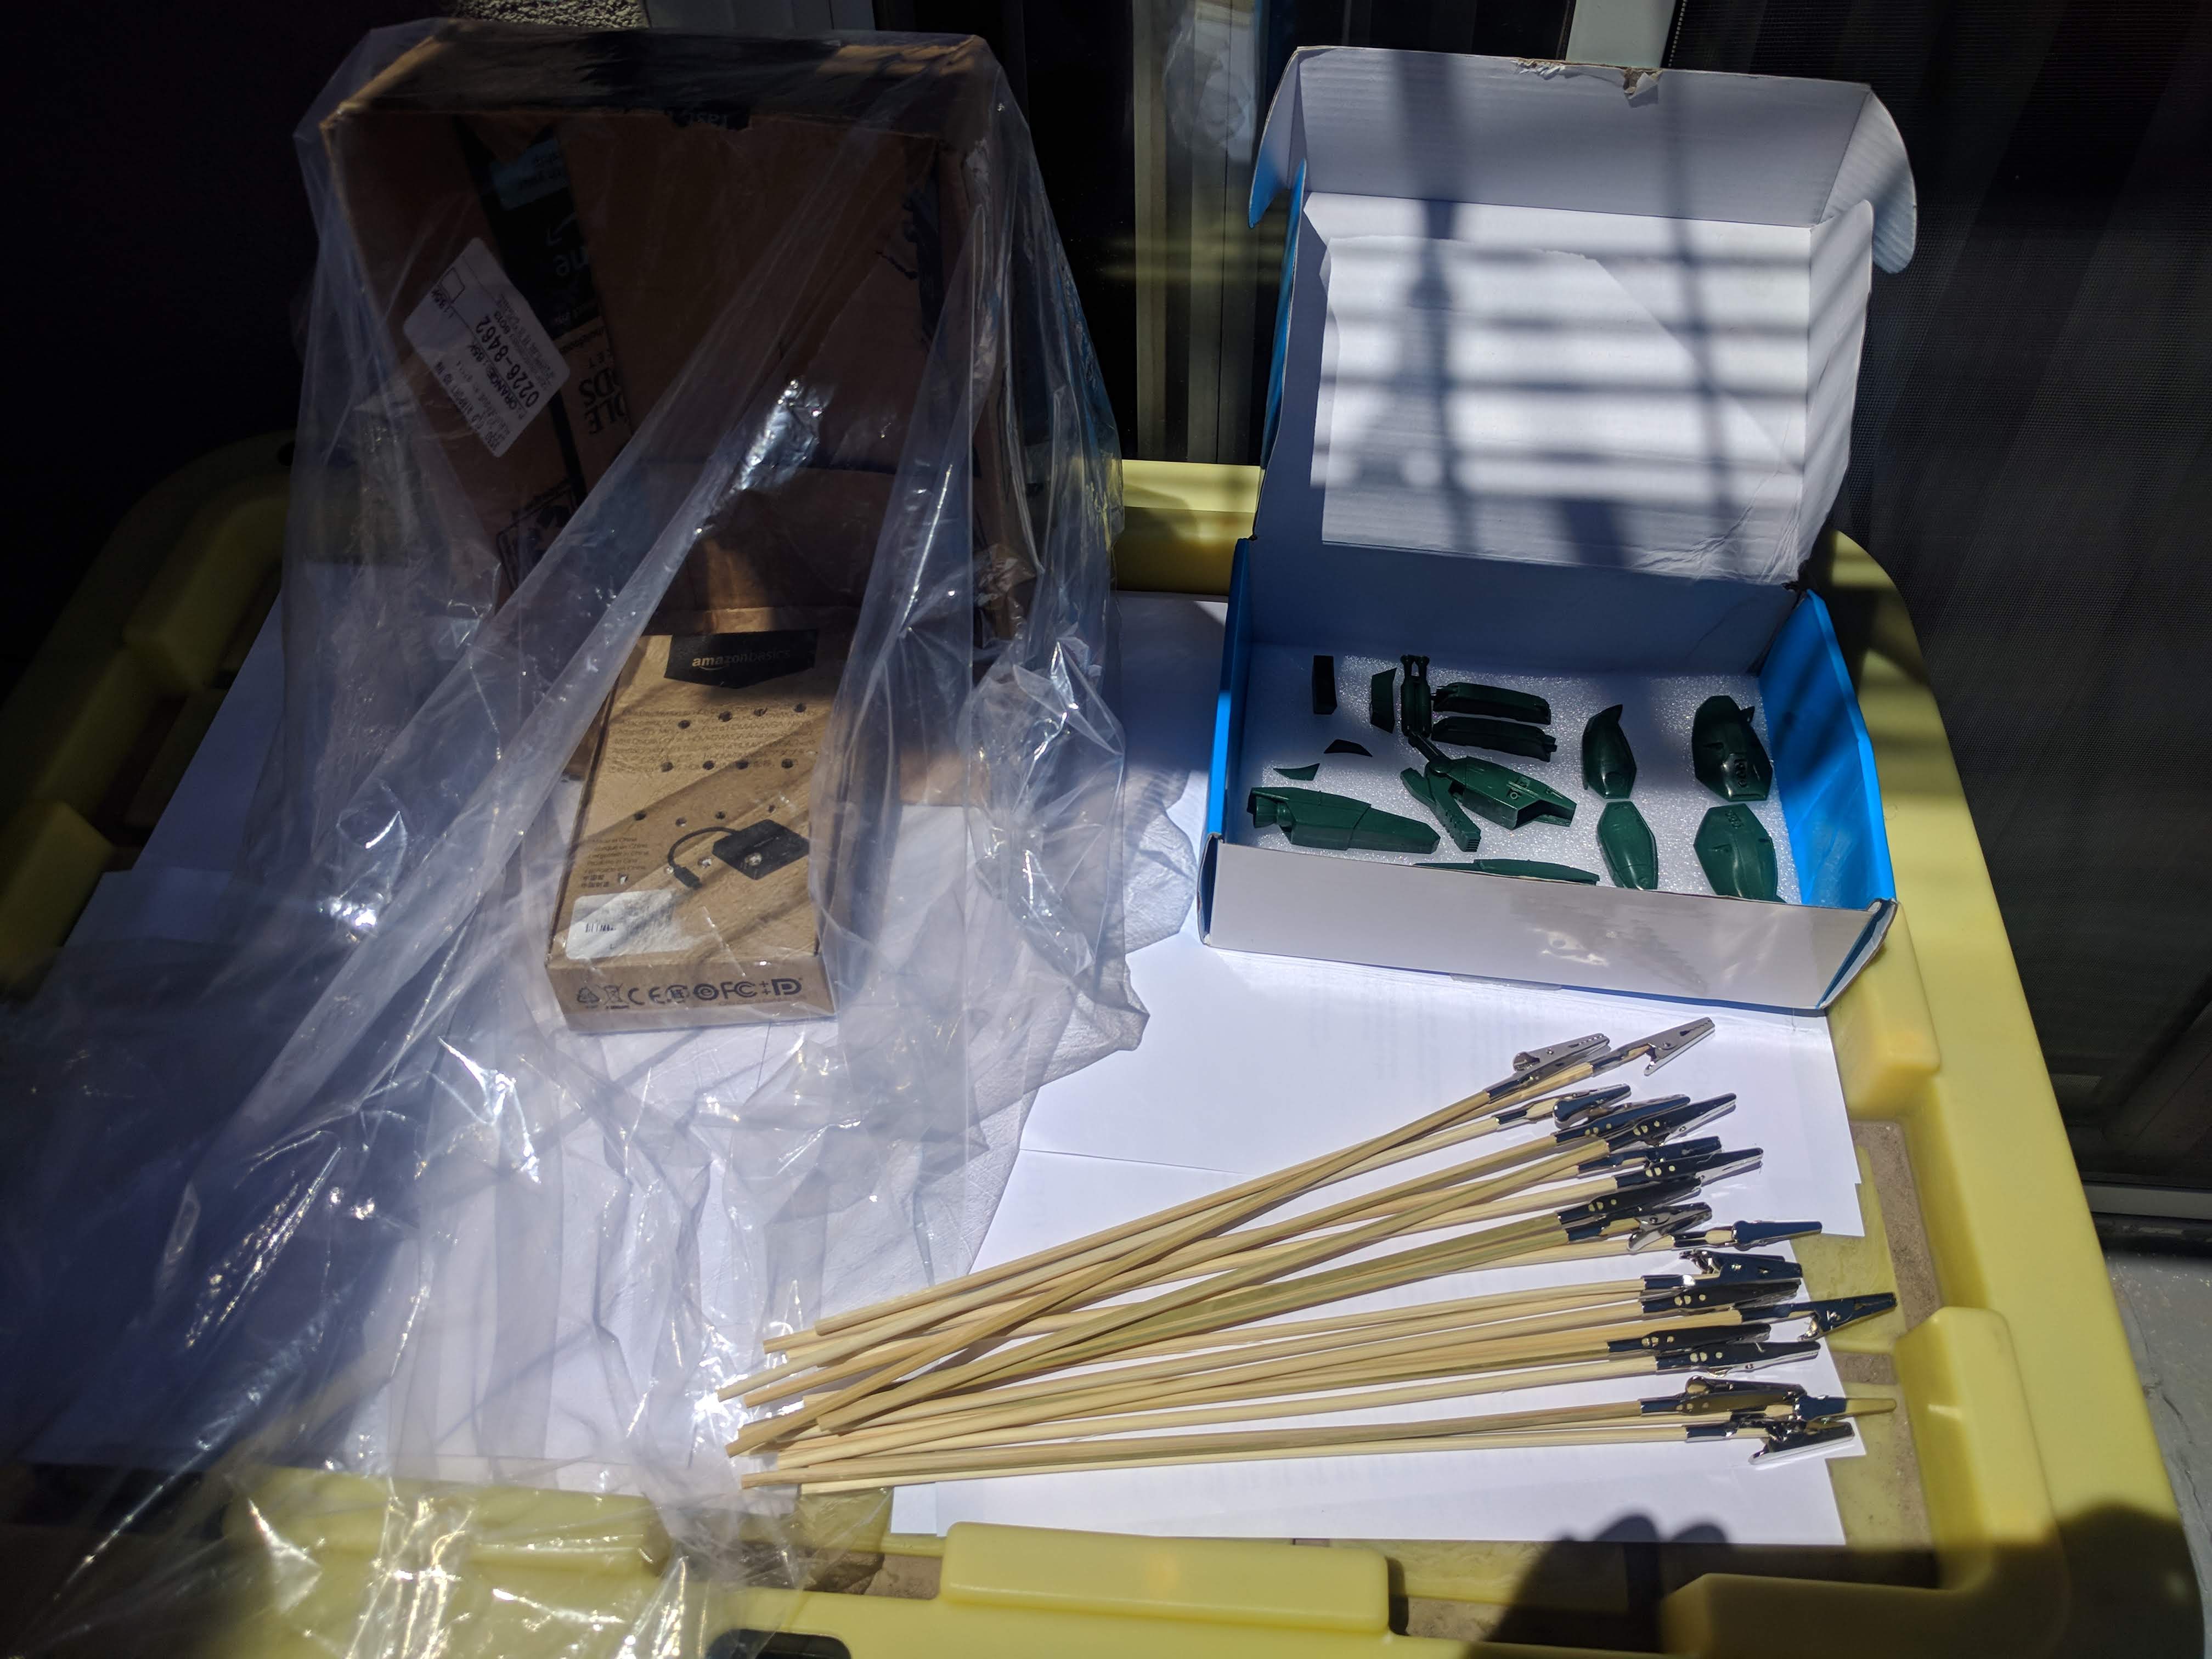
To save money, buy skewers and alligator clamps separately. This ensures that you spend more time making your tools than painting your kit. The stand can be any random box. Just stick the skewers into the box when ready.
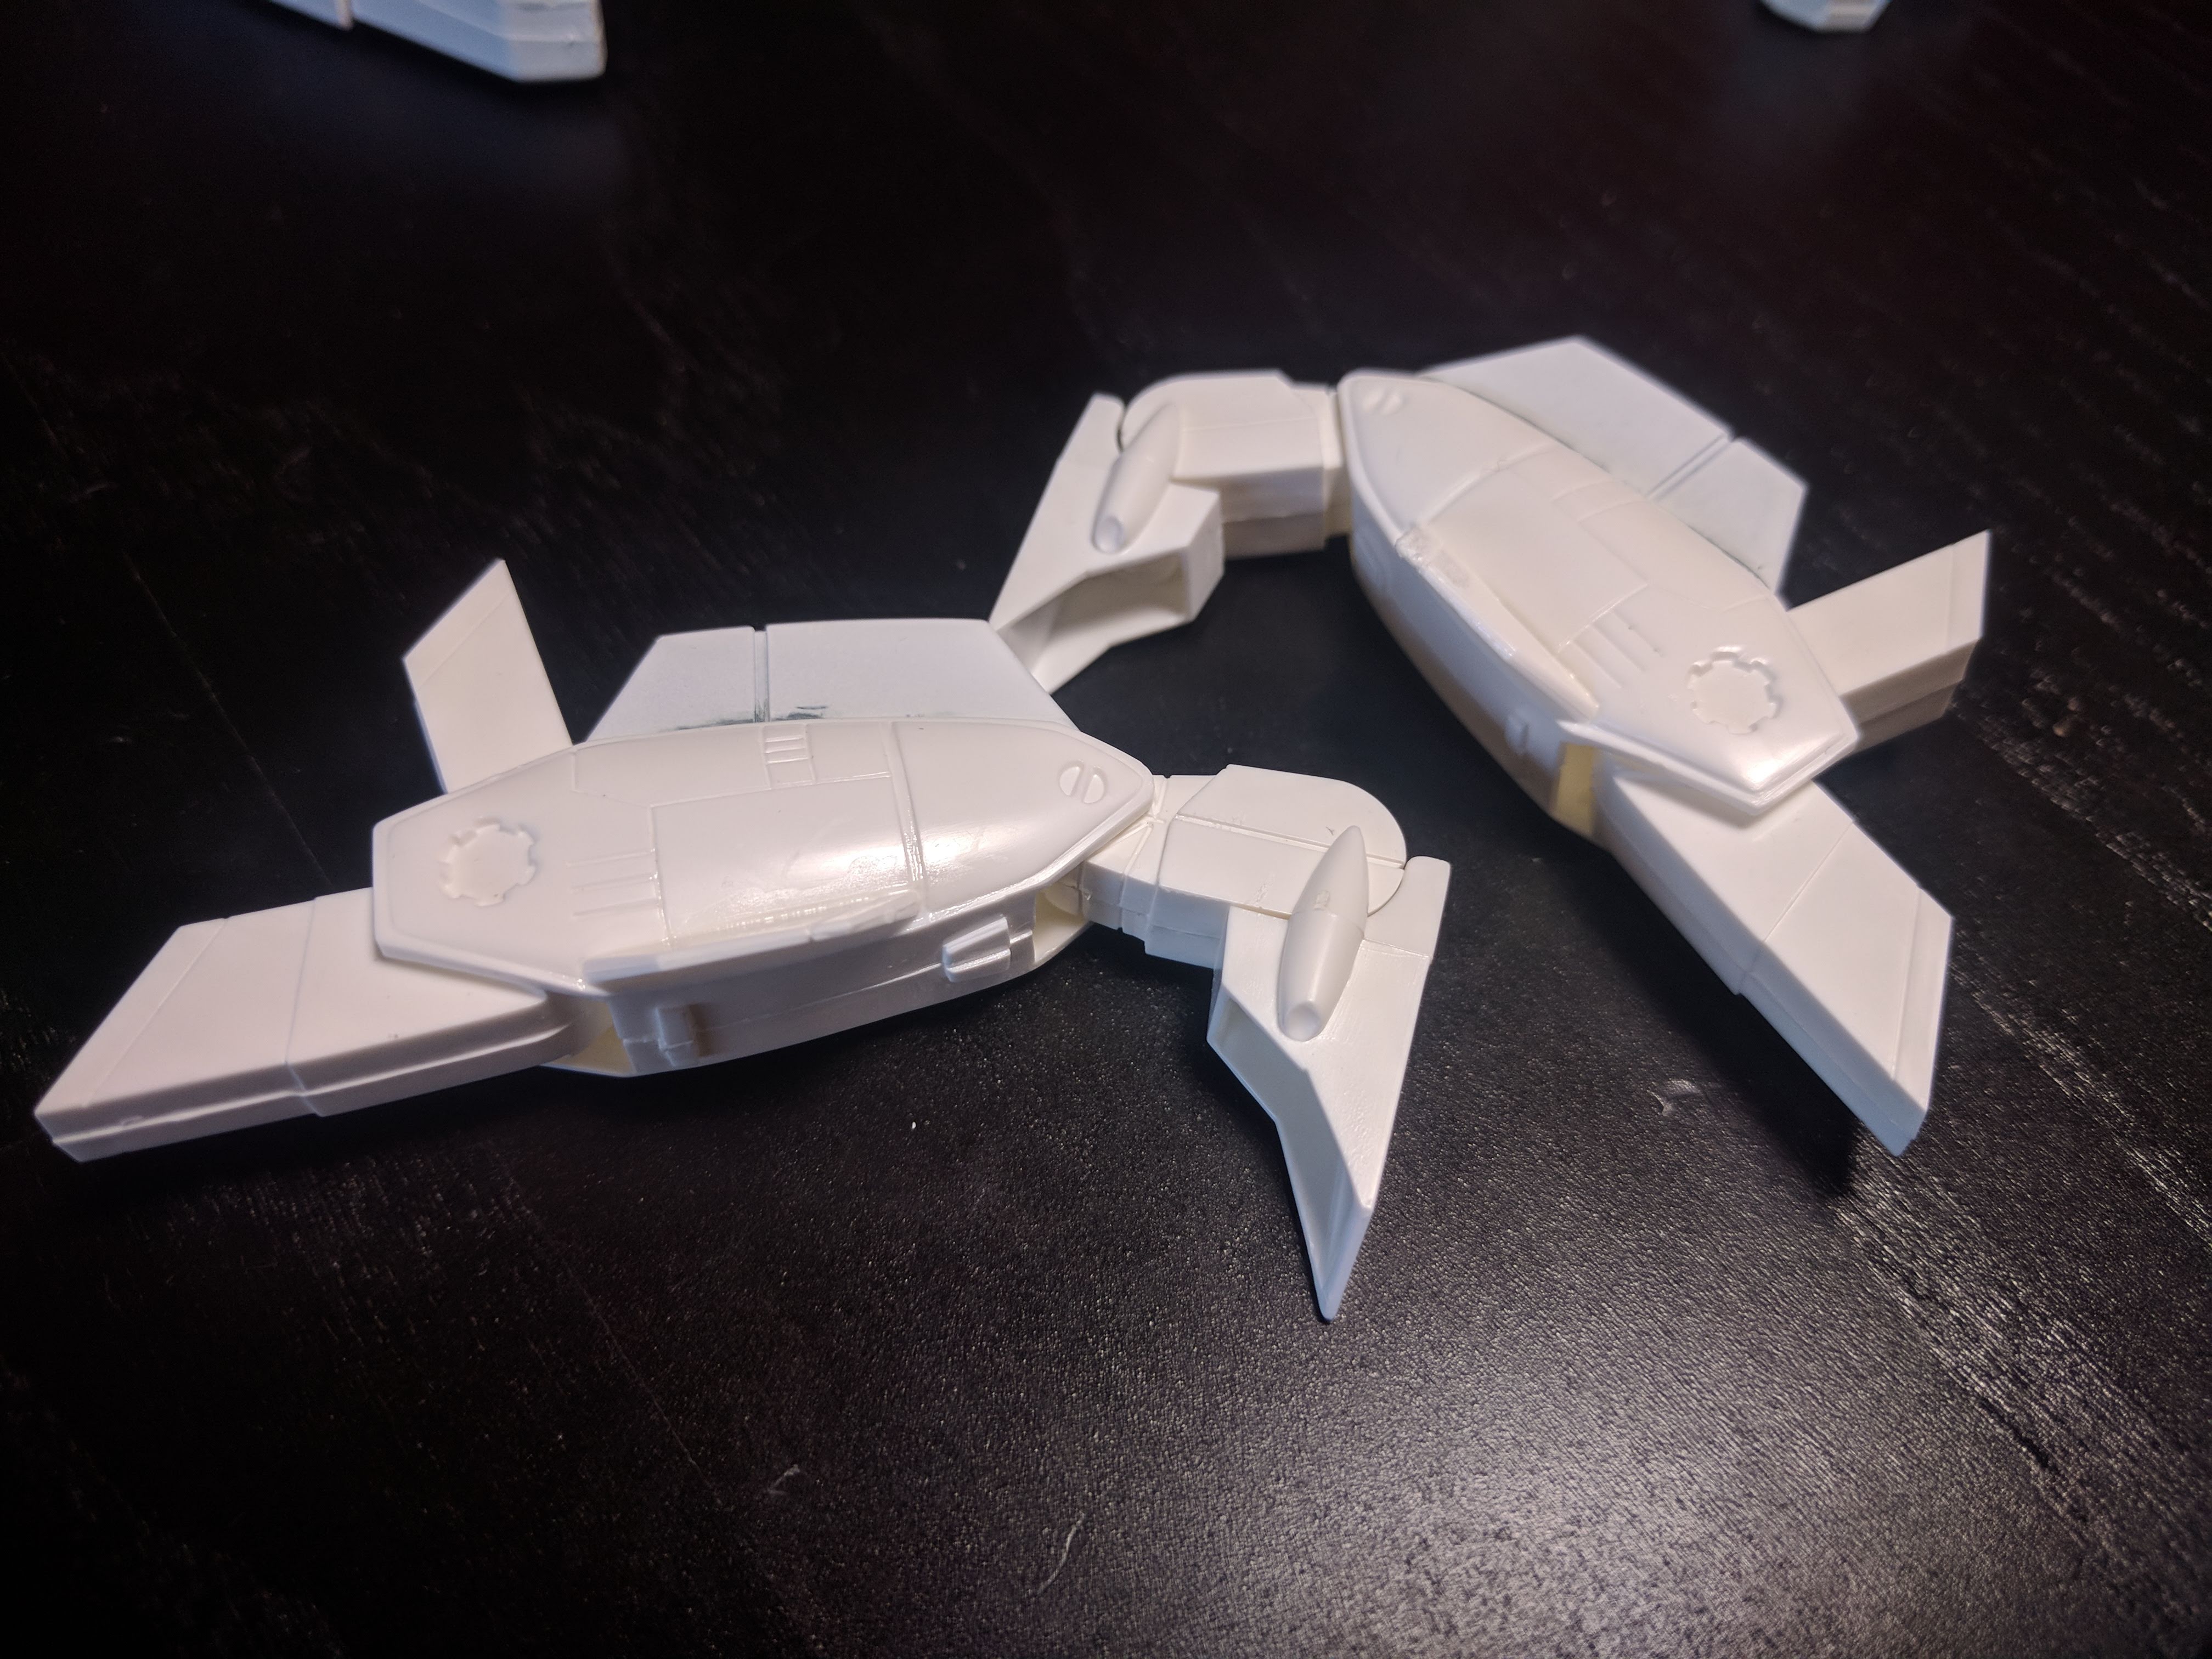
STEP 4: Paint the pieces inconsistently


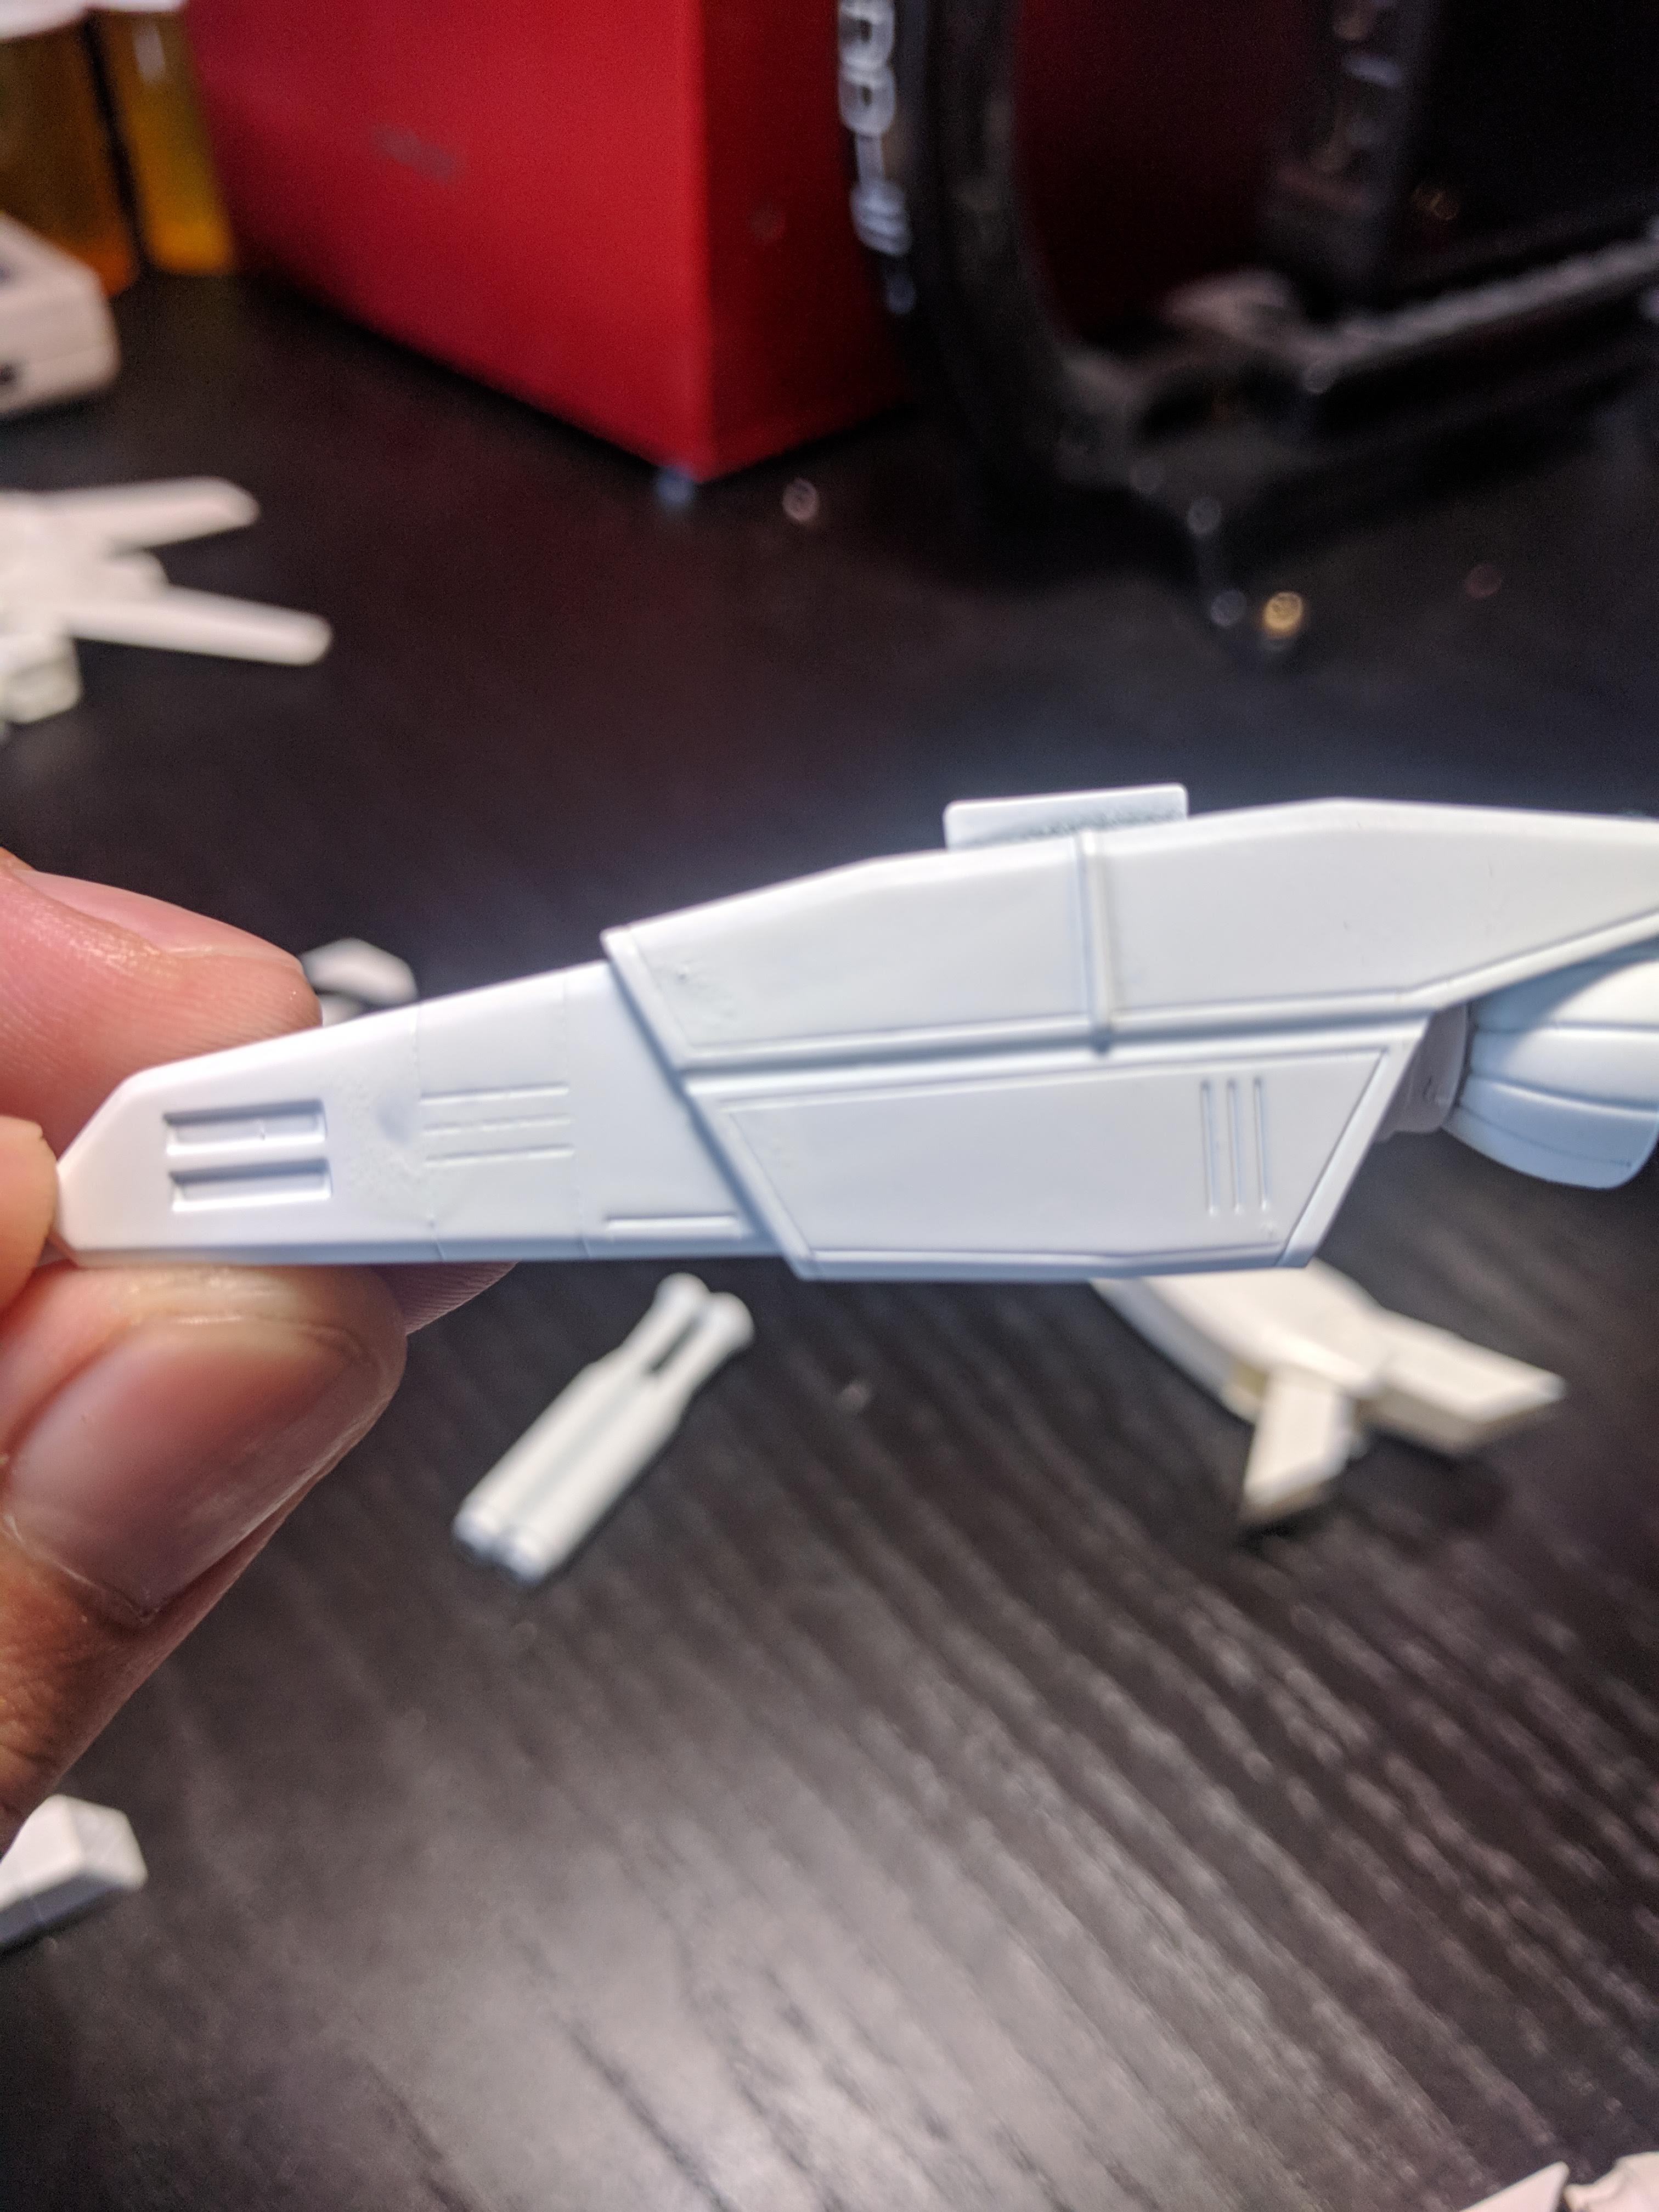
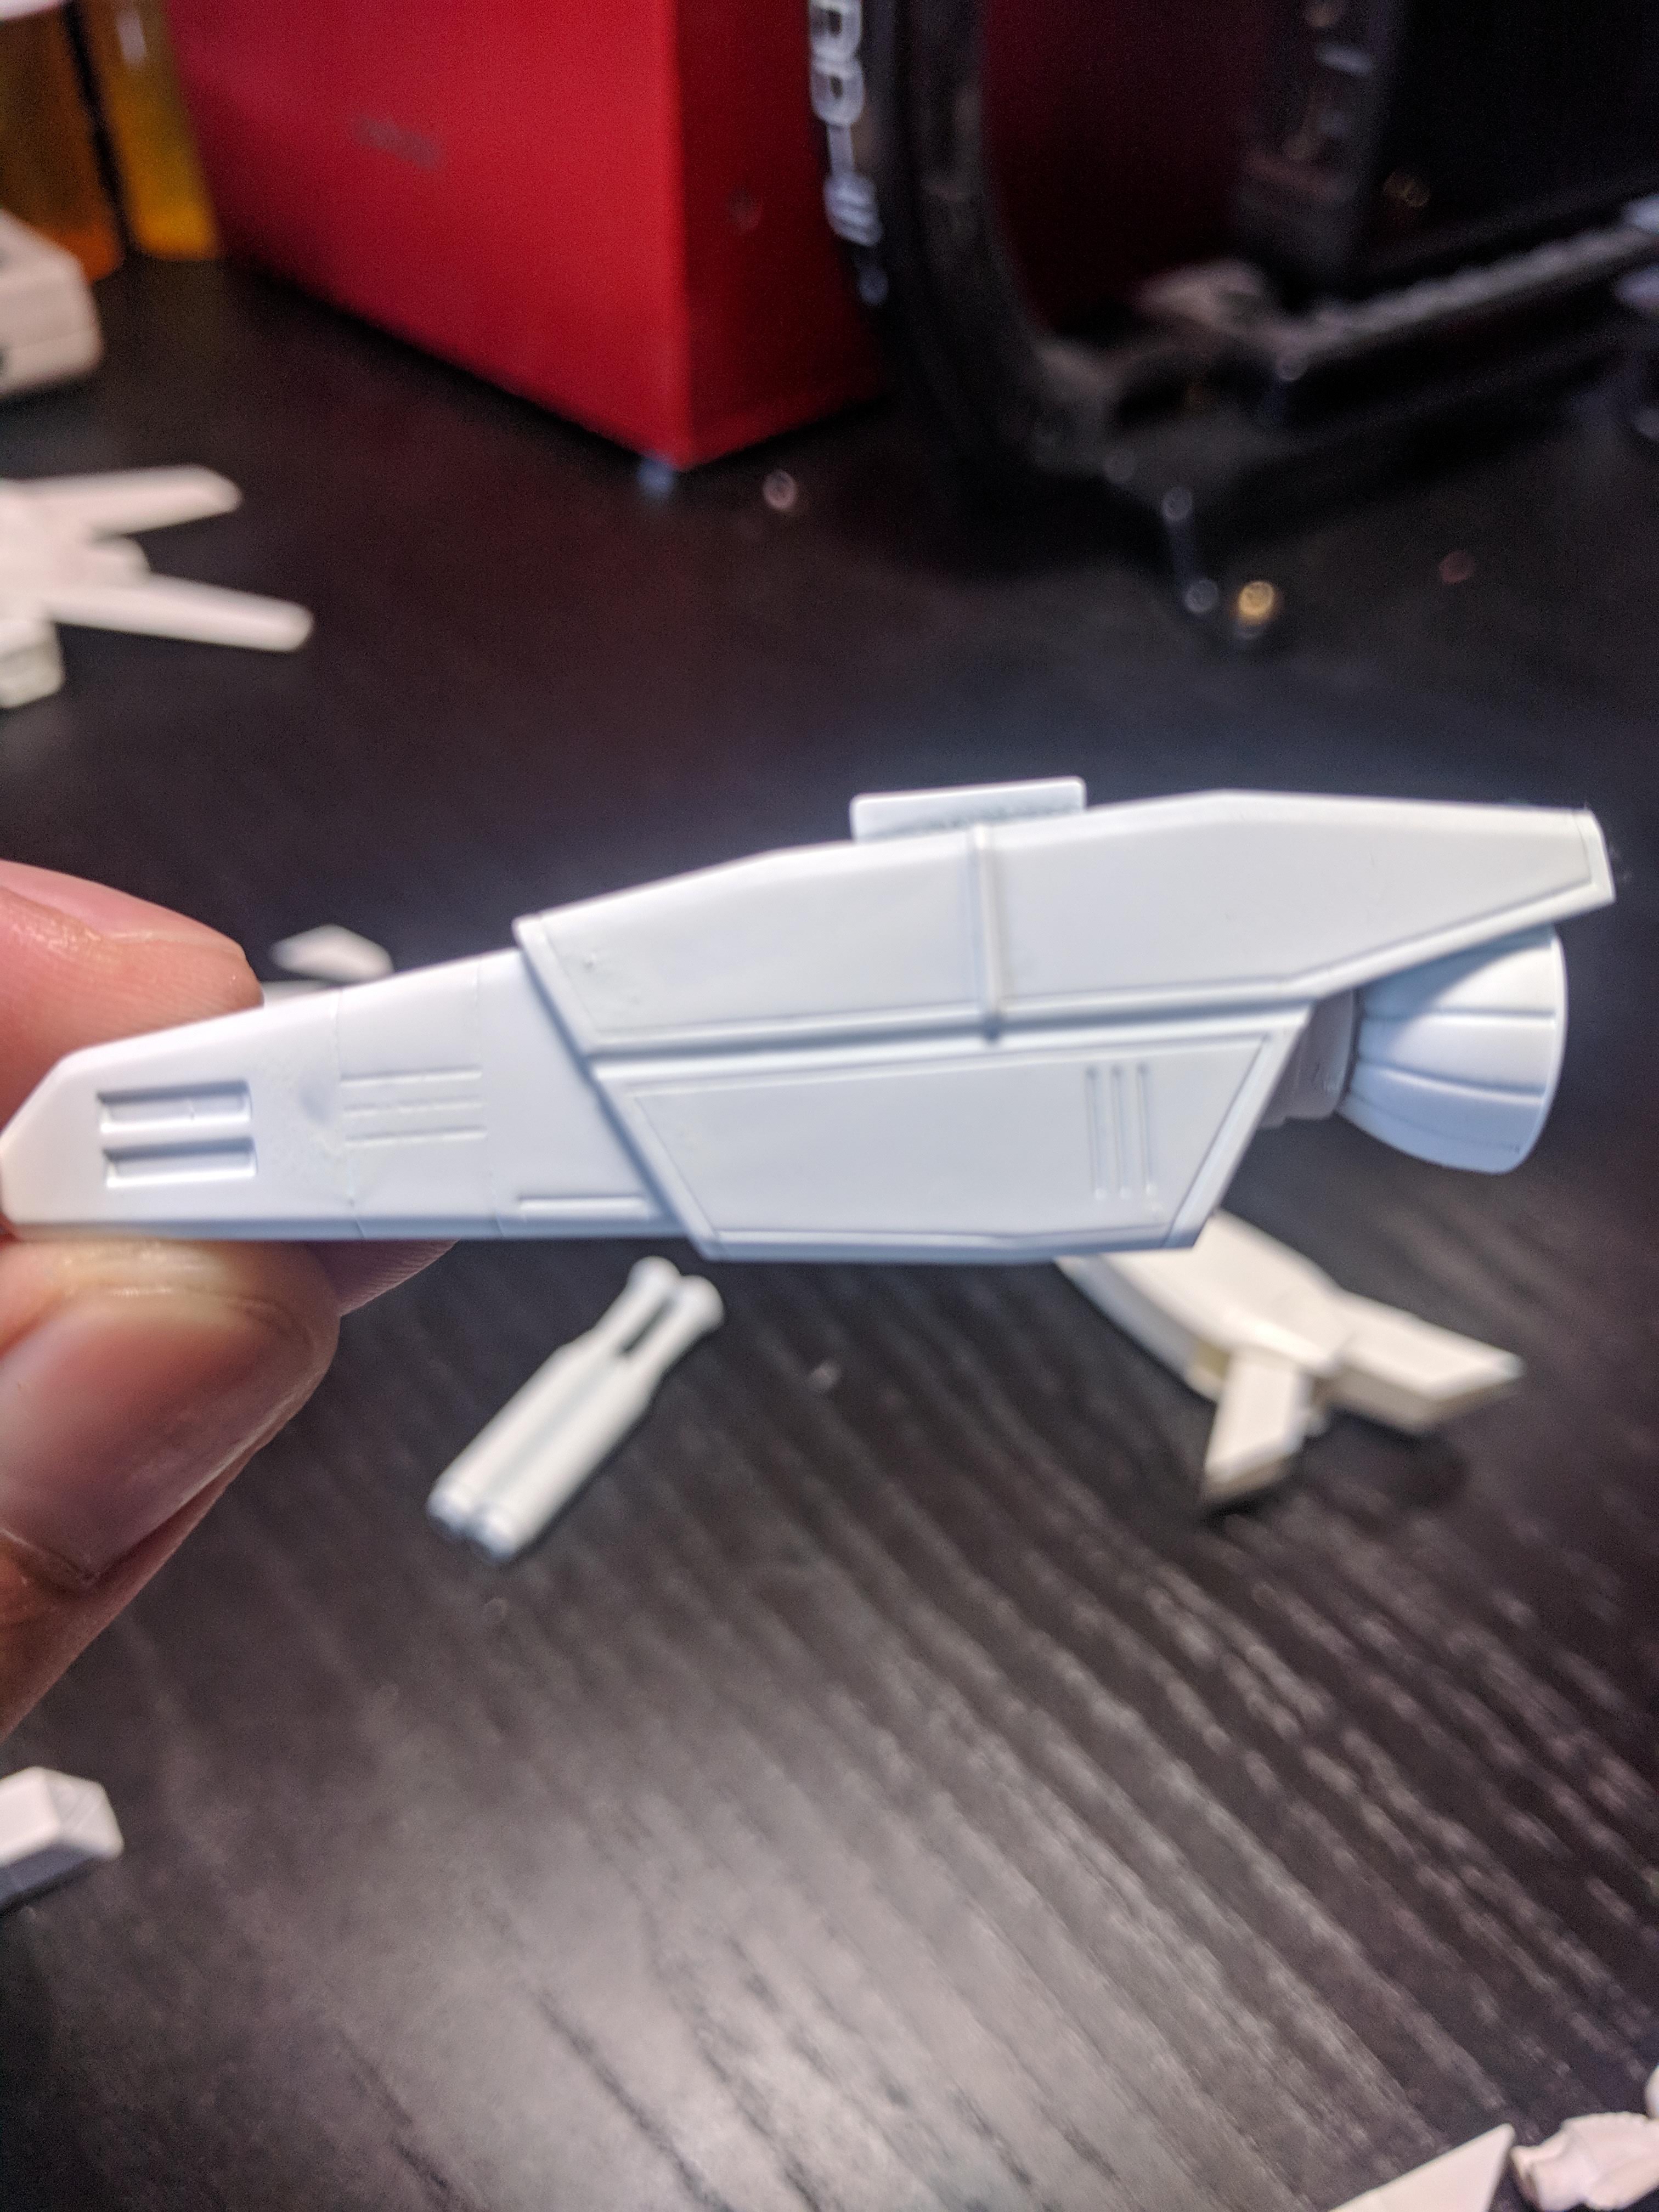


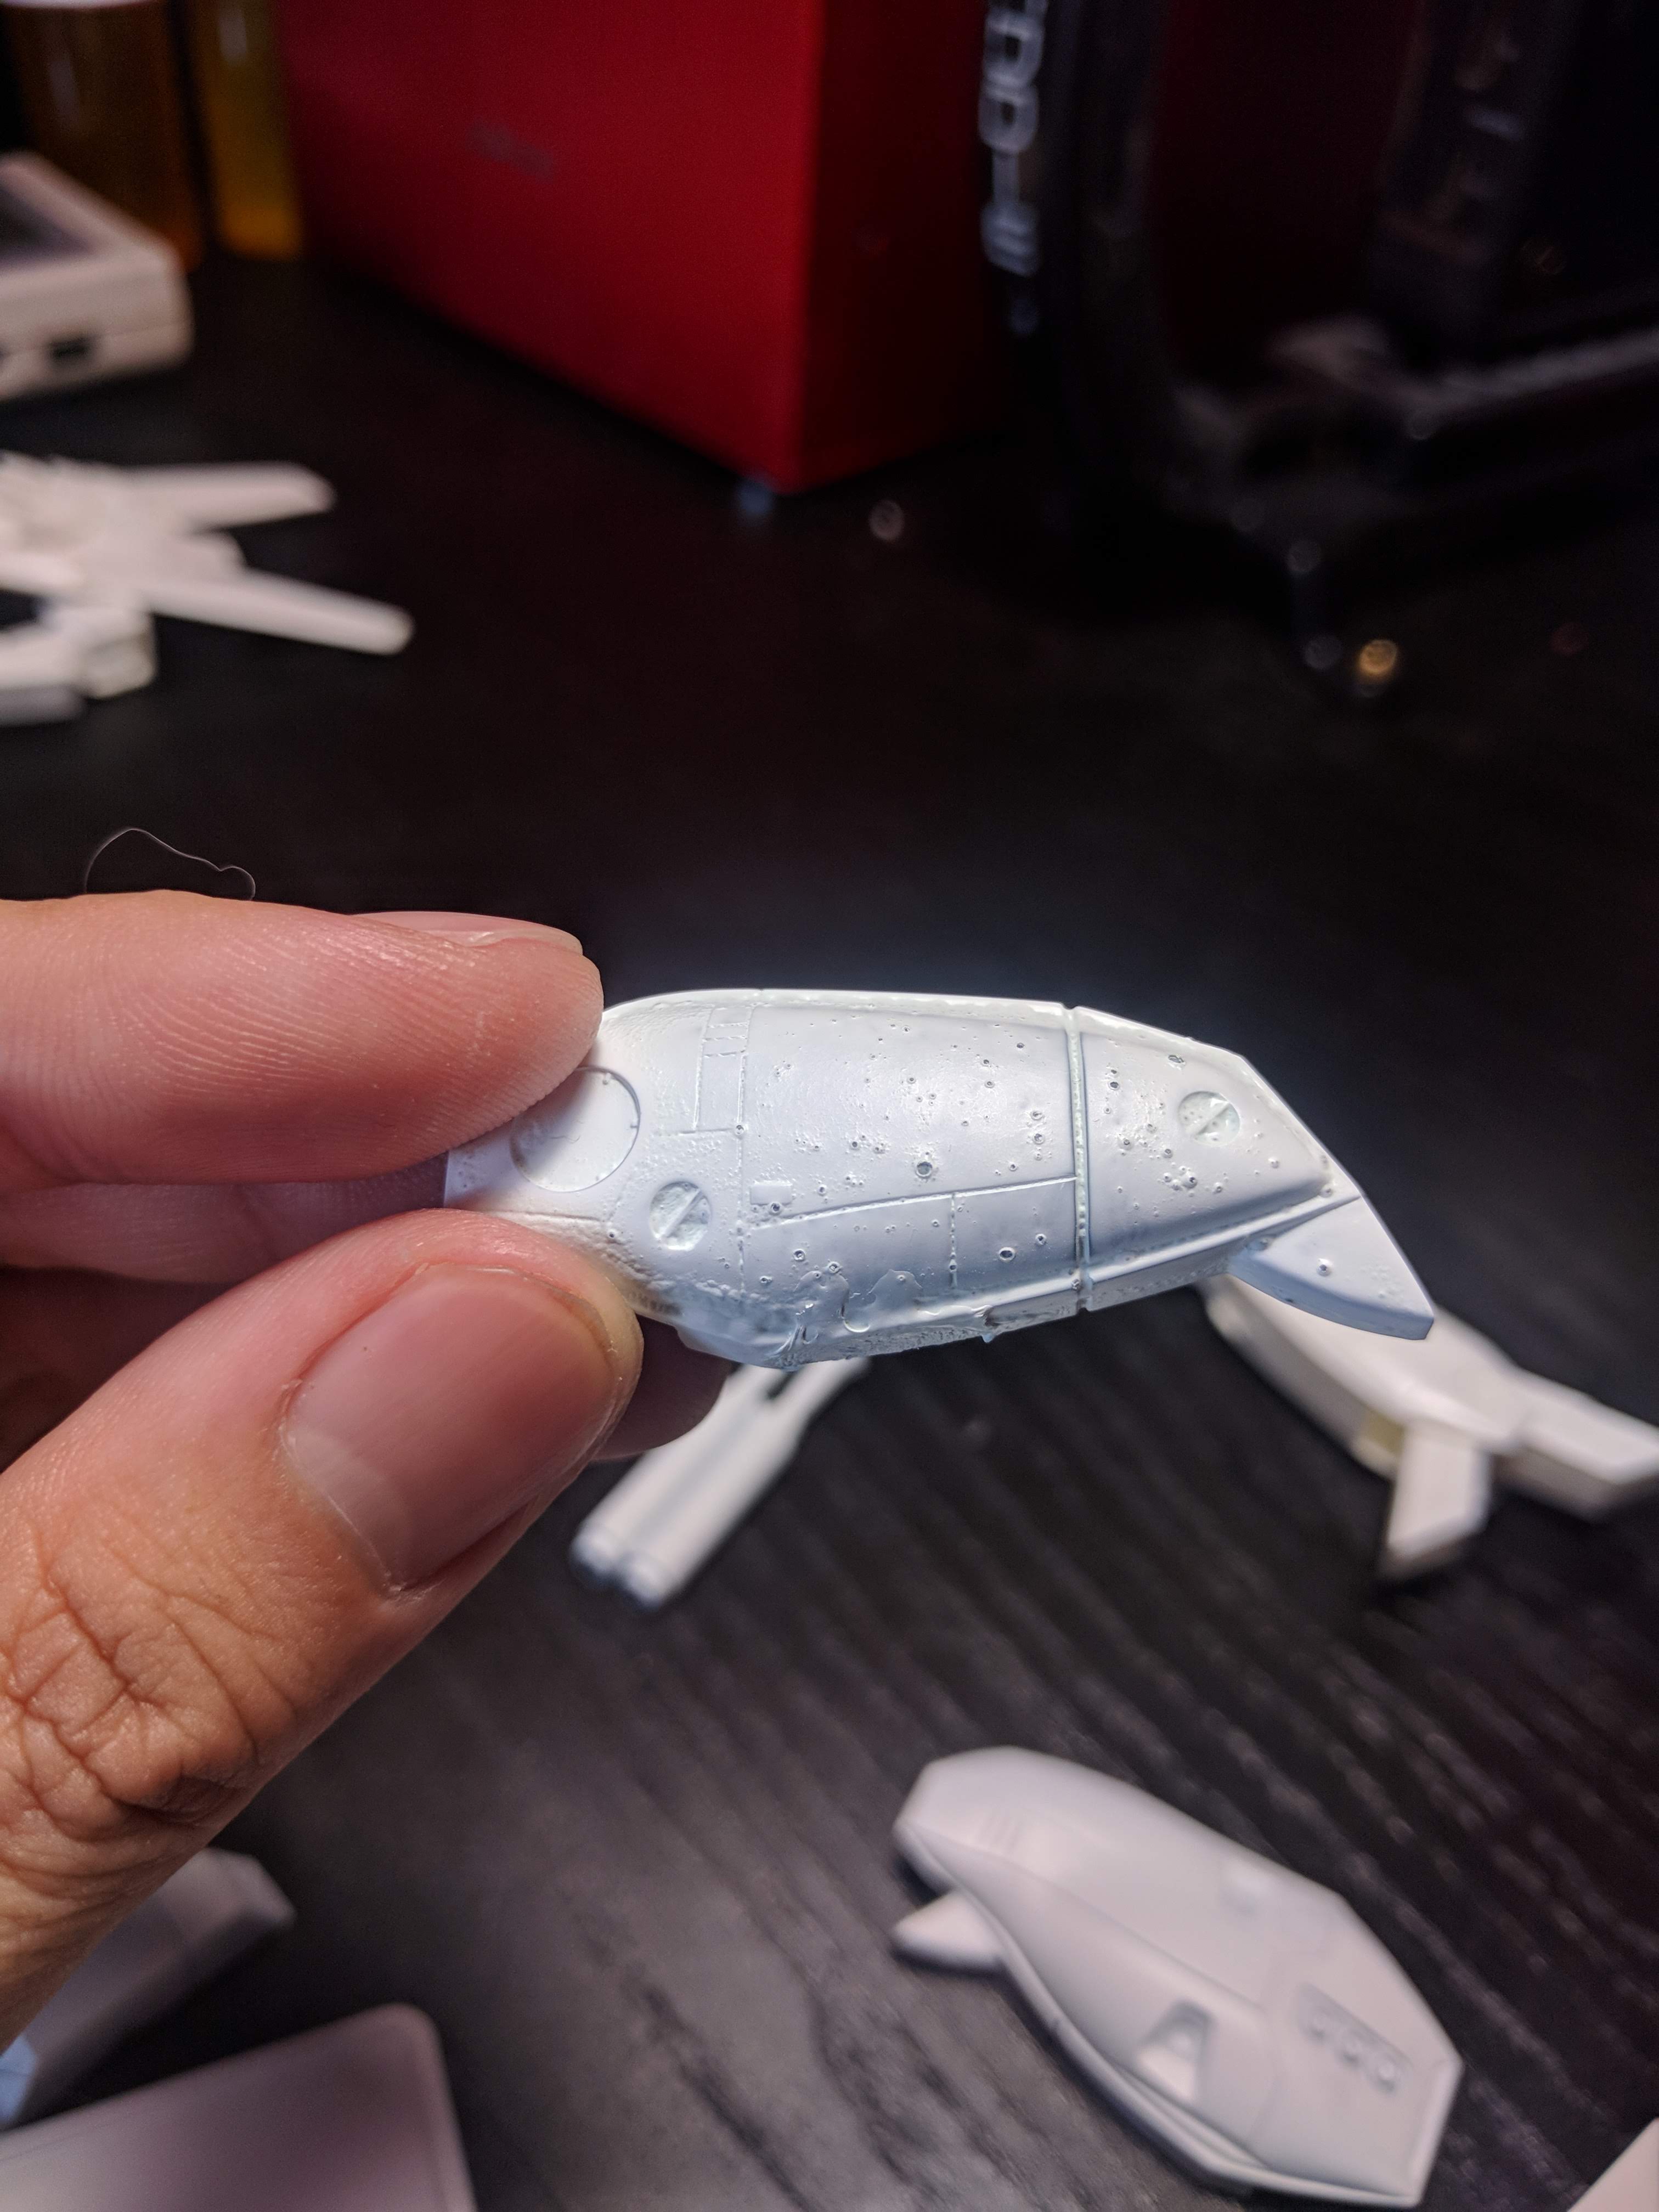
Most builders paint their pieces consistently. They also add a clear coat of paint to keep the paint sealed and give it a nice glossy finish. Scratch all that and follow these guidelines instead:
- Spray it as close as possible to the piece you're trying to paint
- Focus on a single location for a long time
- Just lightly coat some pieces
- Touch and hit some of the painted parts
- Do a single coating only
- Do not use a final layer of clear coat
STEP 5: Leave the paint to dry outdoors
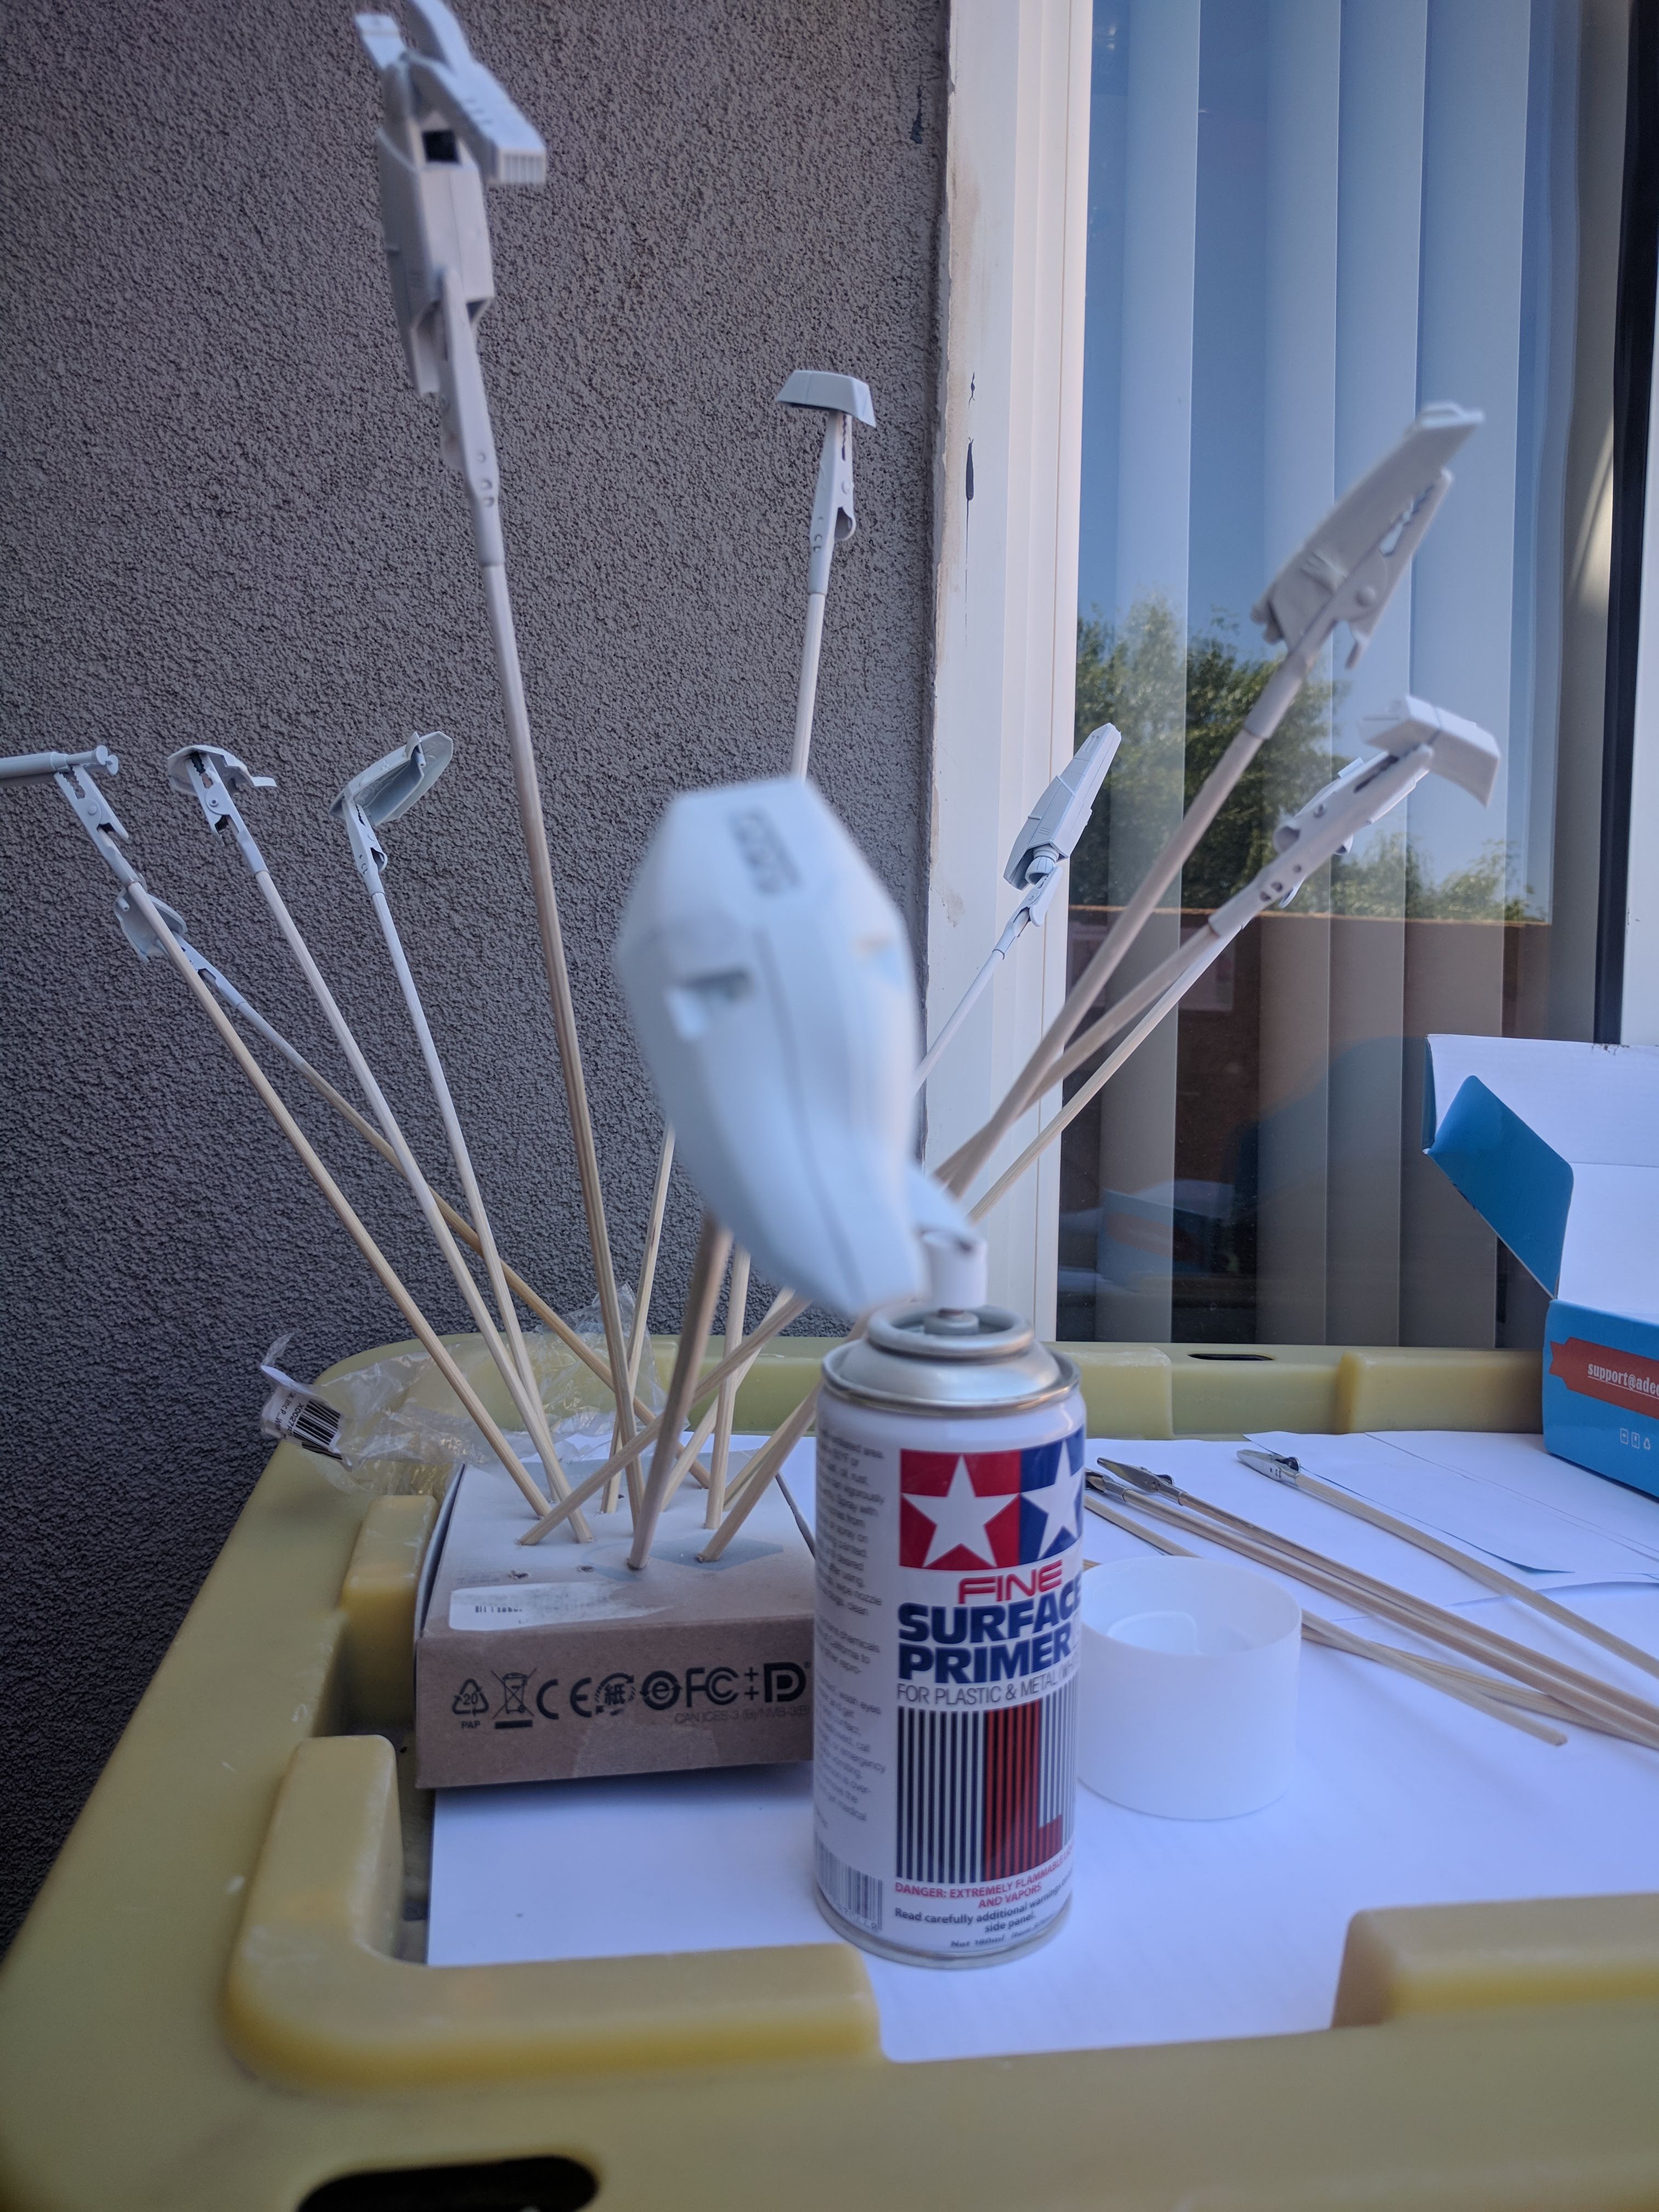
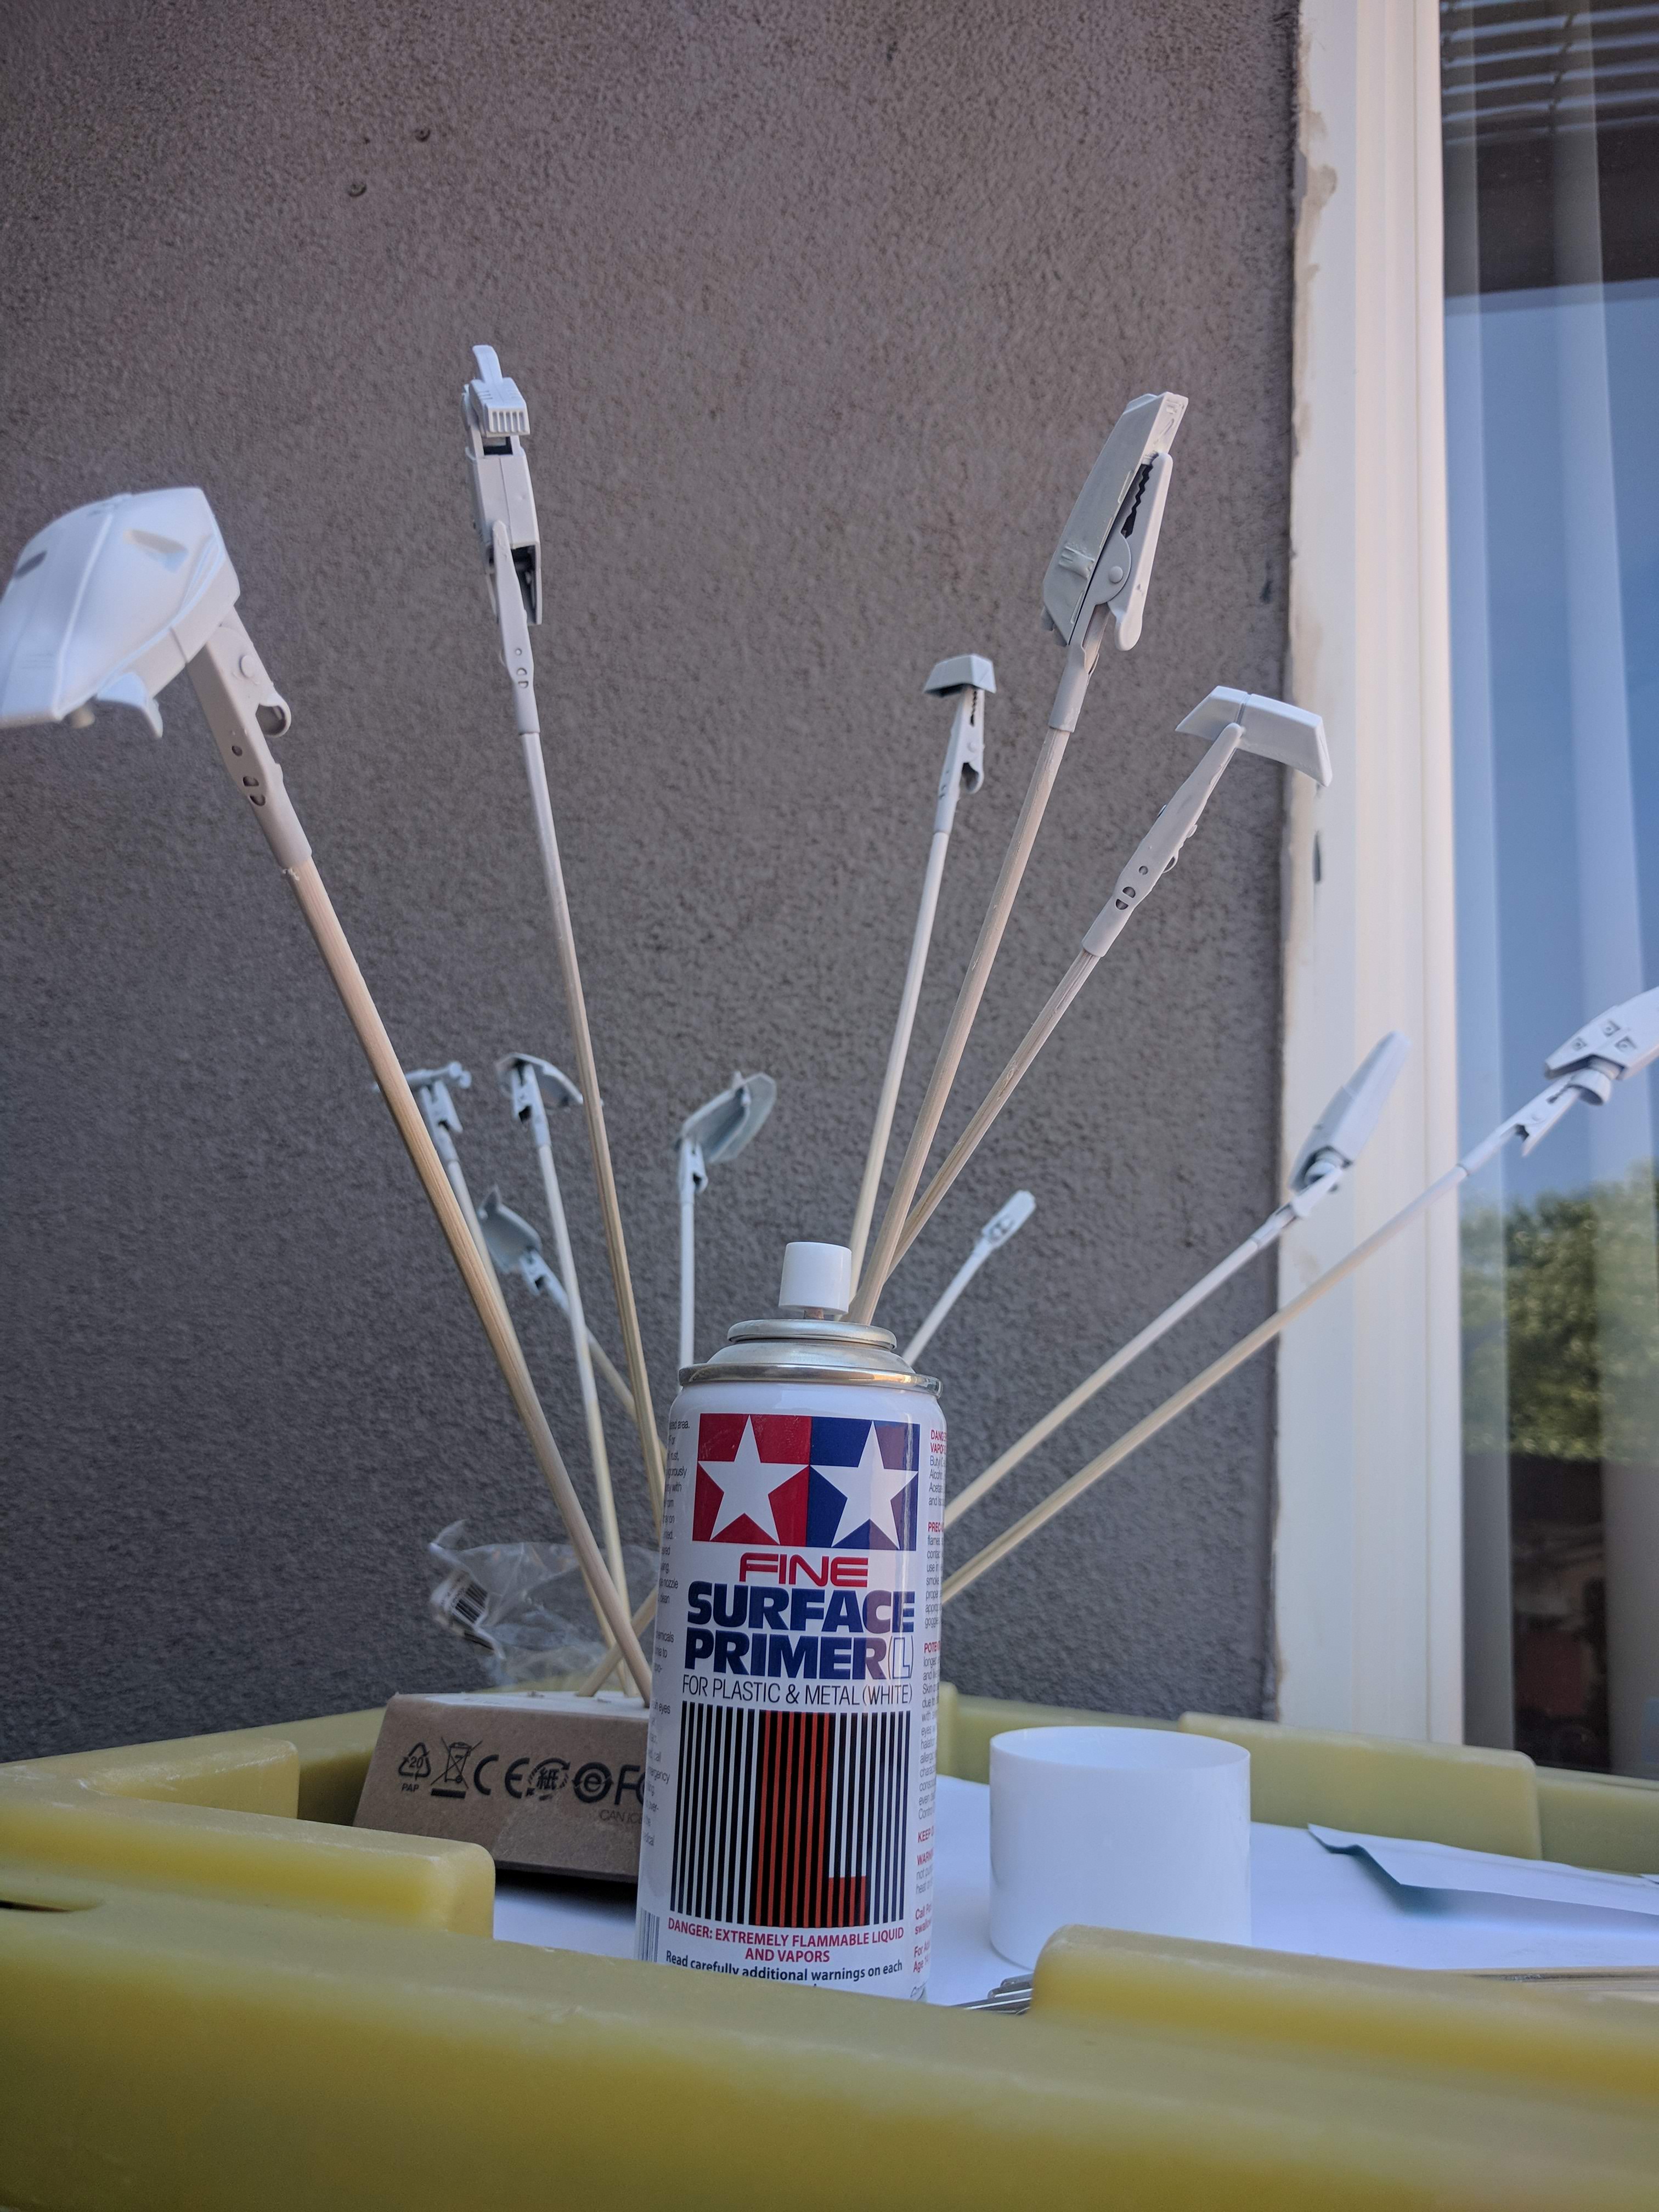
It is common sense to let painted pieces dry in a clean and controlled environment. But we don’t want our final product to look professional so just leave it to dry outside. This assures that the pieces are subject to the elements like dirt and rain. Give it that amateur gritty look.
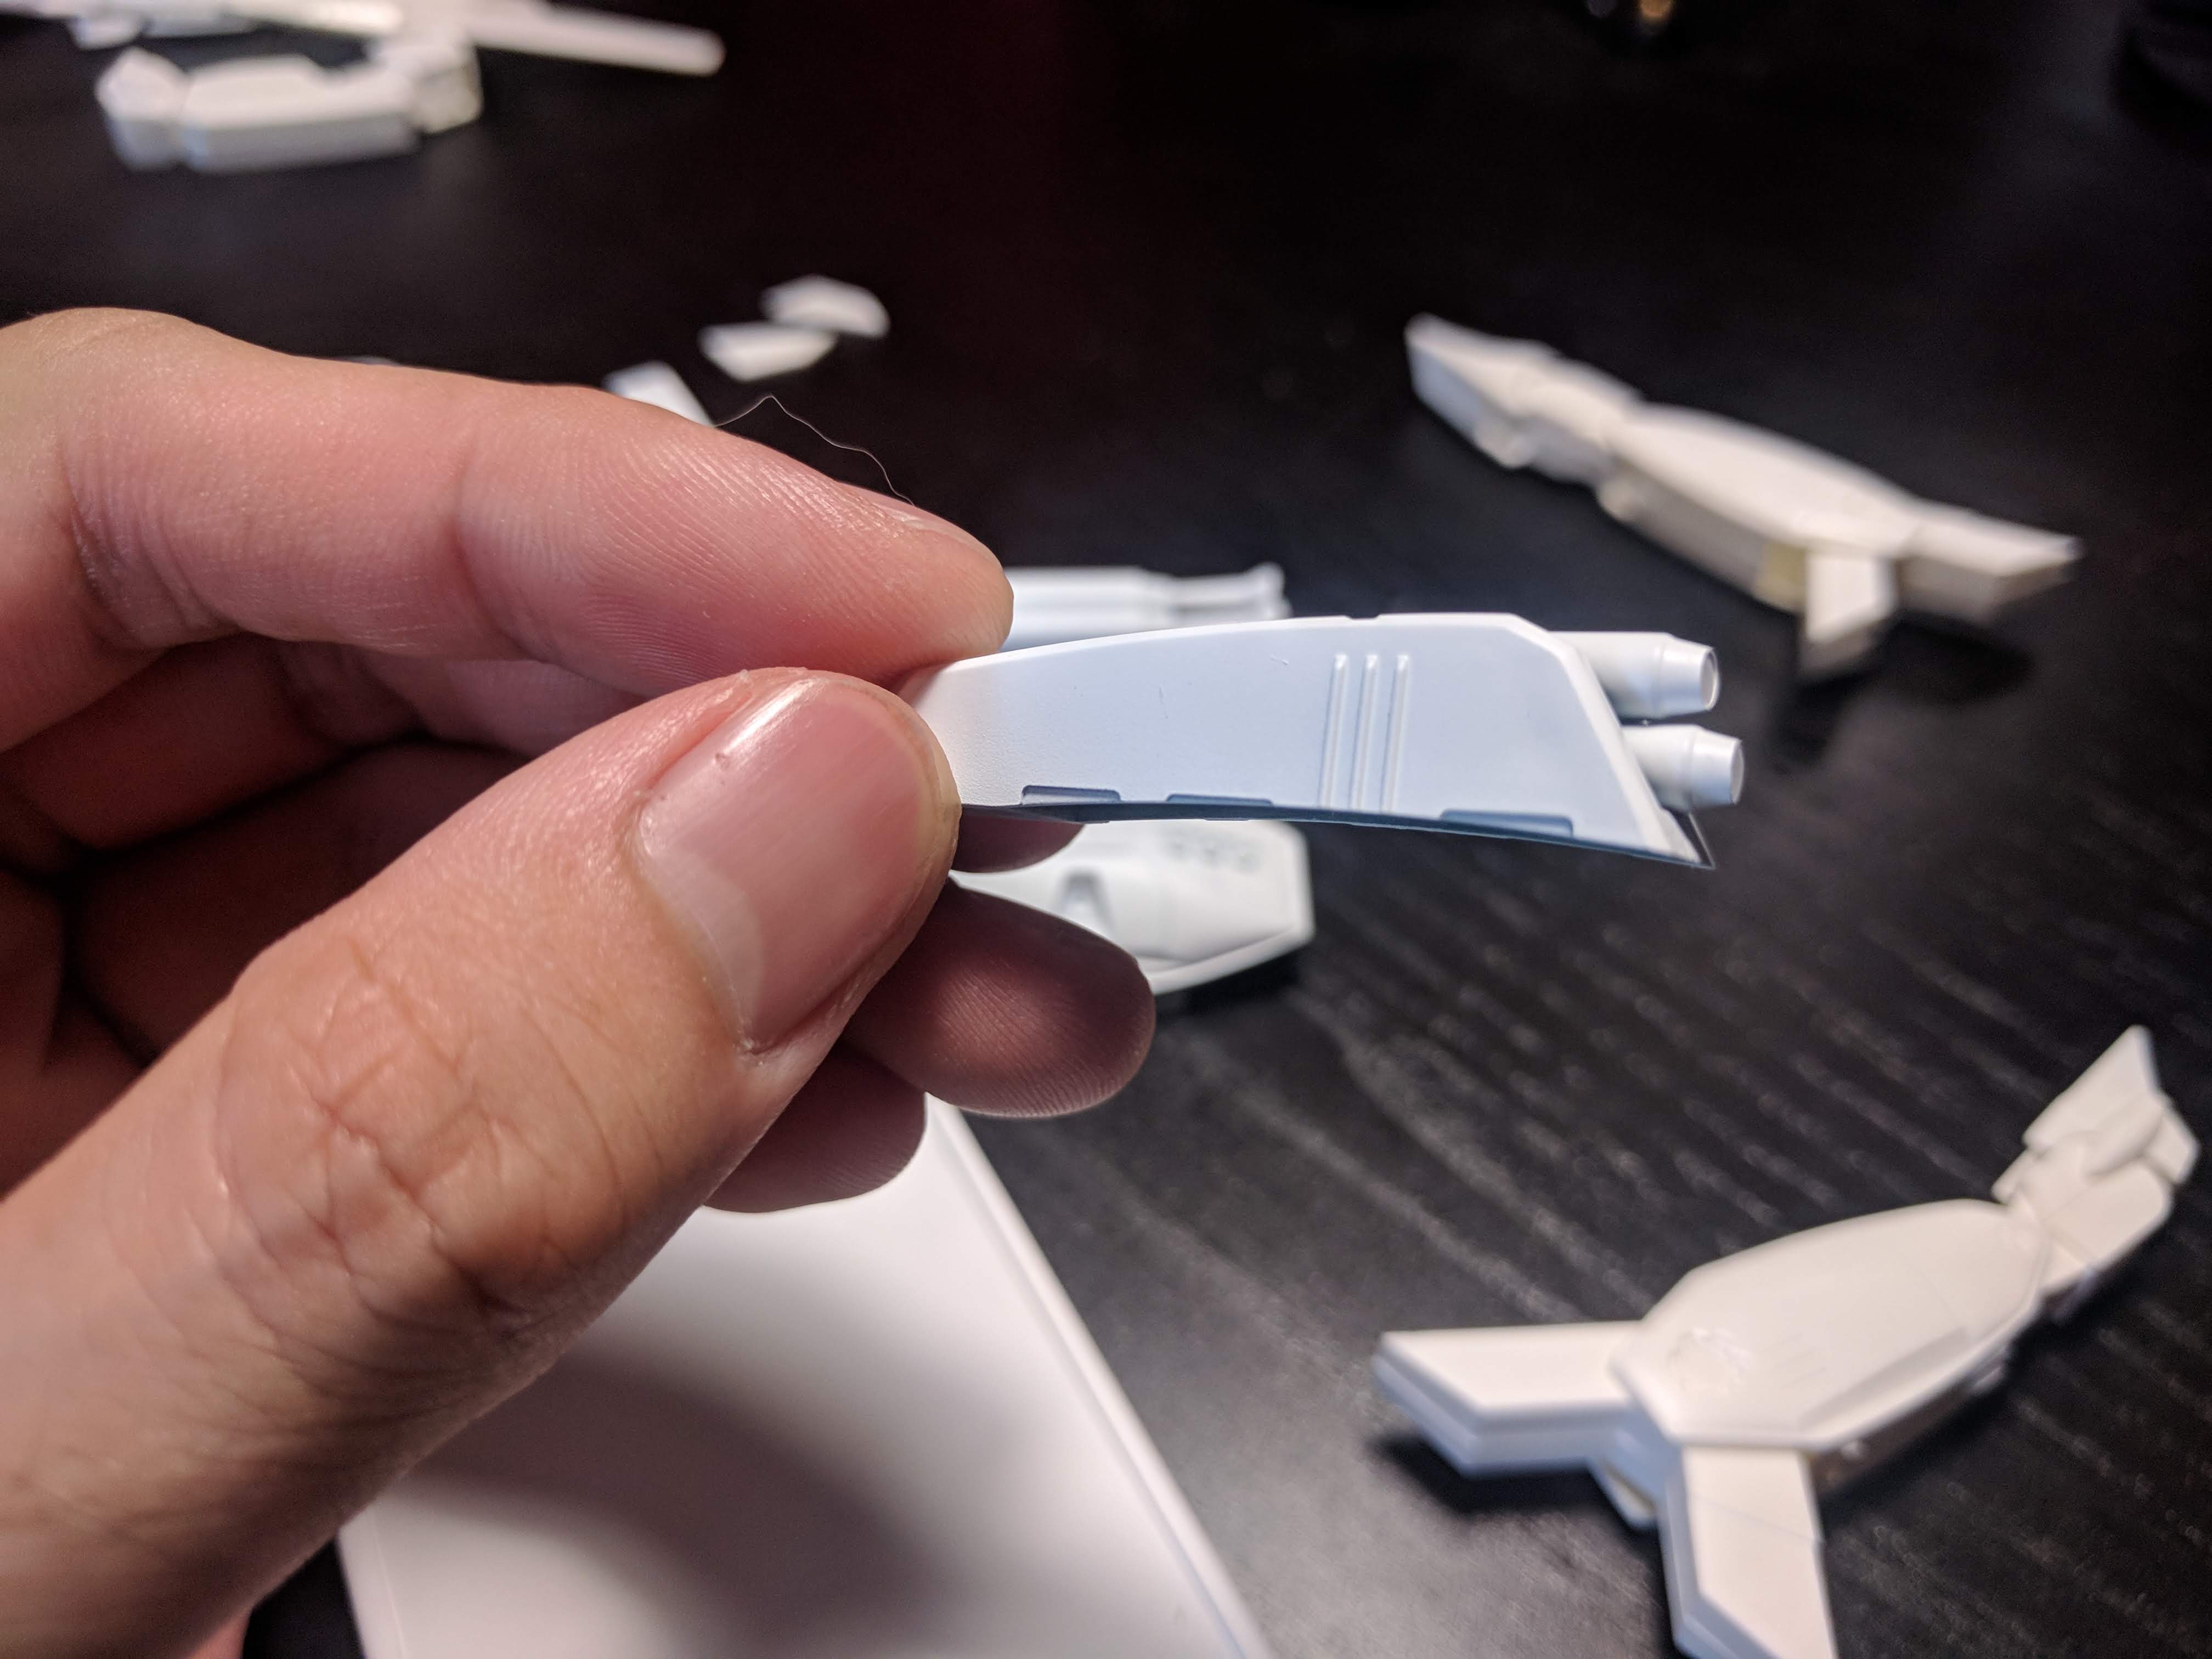
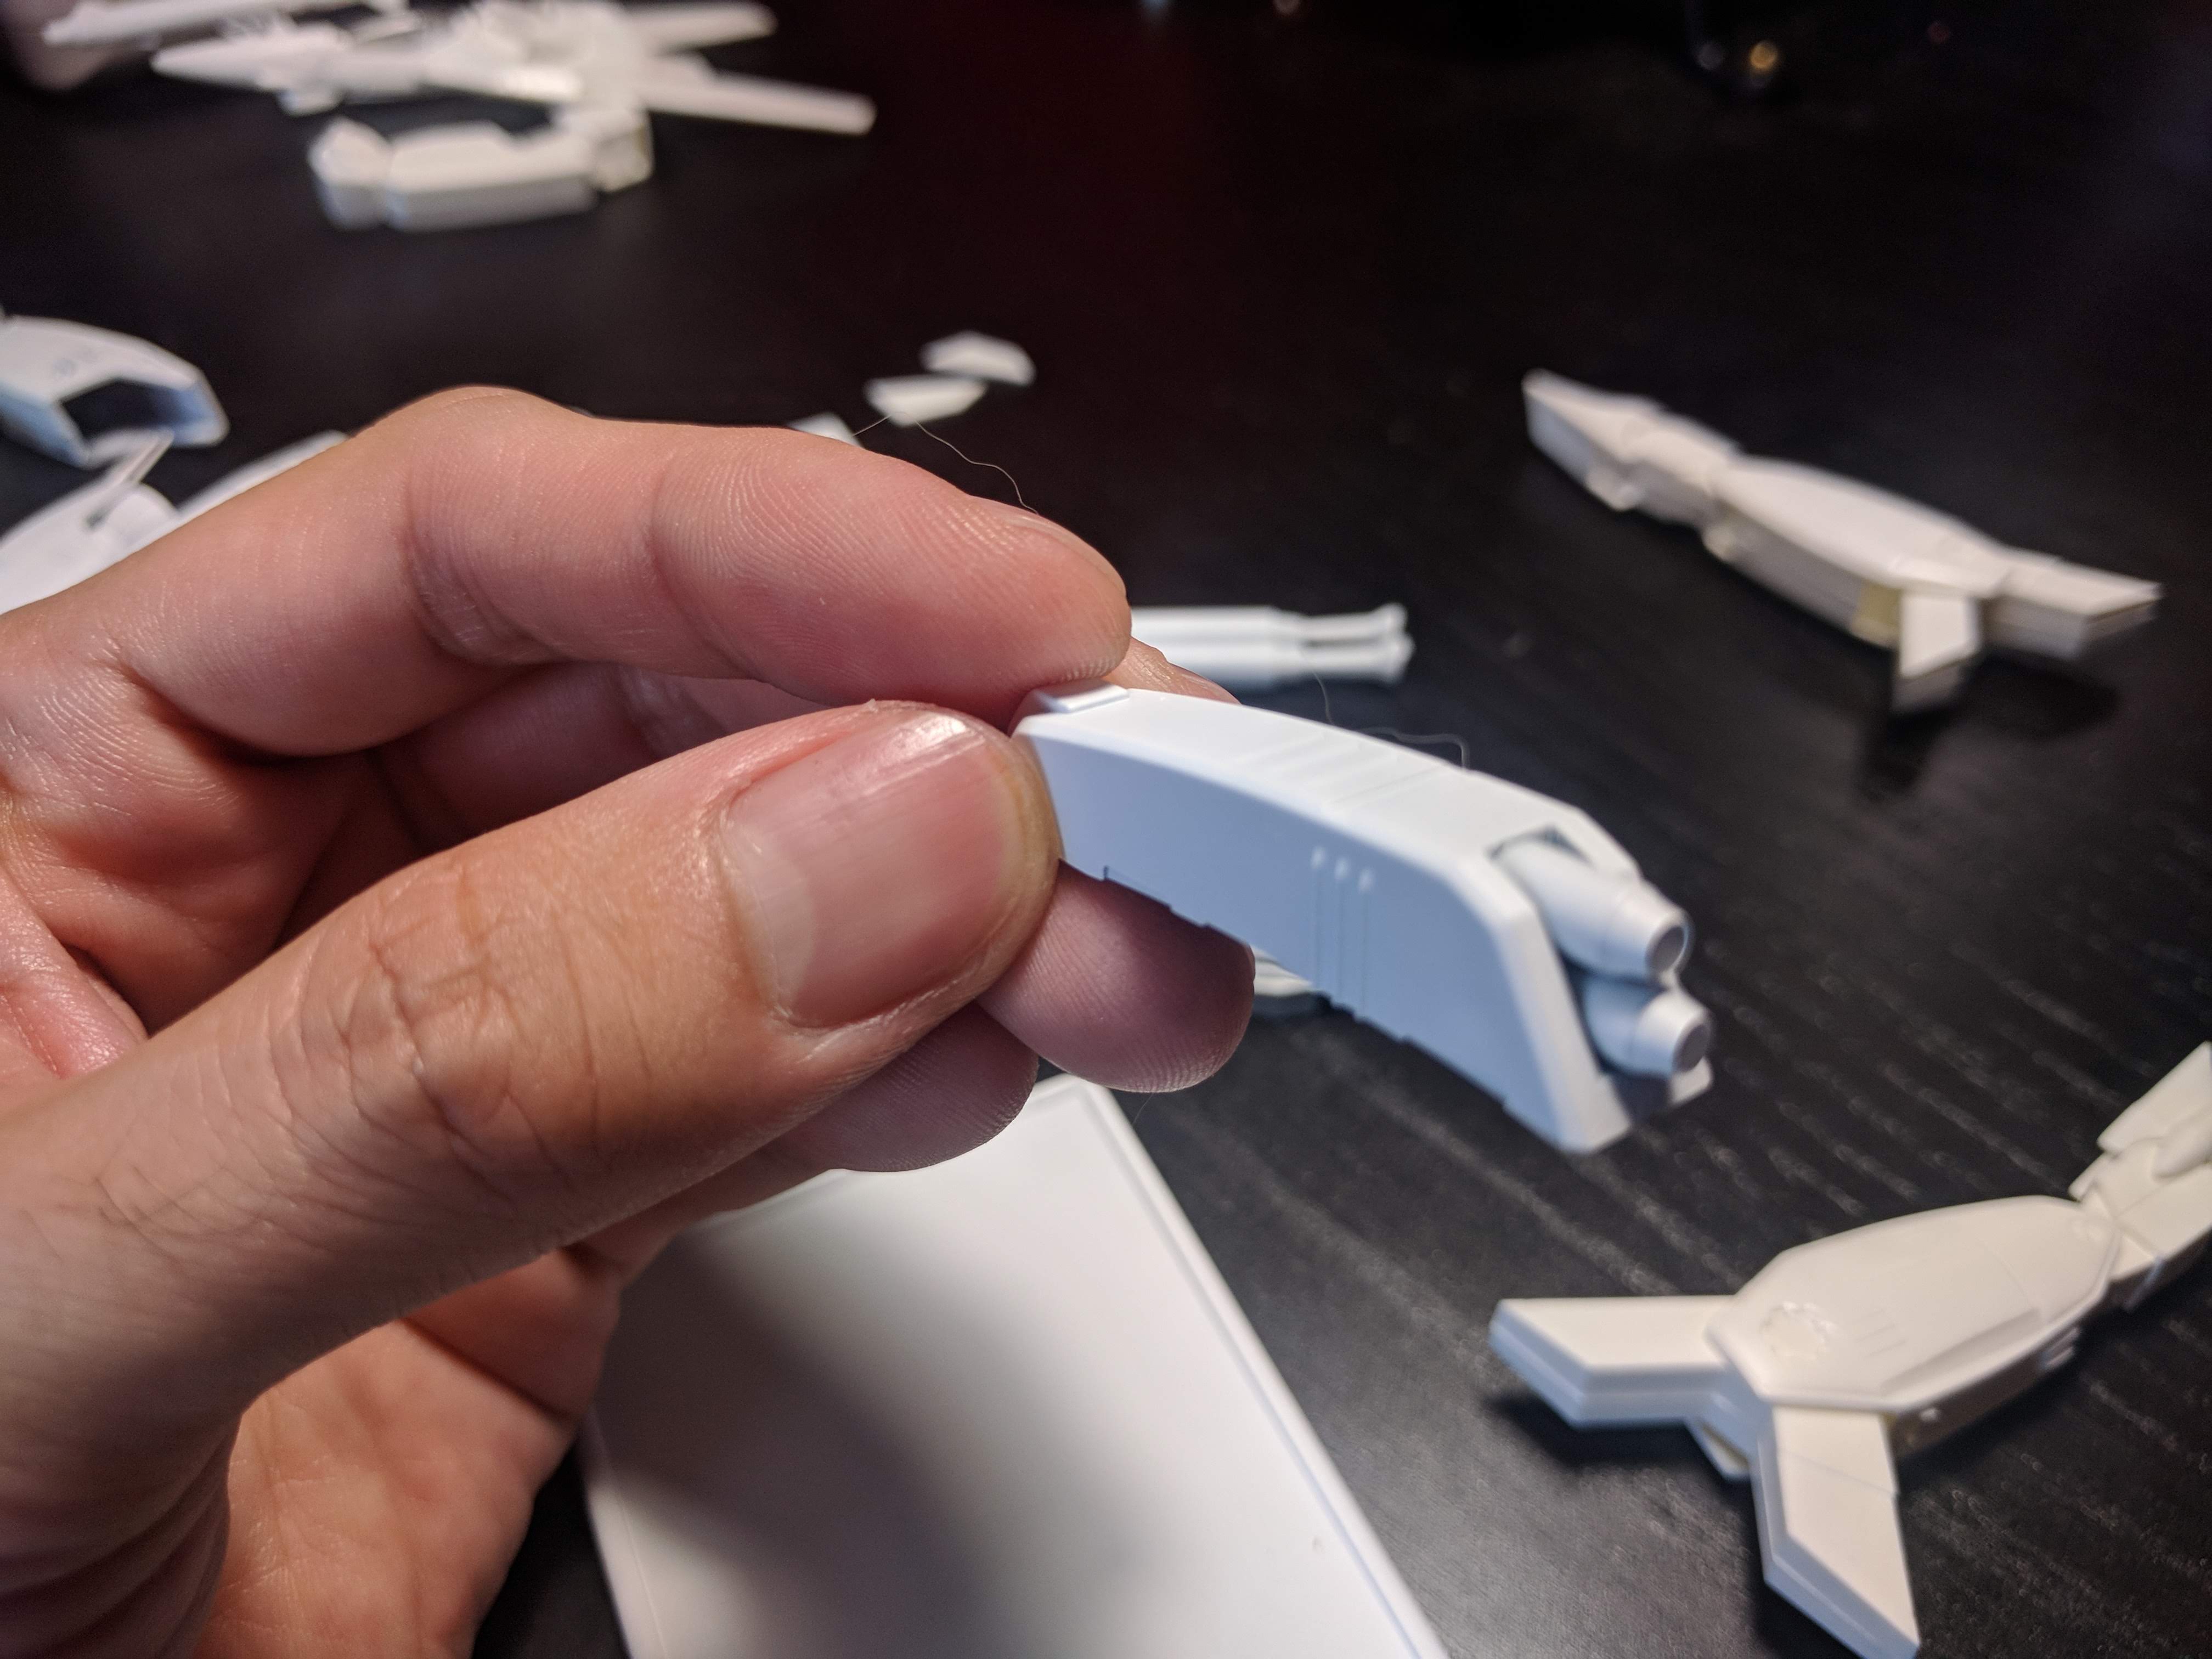
STEP 6: Assemble the pieces together haphazardly
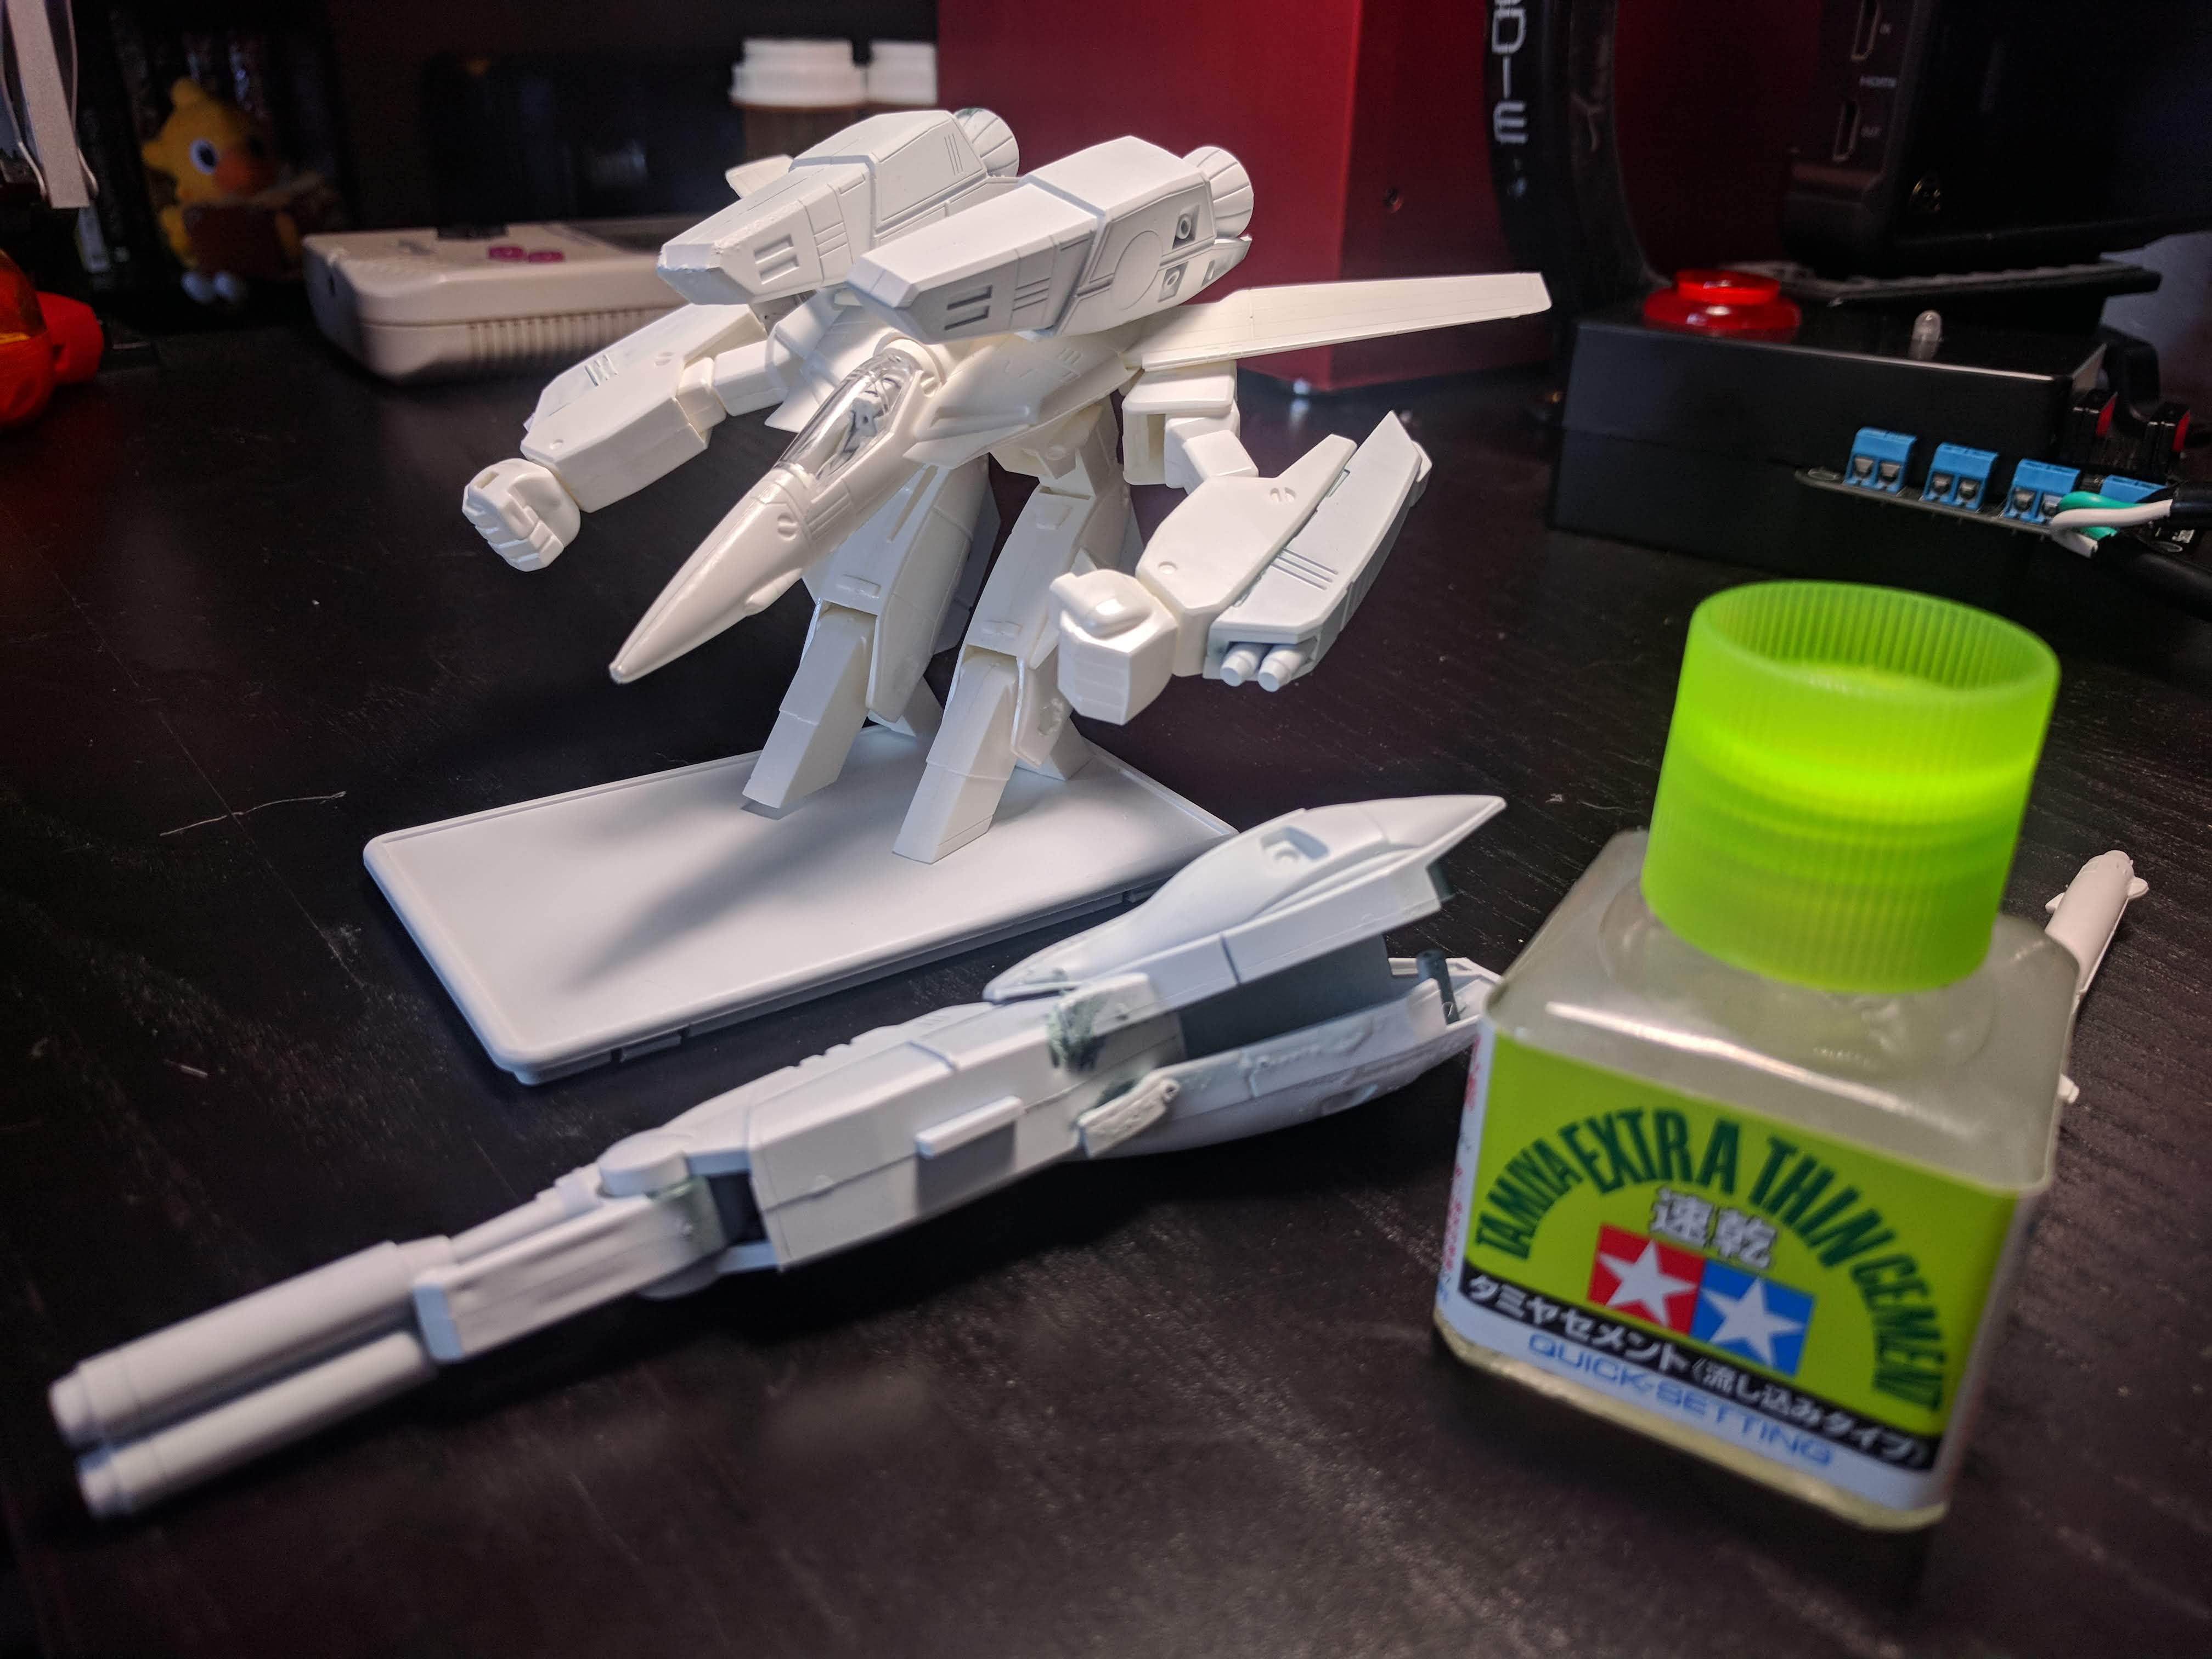
The final step to seal the fate of your first mediocre diorama is to glue everything together haphazardly. Make sure you hesitate when you add a piece to another. Also at times, make sure you do not let glue dry before letting go of the pieces being adhered.
BONUS: Since you didn’t use a paint sealant, the paint will wash away as you apply the glue/cement to the pieces.
STEP 7: Admire your mediocre work
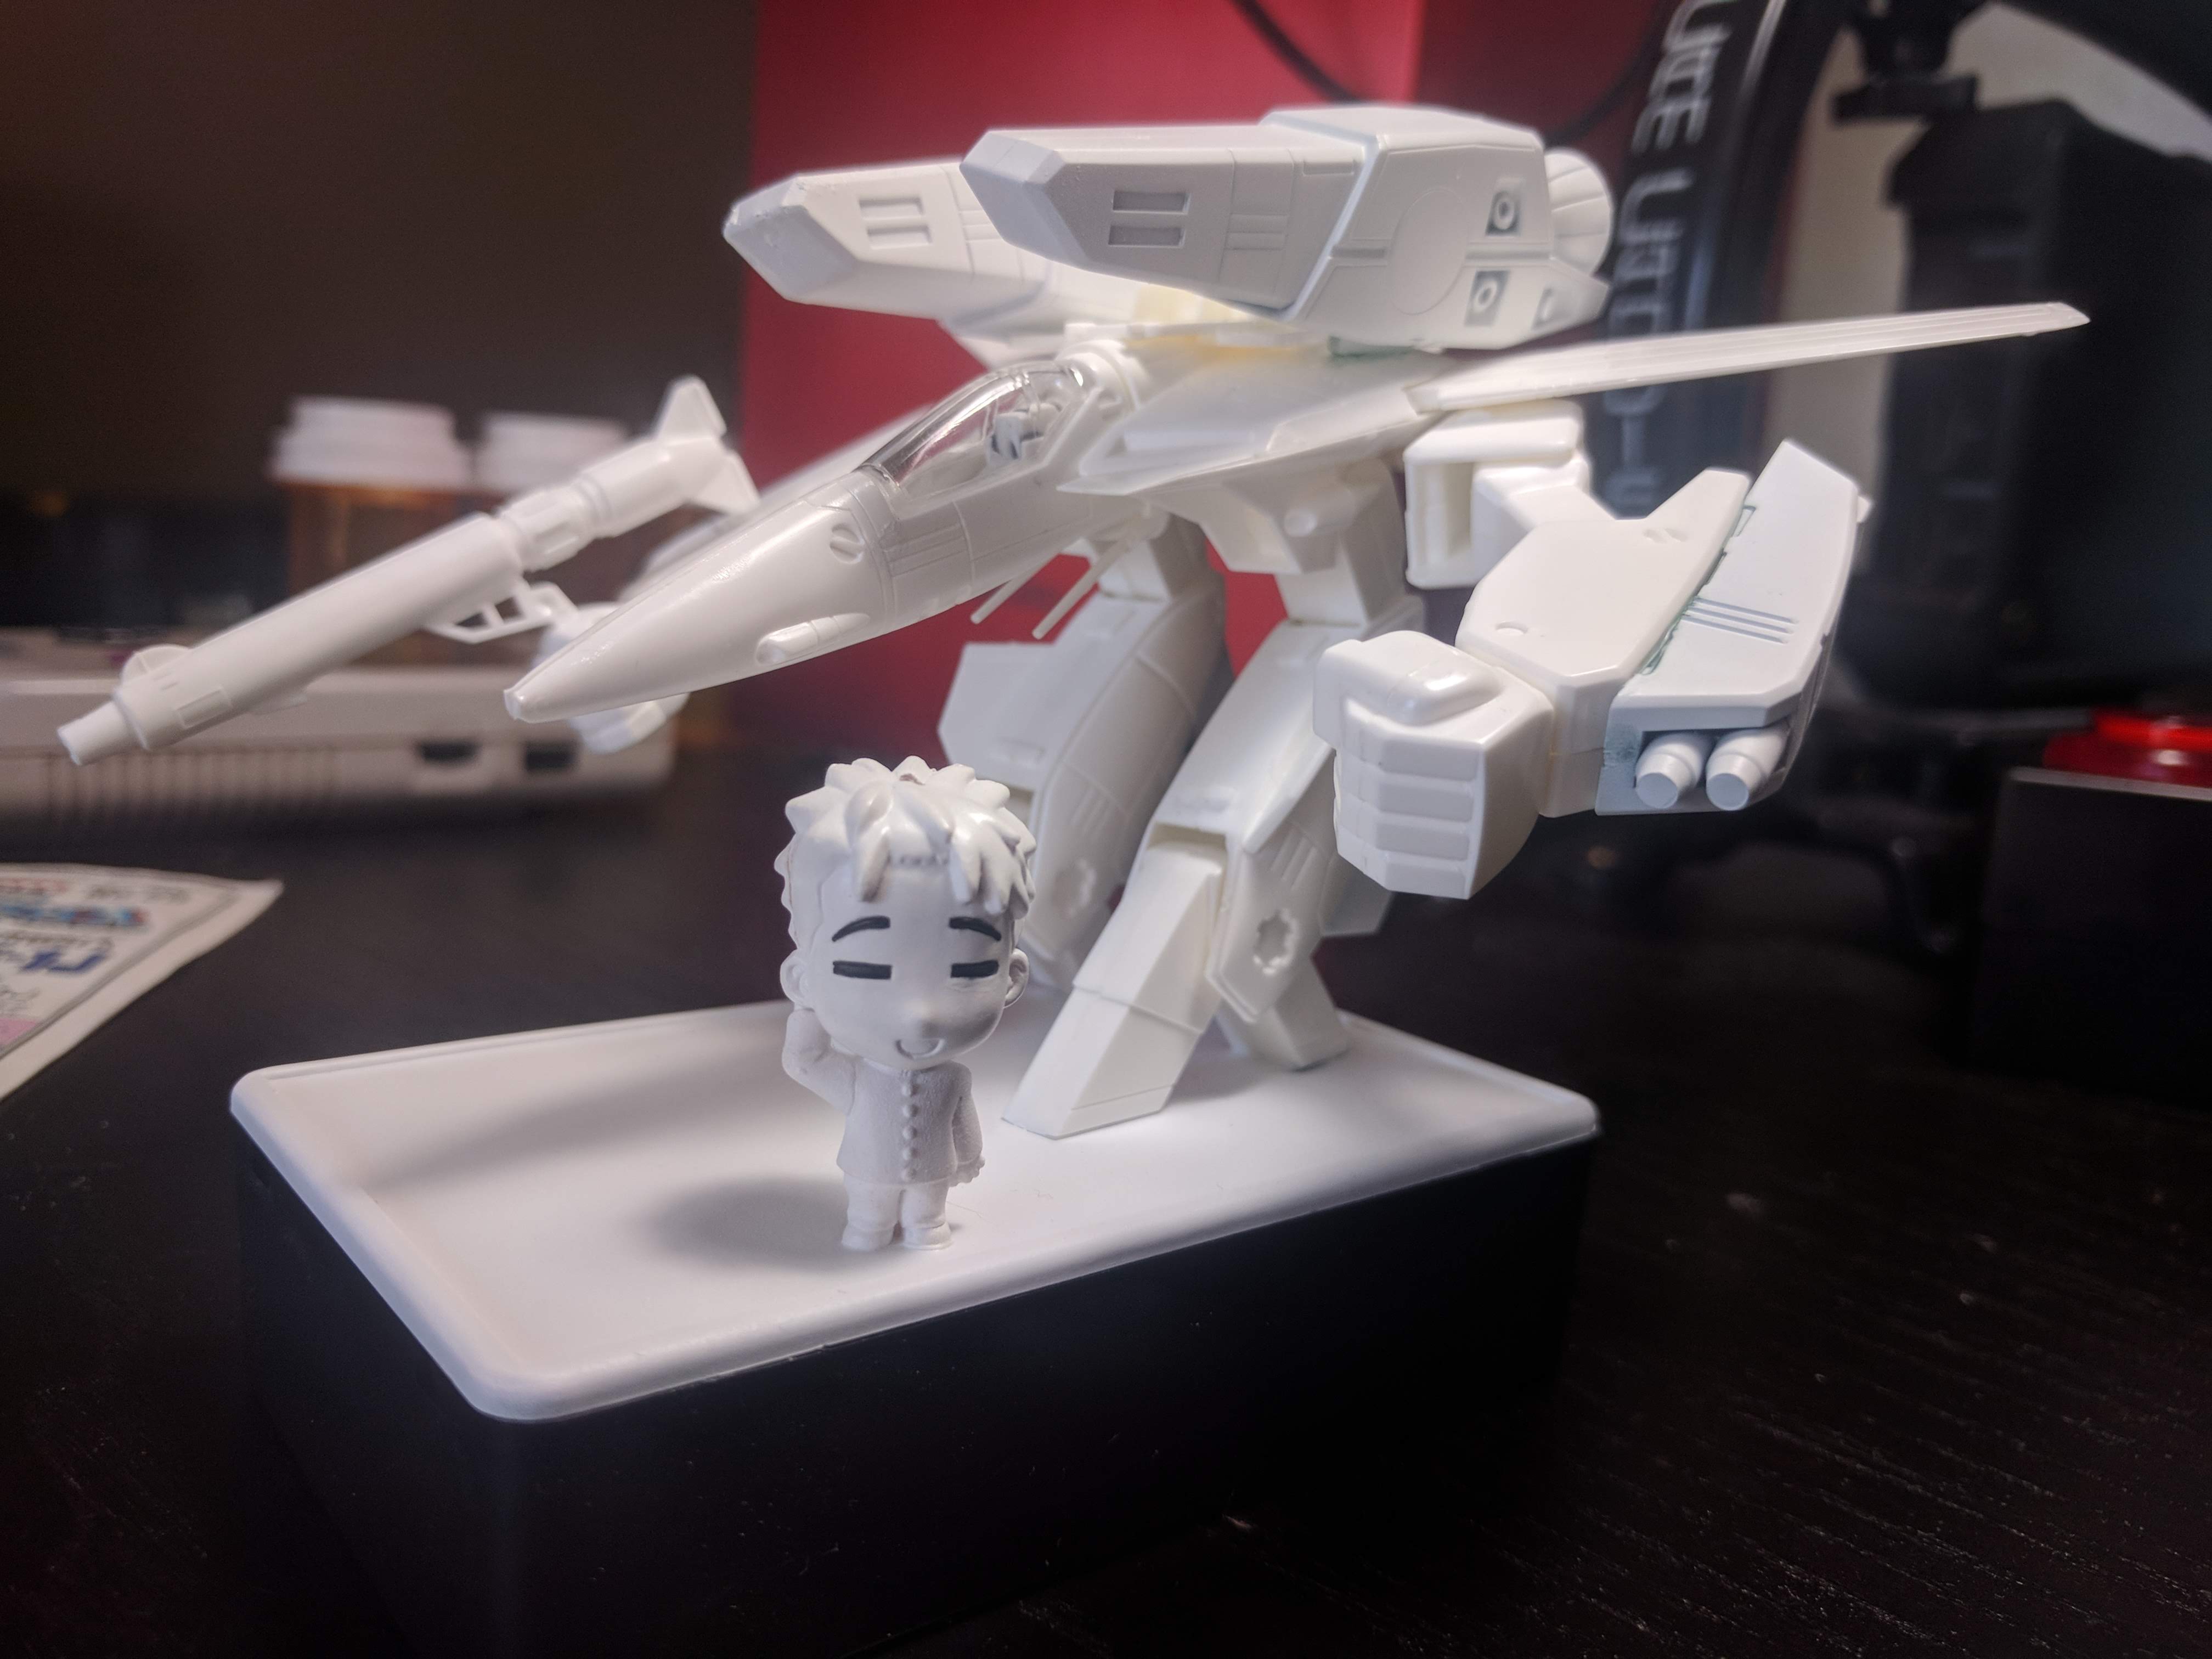
Now it is time to enjoy the moment of accomplishing your first mediocre diorama. Mine is really crappy but at least it has a theme: white.